Hummus & Bell Pepper Tortilla Wrap (Vegan)

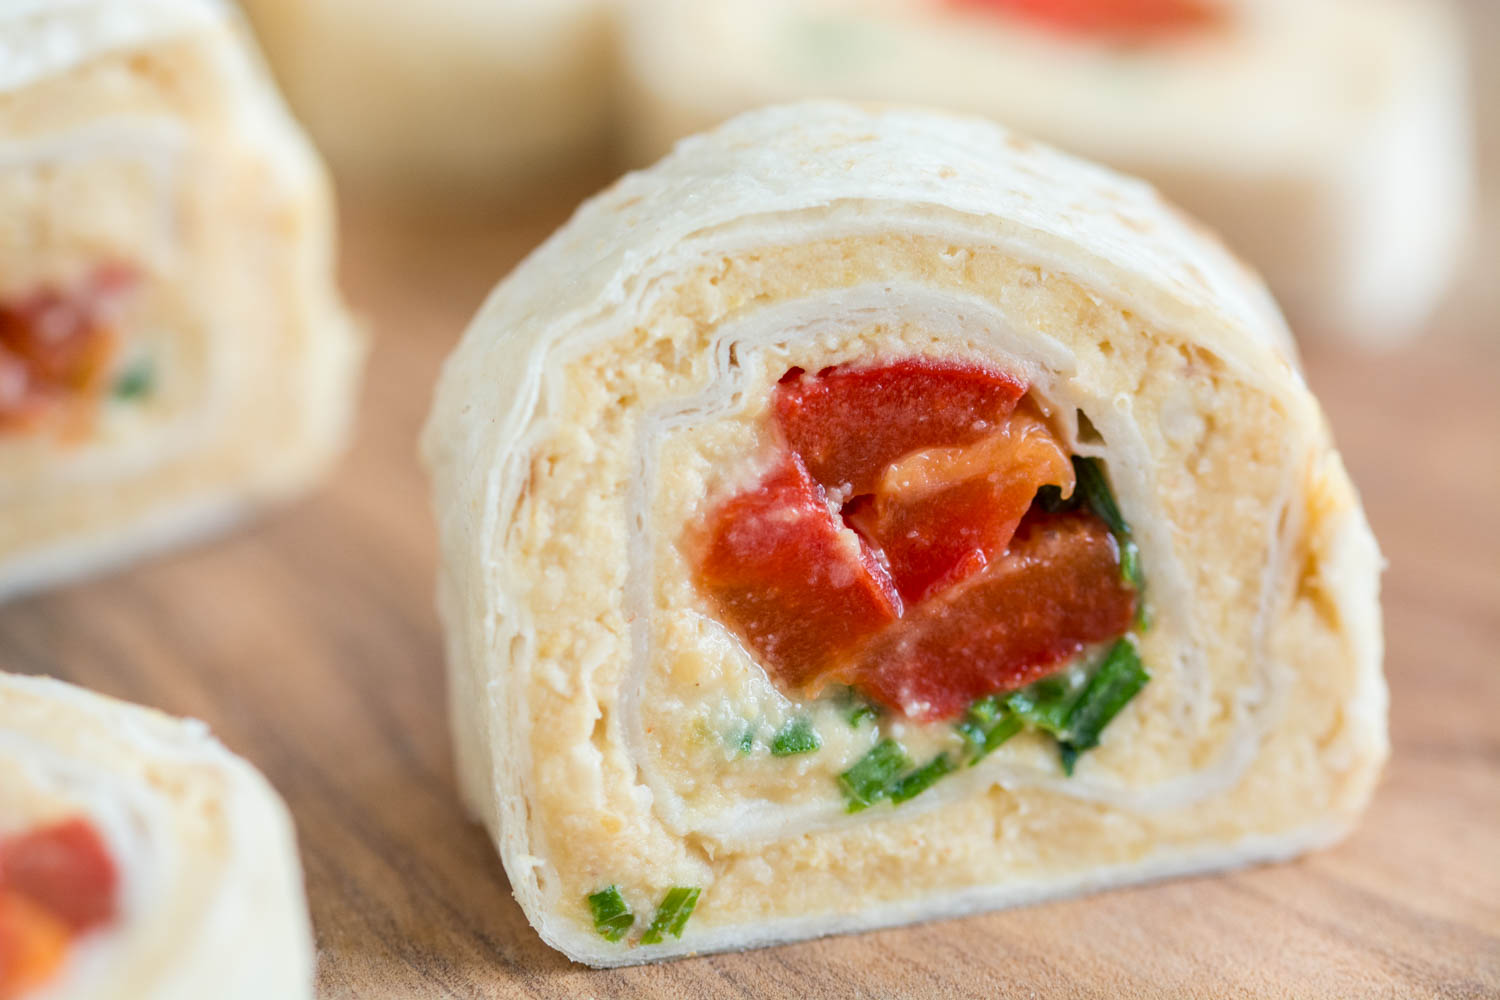
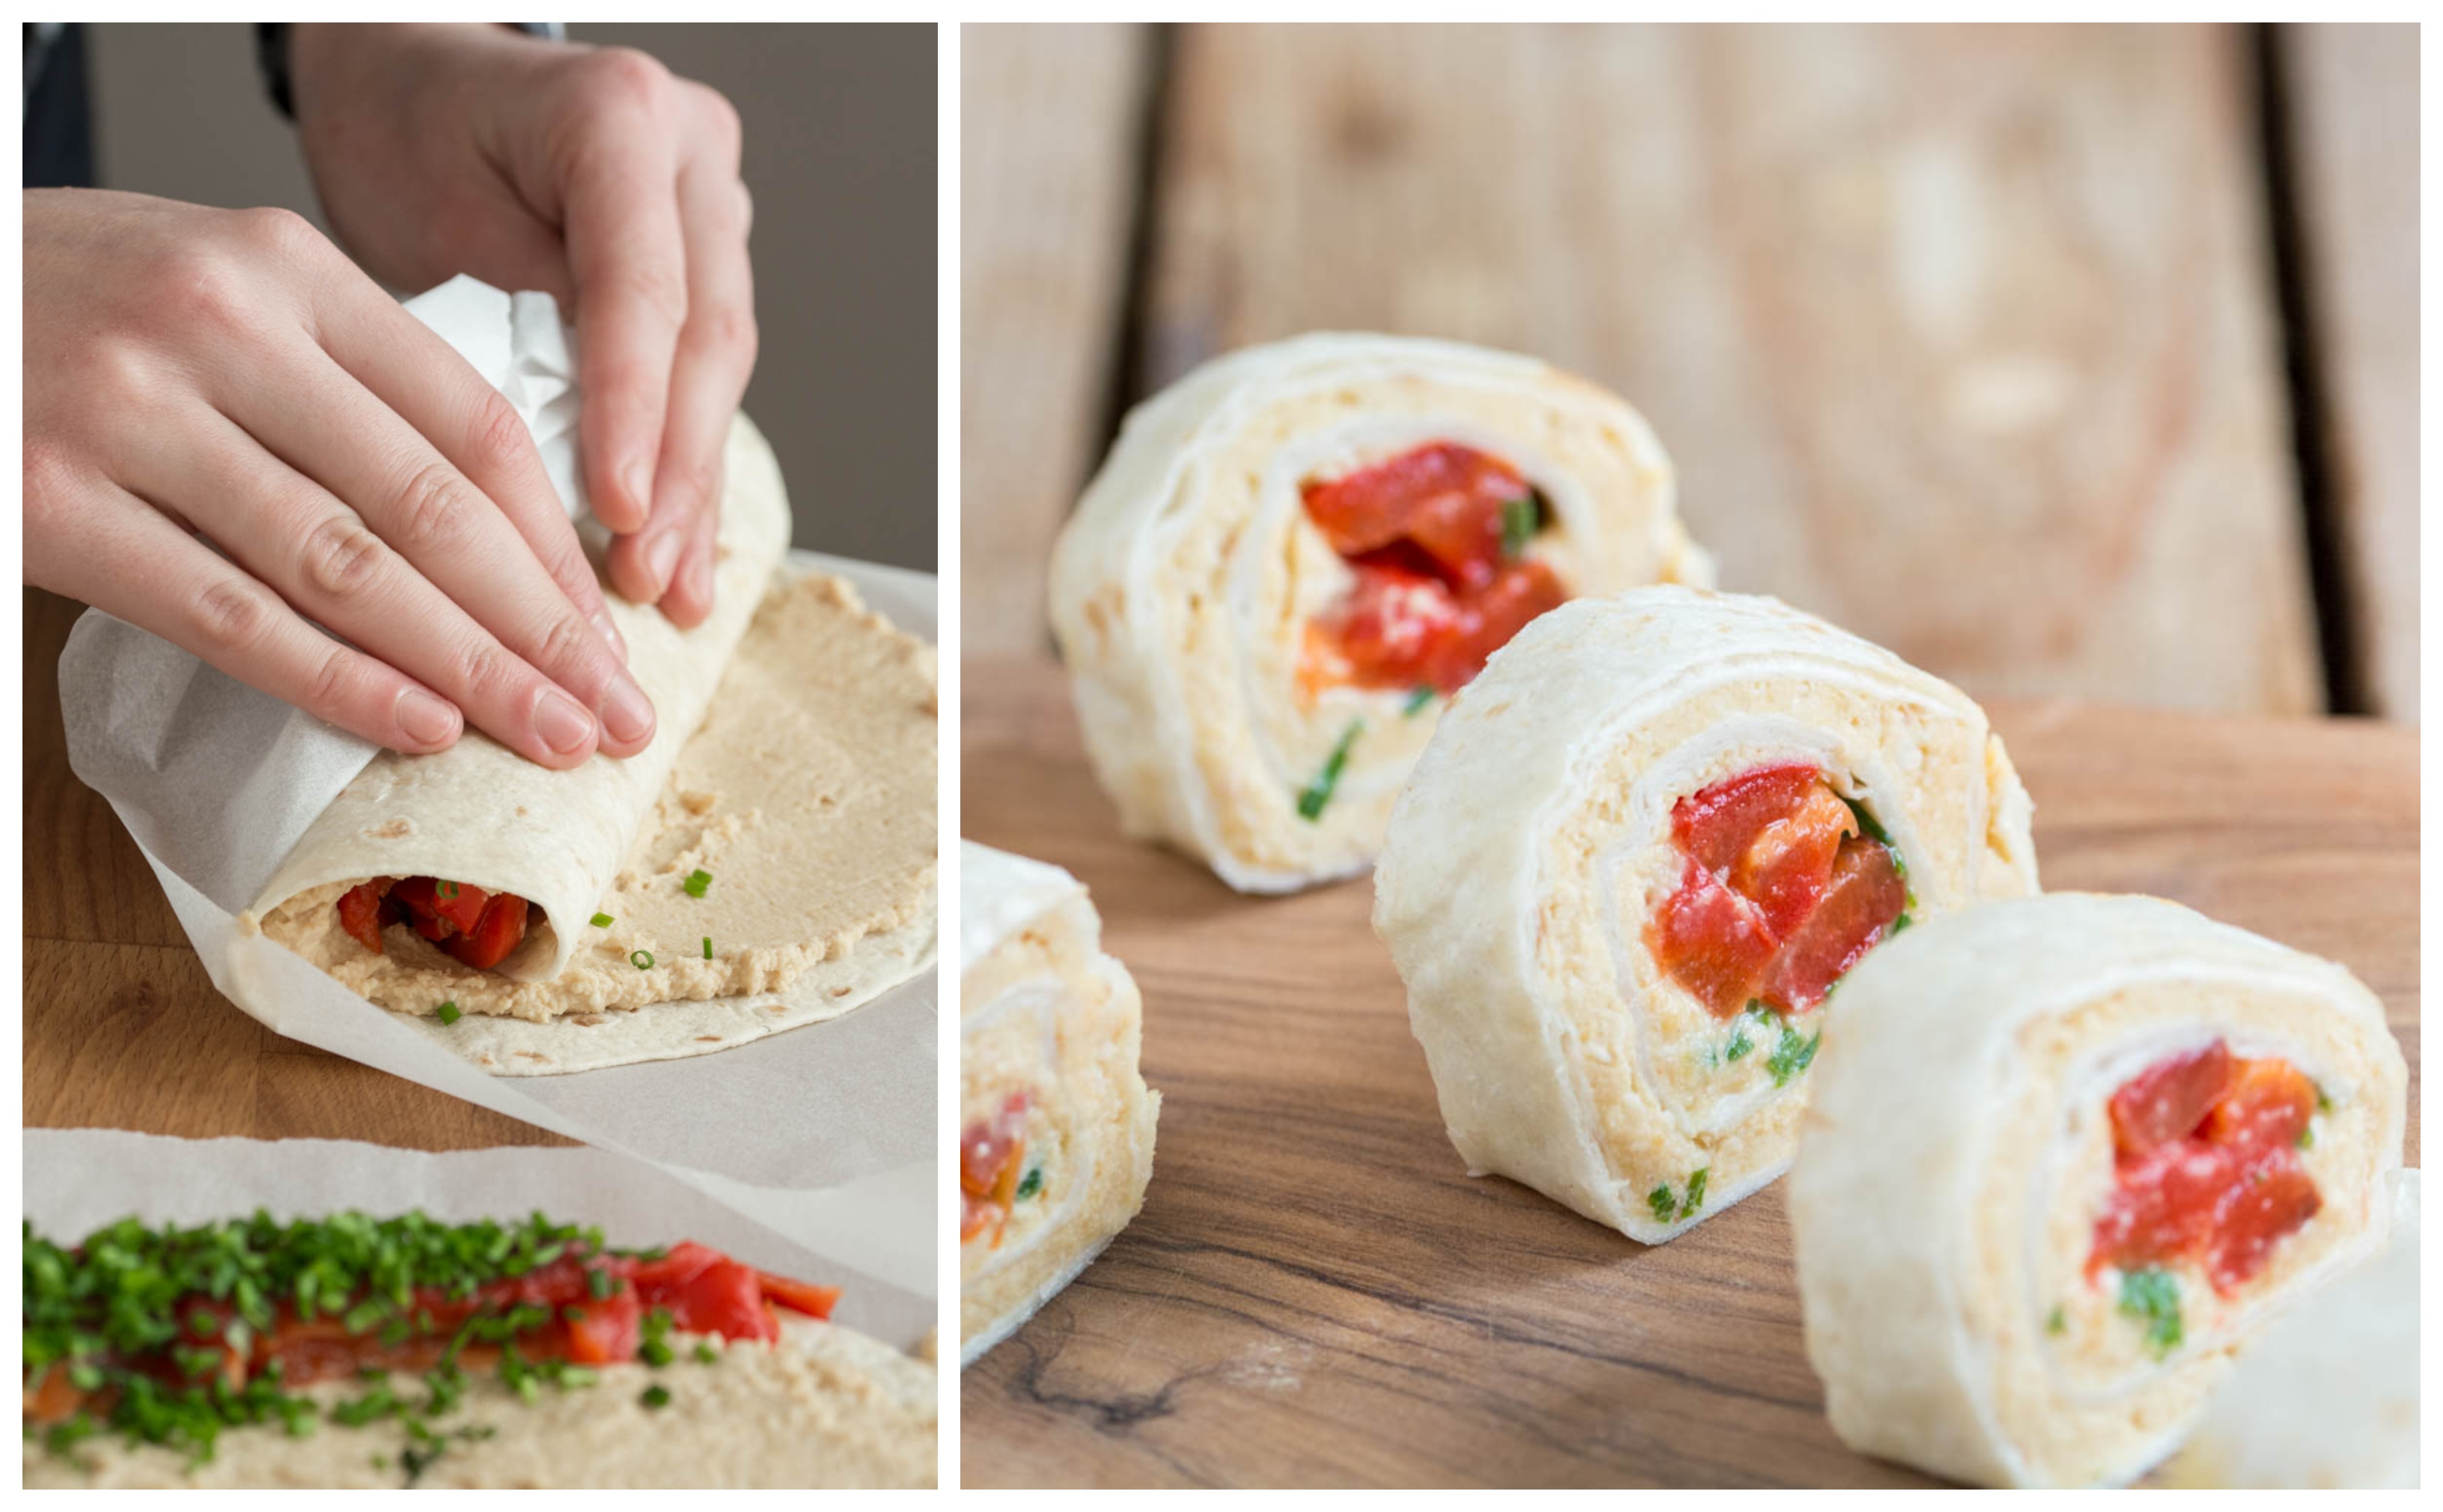
These homemade tortilla rolls are filled with a smooth and creamy chick pea spread and some sweet roasted red bell peppers. I cannot possibly imagine a finger food platter made without these creamy tortilla rolls, as they are incredibly easy to make and they are the first ones that vanish off the platter. And the reasons are quite simple: they are delicious, hearty and nutritious.
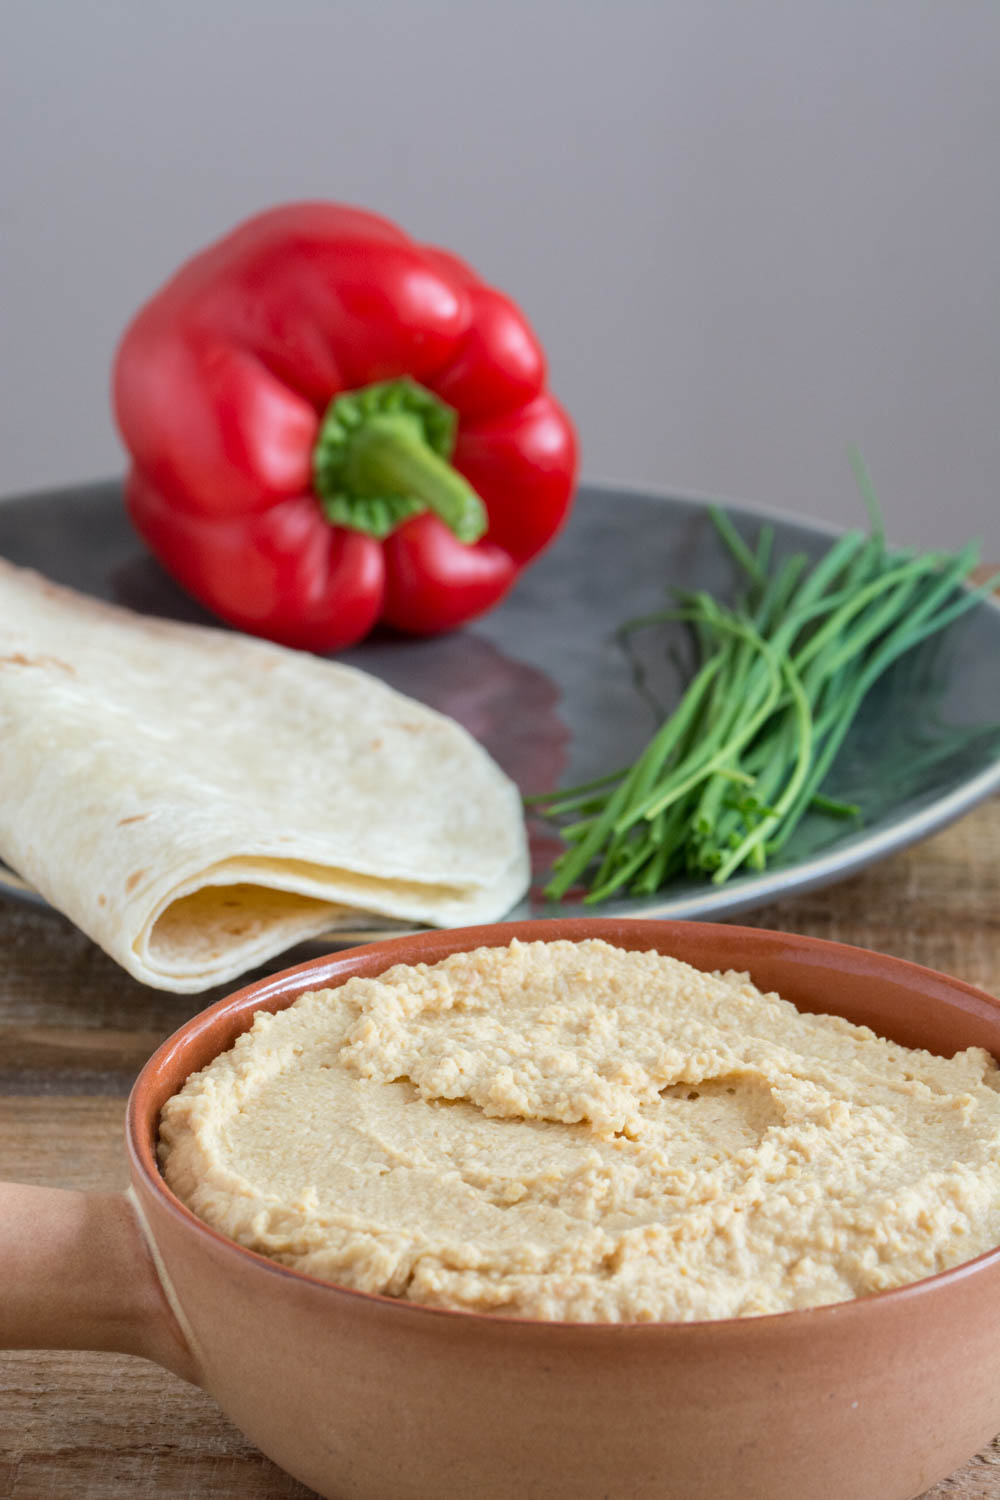
Ingredients (for 2 rolls):

  • 2 large tortillas
  • 1 red bell pepper
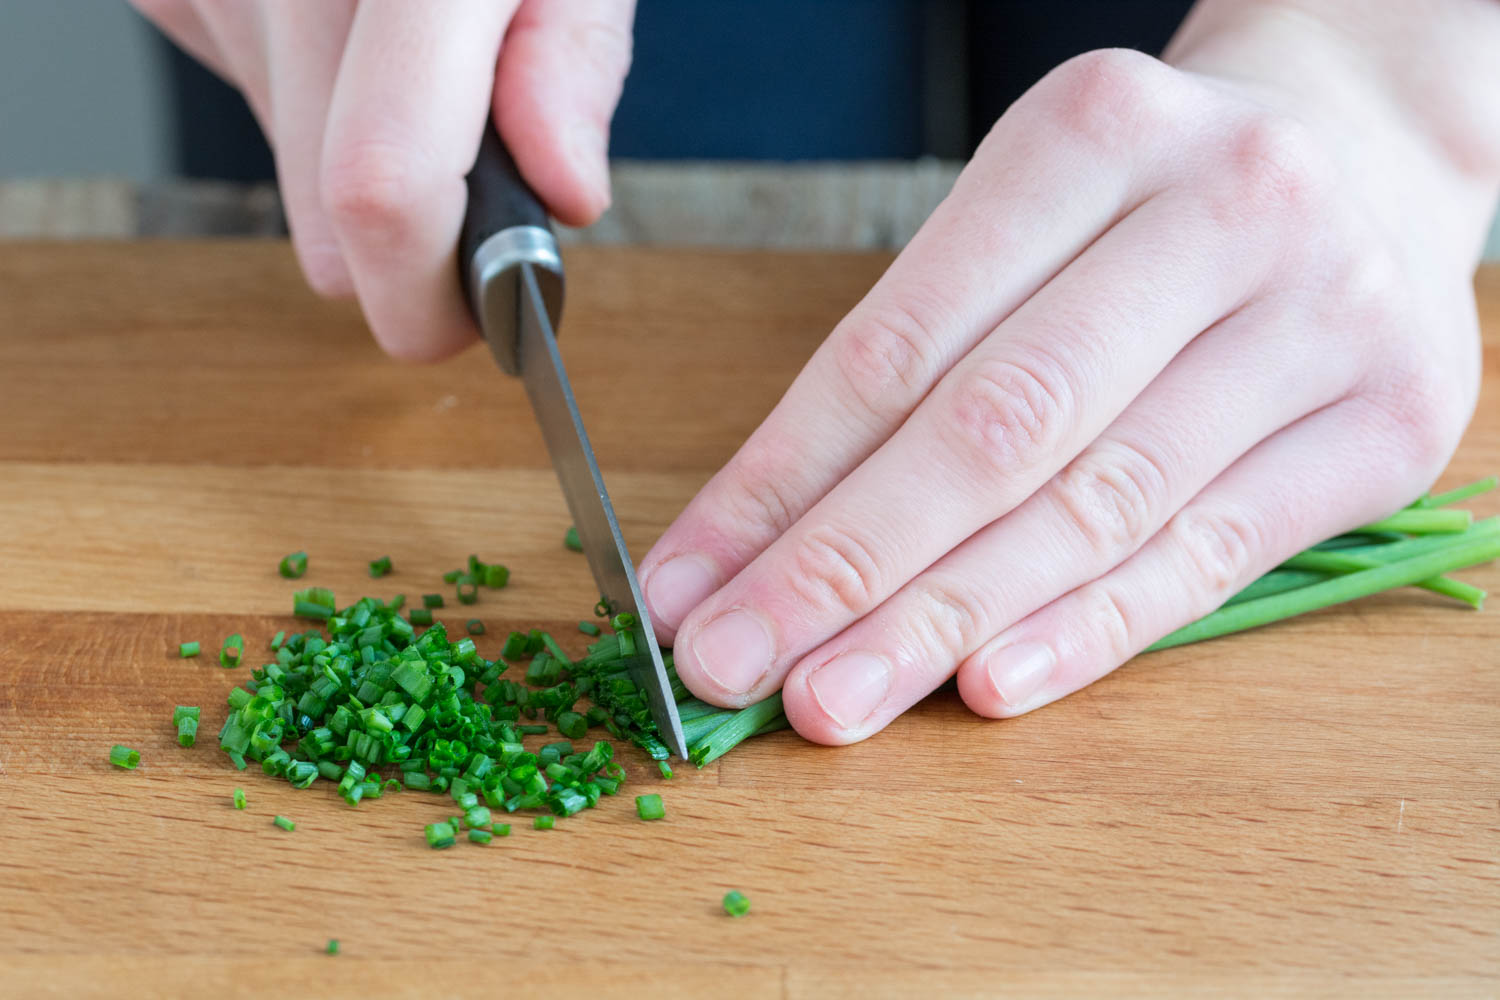
  • 1 Tbsp chopped chives

for the hummus:

  • 1 can of chickpeas (400g)
  • 1 Tbsp tahini (I used homemade tahini – here is the recipe)
  • 2 Tbsp lime juice
  • 3 Tbsp olive oil
  • 1 – 2 Tbsp water
  • ¼ tsp cumin
  • 1/8 tsp chili flakes
  • salt to taste

Method:

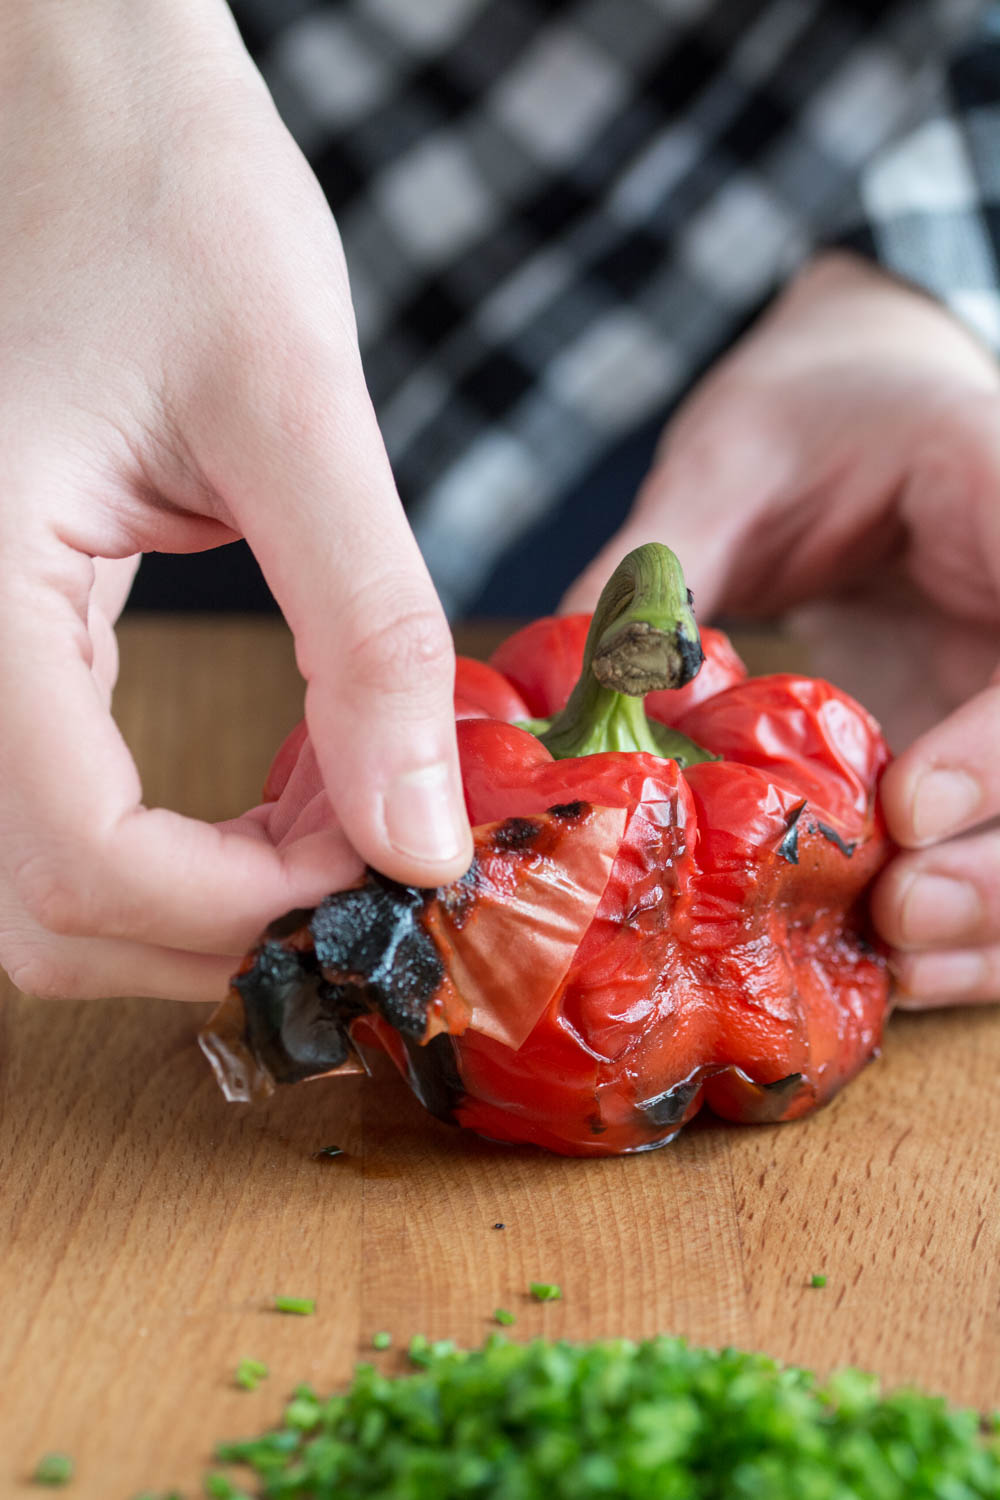
  1. Roast the red bell pepper. Take a metal disk, place it on the stove and roast the pepper on each side. Place the roasted pepper in a small saucepan and cover with a lid. After 10 minutes carefully peel the pepper. Remove the stem and the seeds, give it a quick wash and pat it dry with a paper towel. Slice it.
  2. Prepare the hummus. Drain the chickpeas using a colander and rinse it under cold water. Take about 8 – 10 chickpeas and gently squeeze them in your fingers to remove their skins. Proceed the same with the rest of the chickpeas – this step is optional.
  3. In the bowl of the food processor add the tahini and the lime juice and pulse until combined.
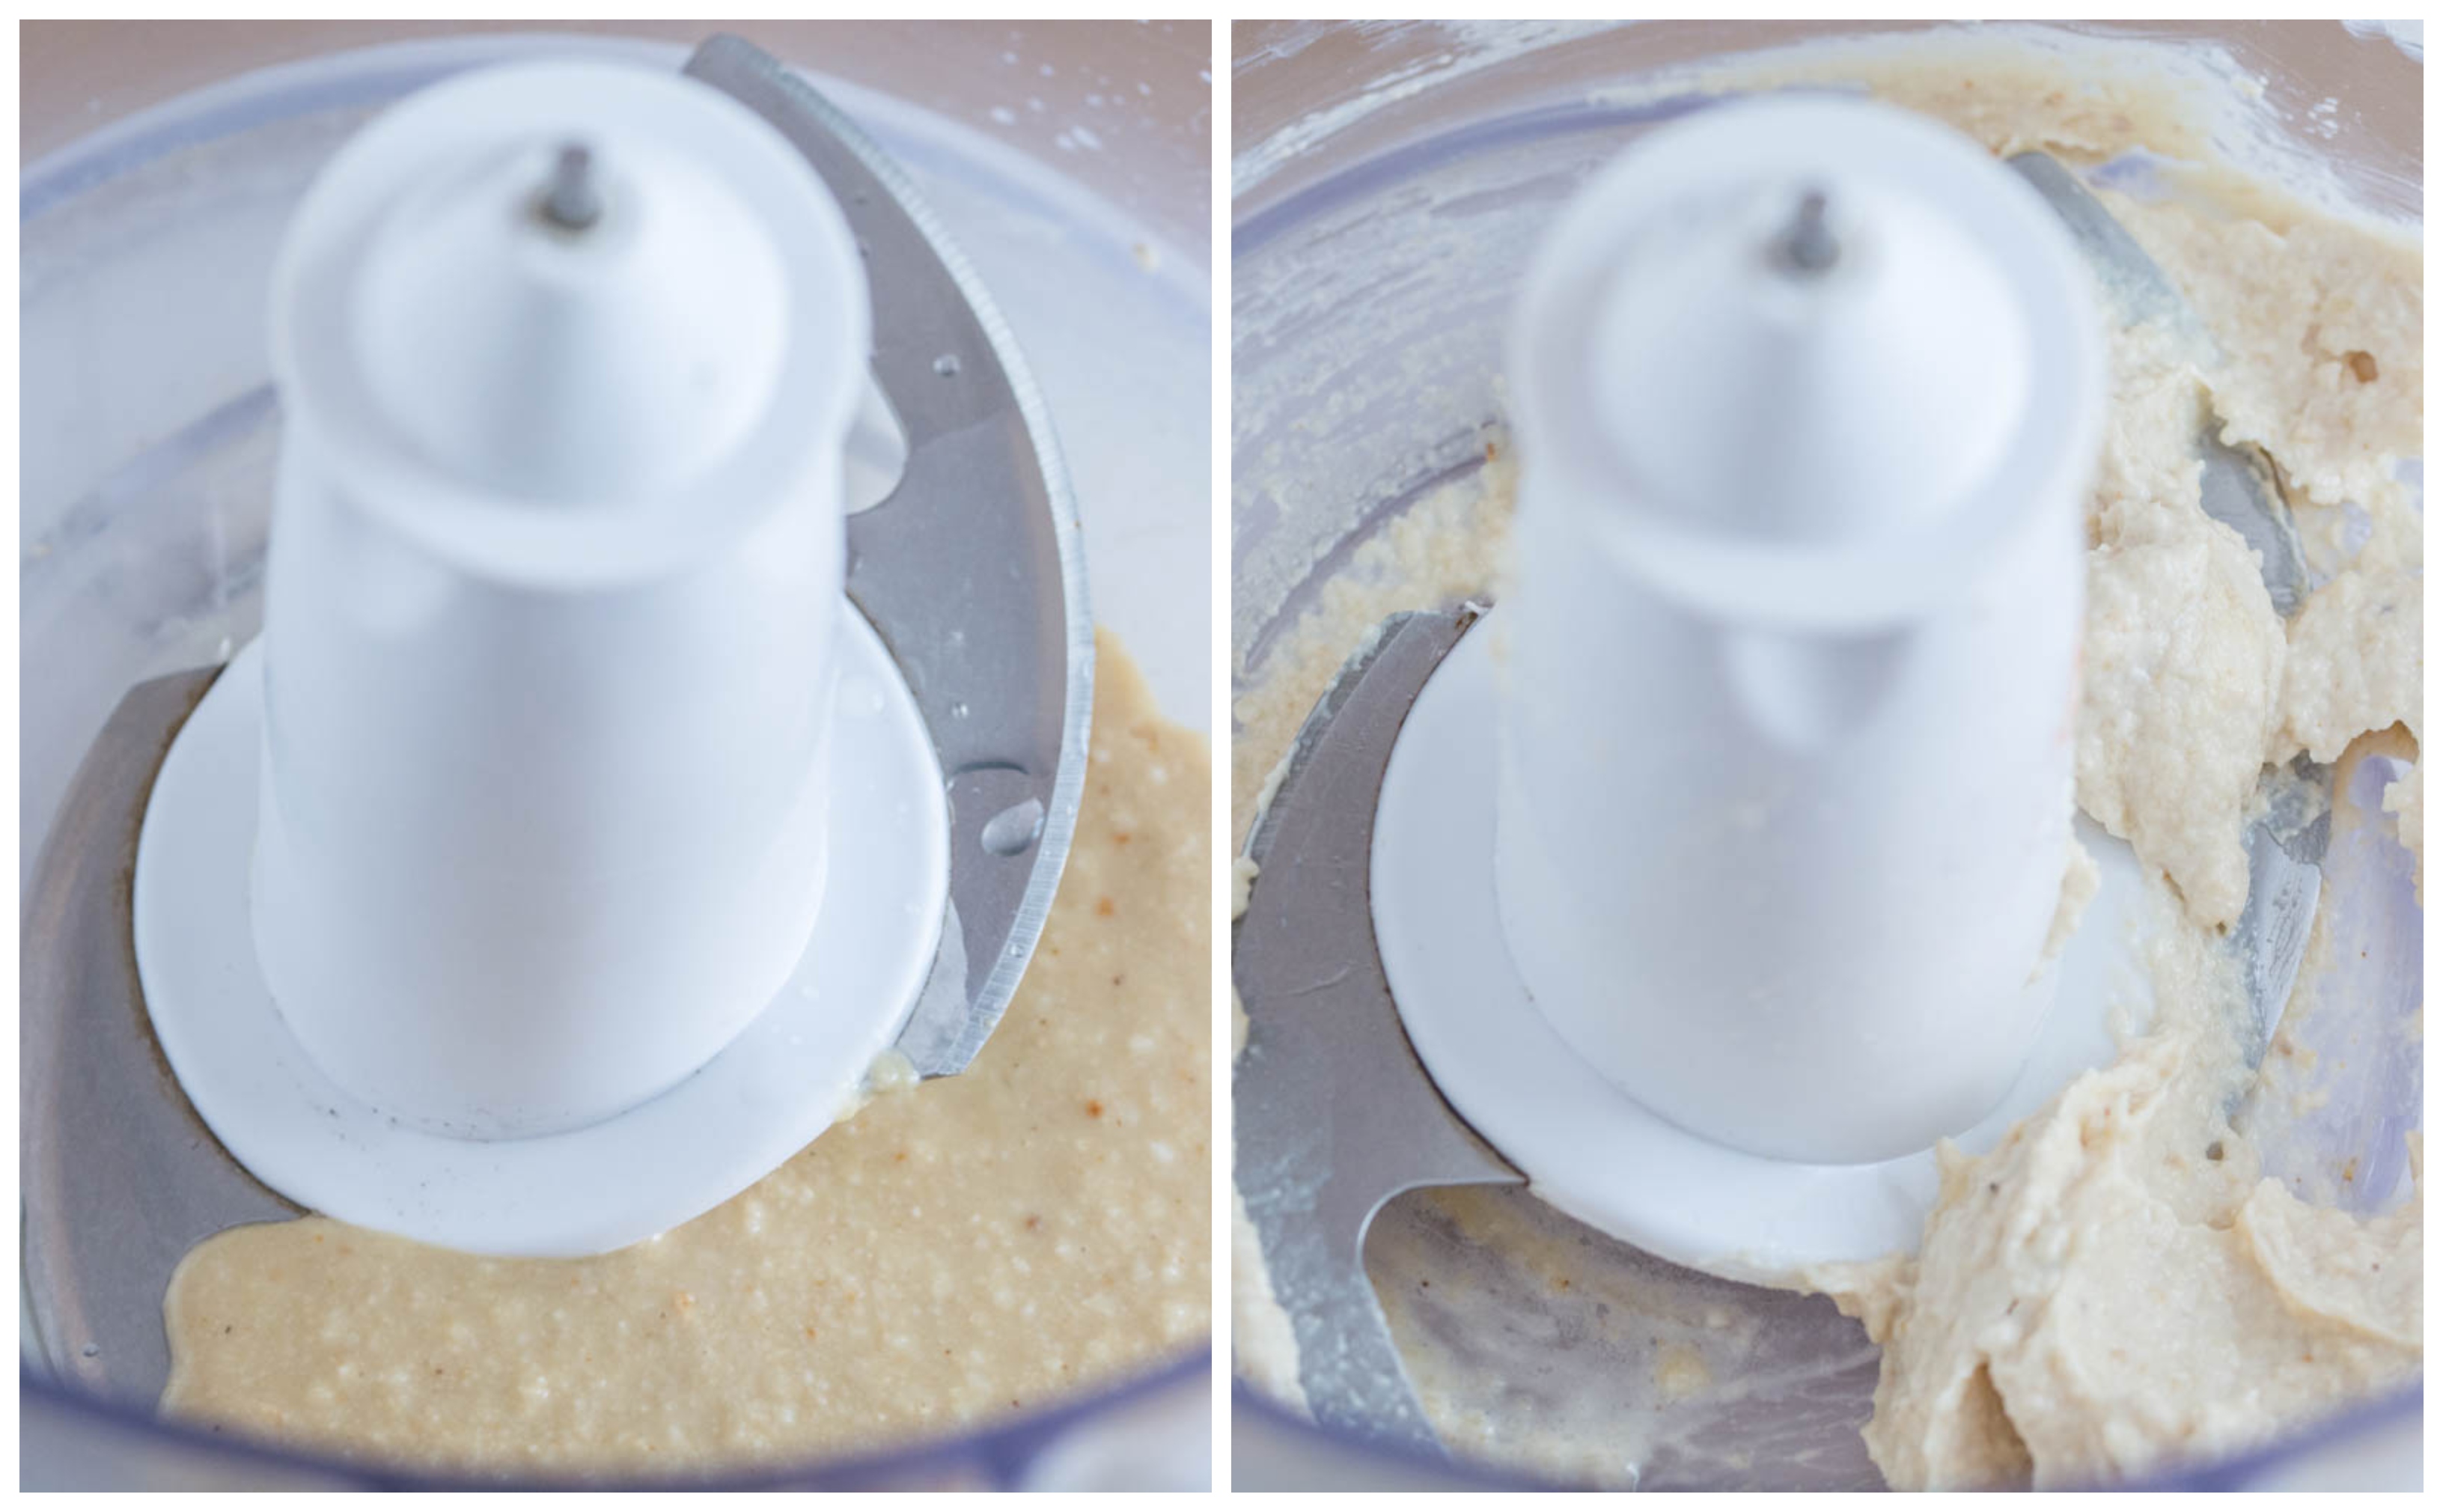
  4. Drizzle the olive oil 1 Tbsp at a time. Pulse until the mixture resembles to a mayonnaise.
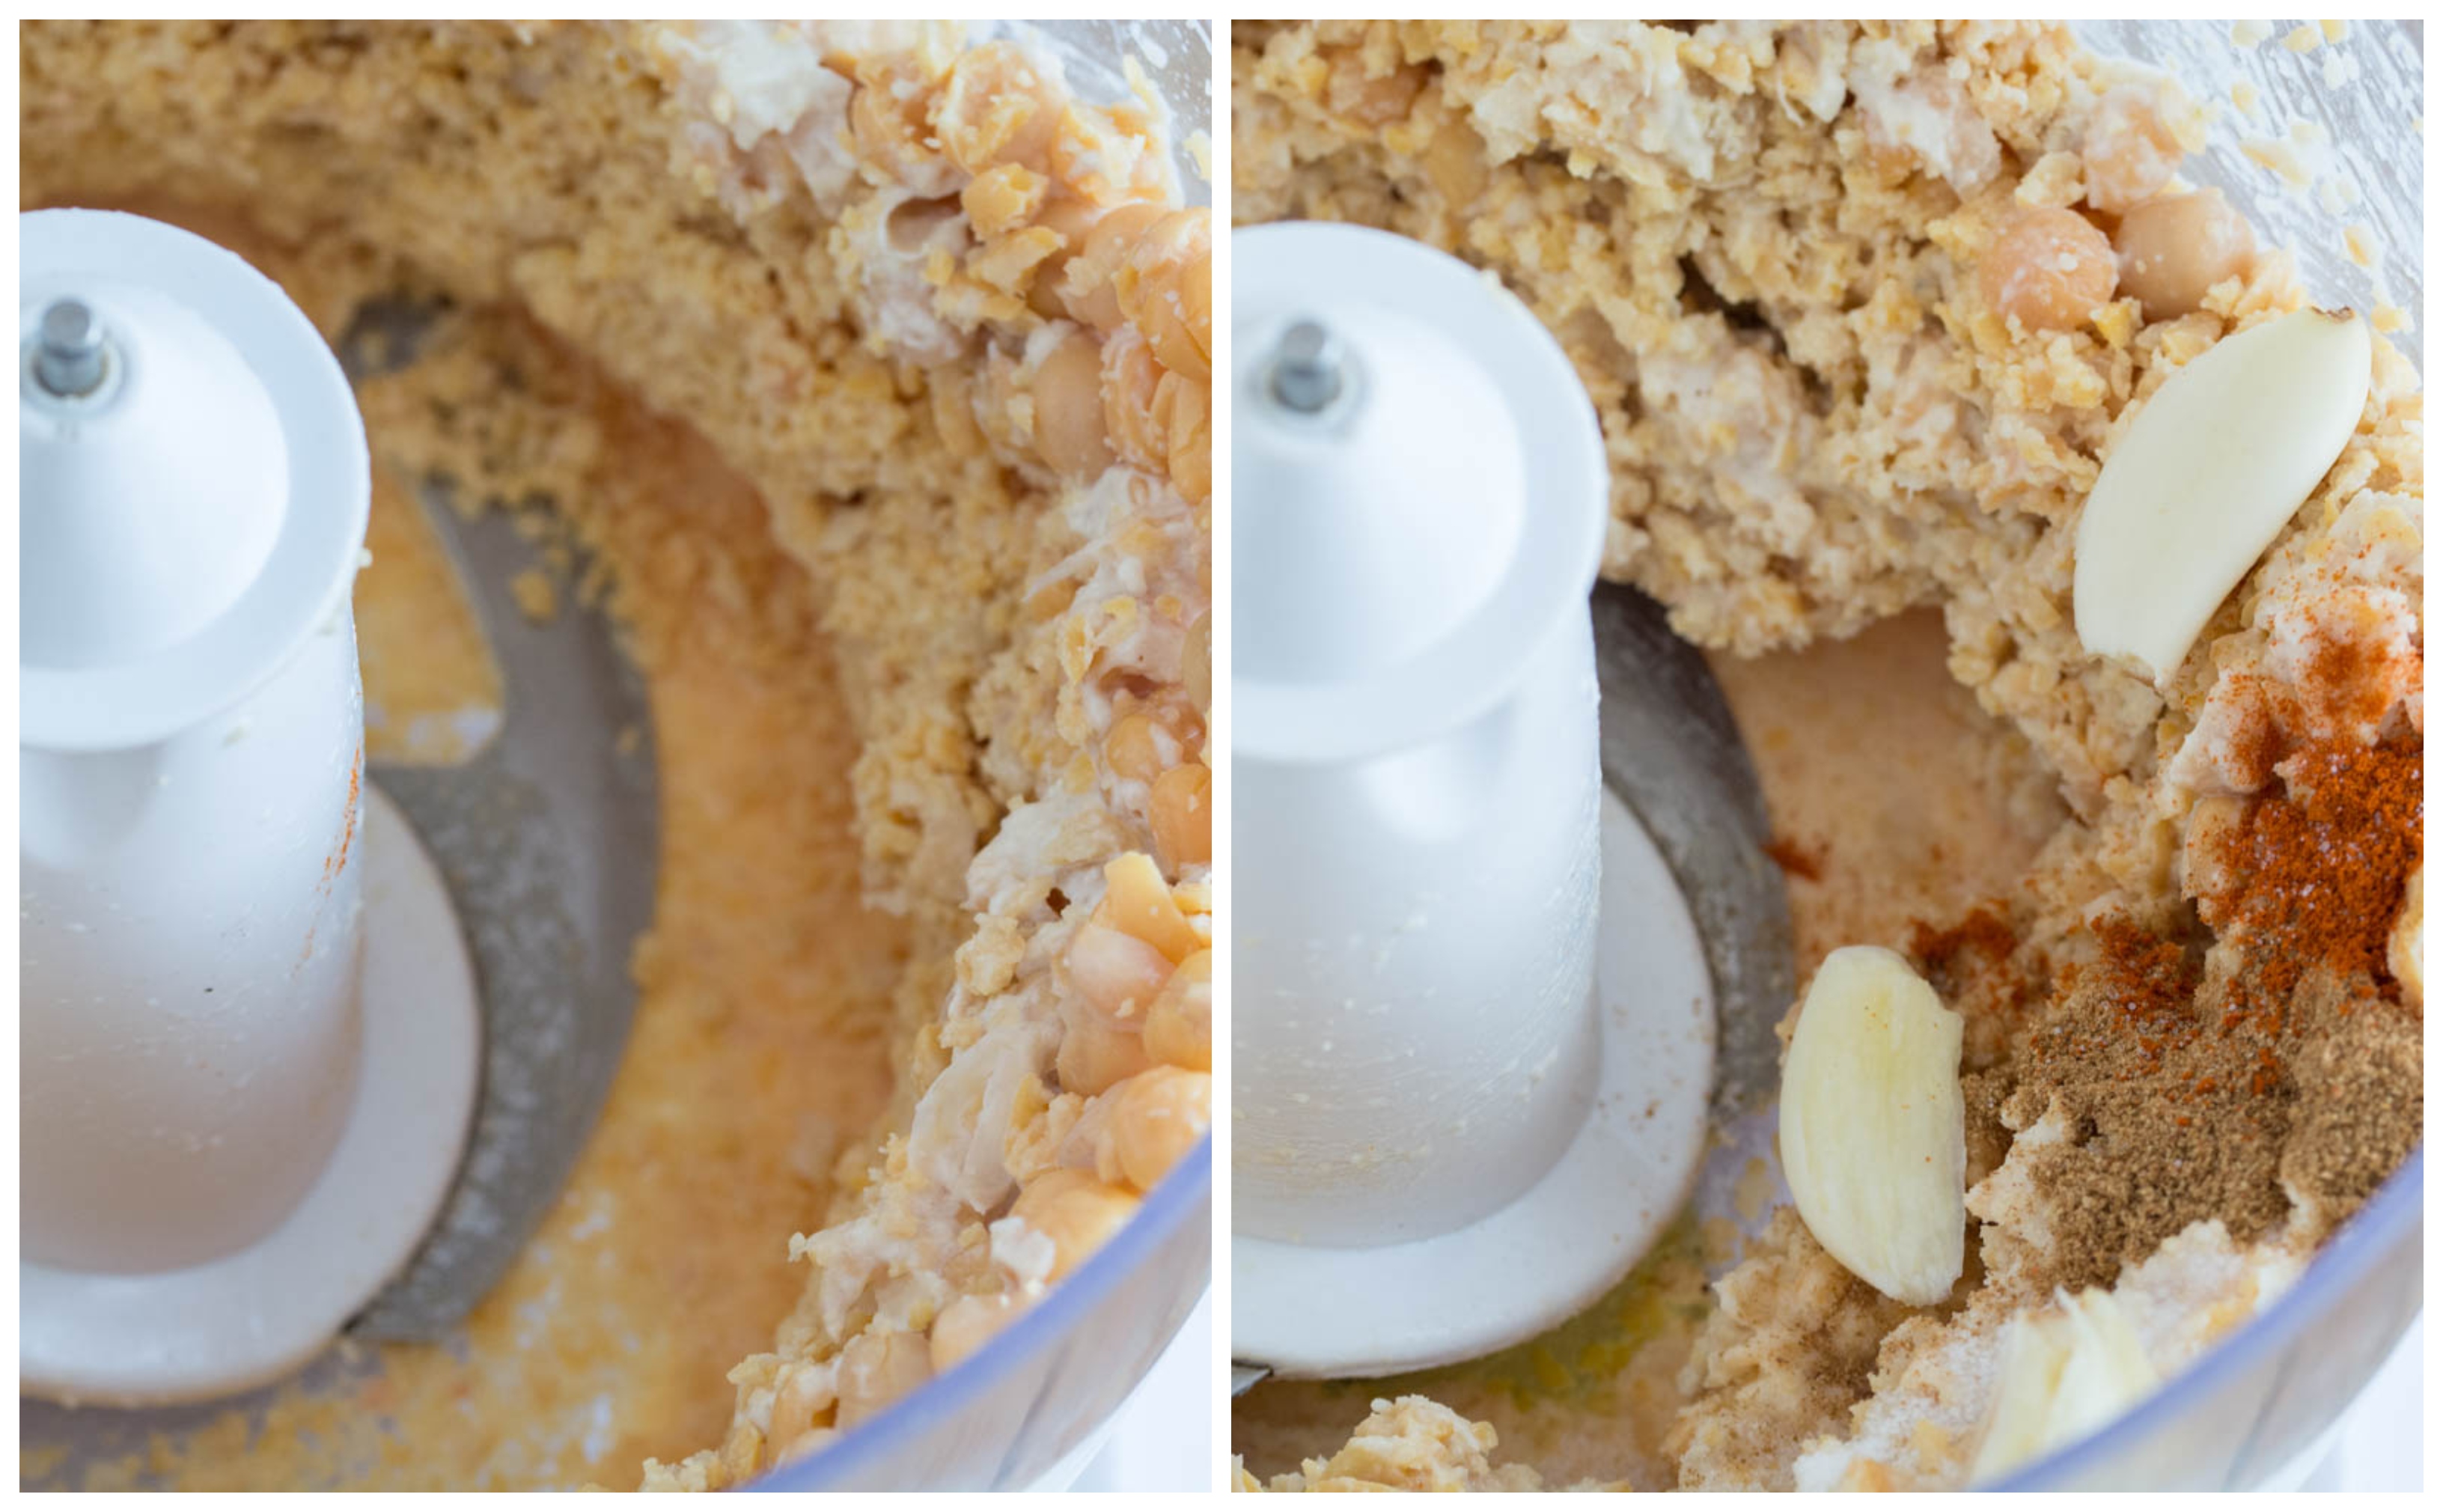
  5. Add the chickpeas and pulse until you form a paste, scraping down the sides of the bowl with a spatula.
  6. Add the spices (cumin, chili flakes and salt). Add 1 Tbsp of water and process. Add more water until you reach the desired consistency. Spoon it into a bowl and drizzle some olive oil on top.
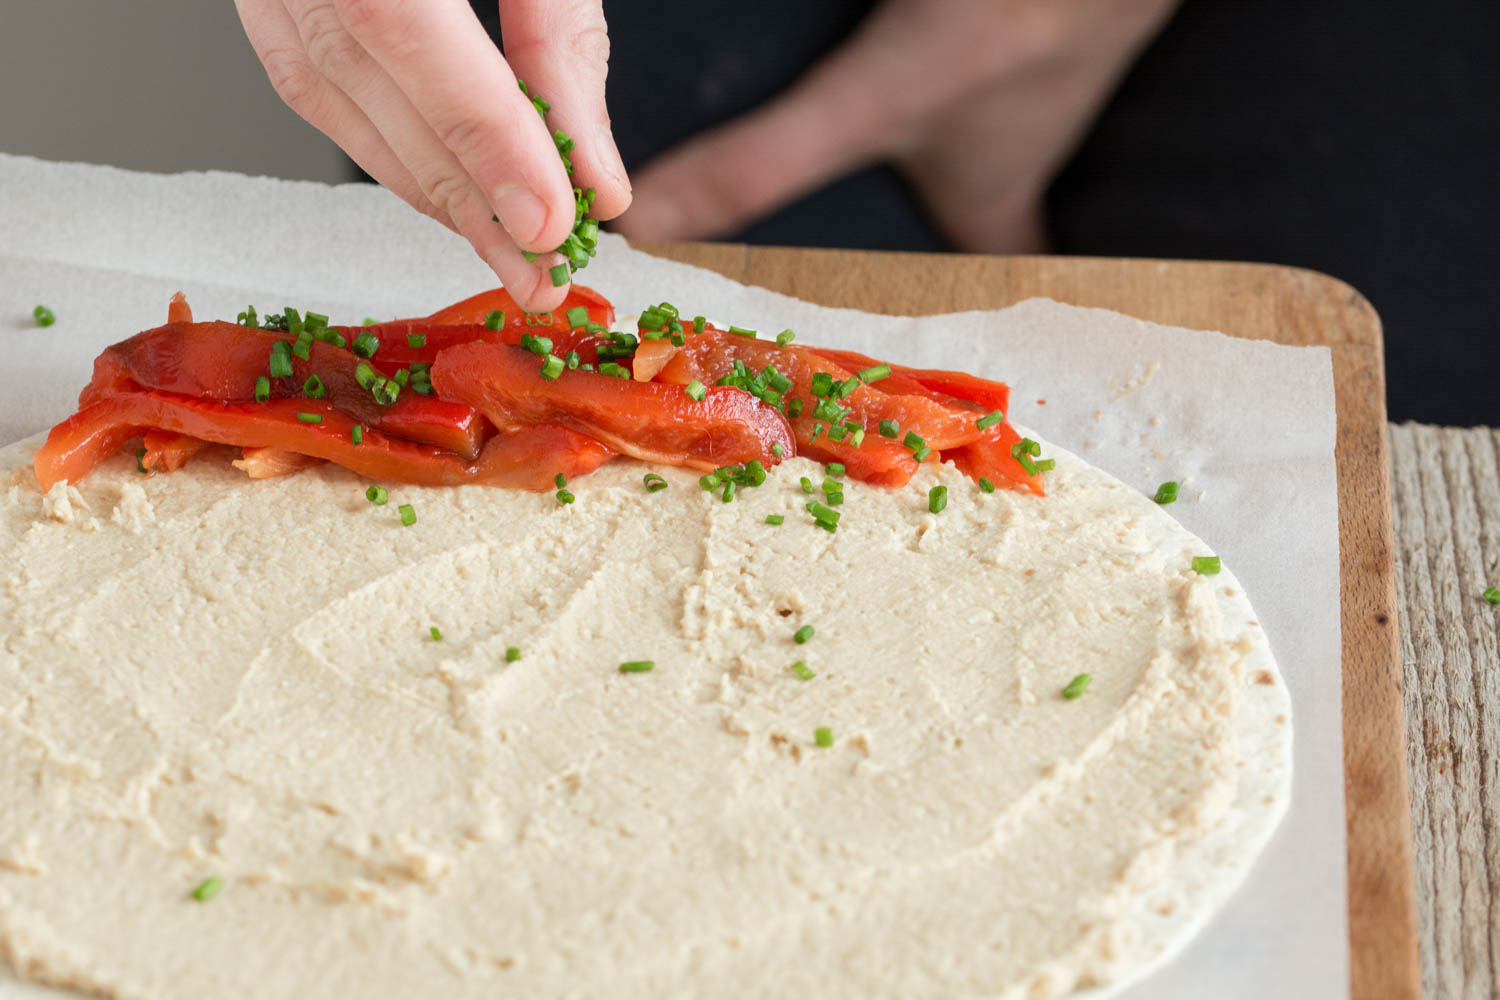
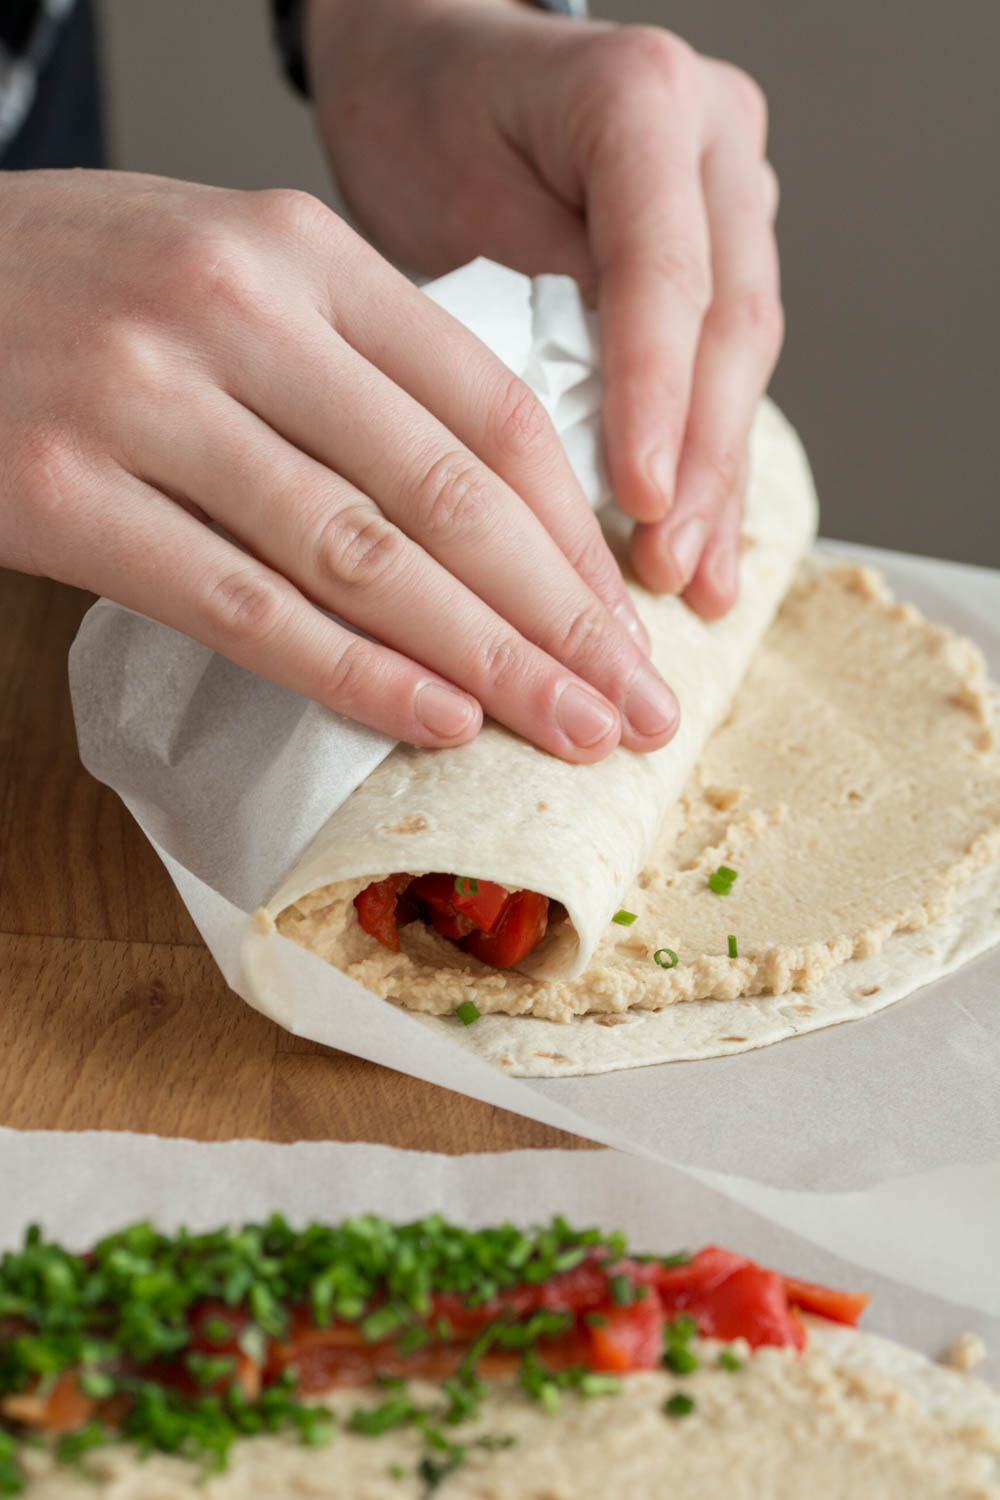
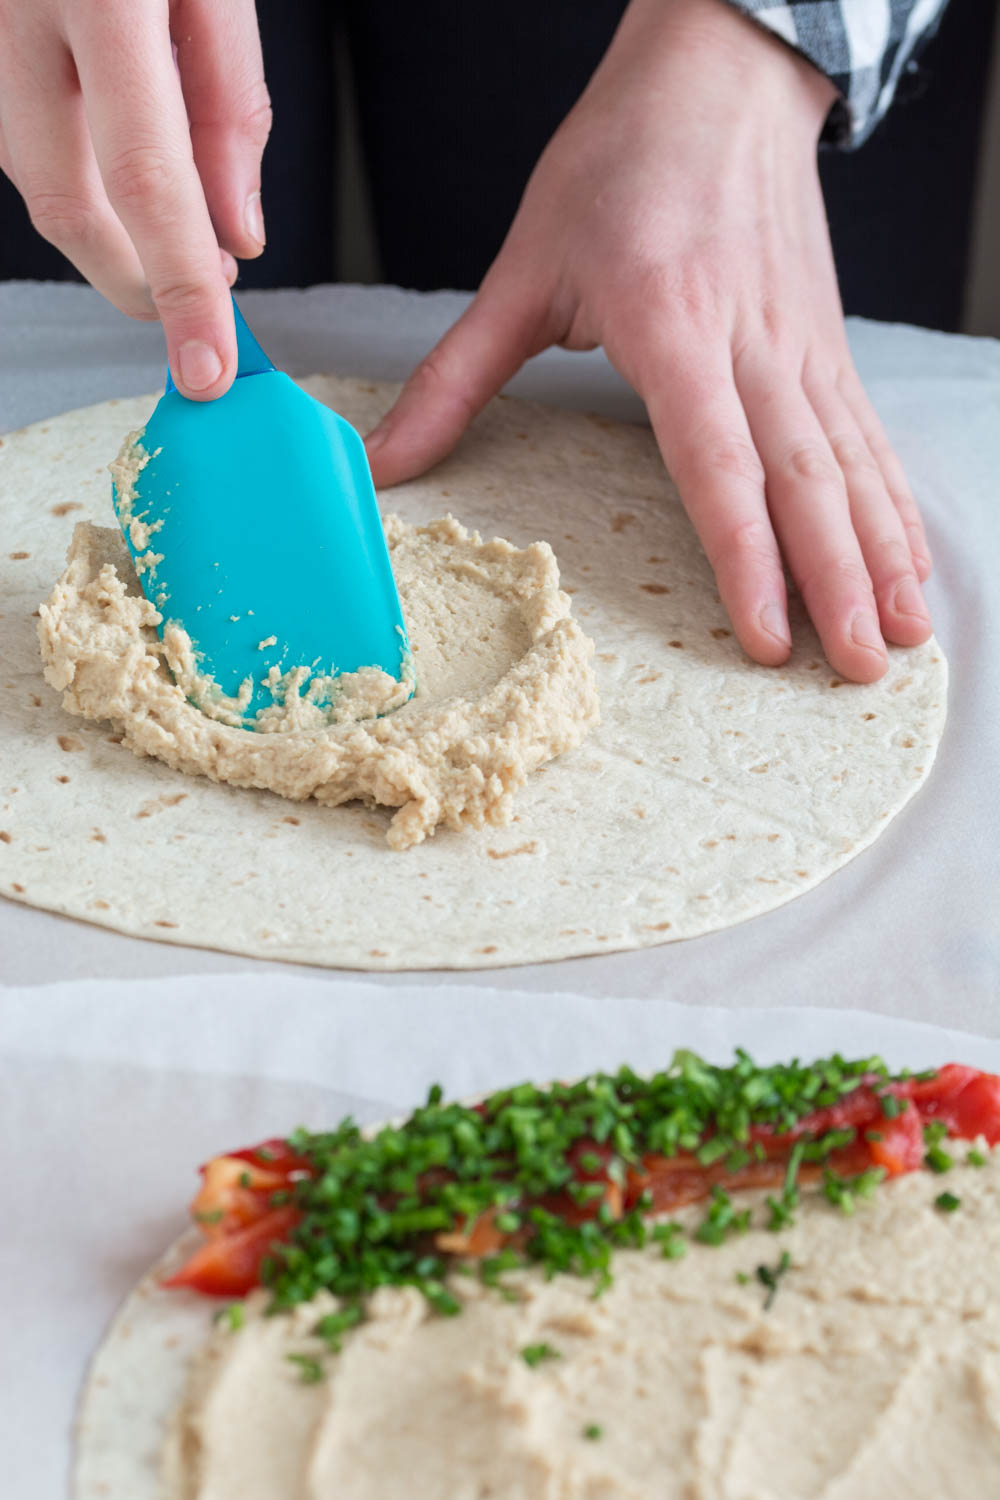
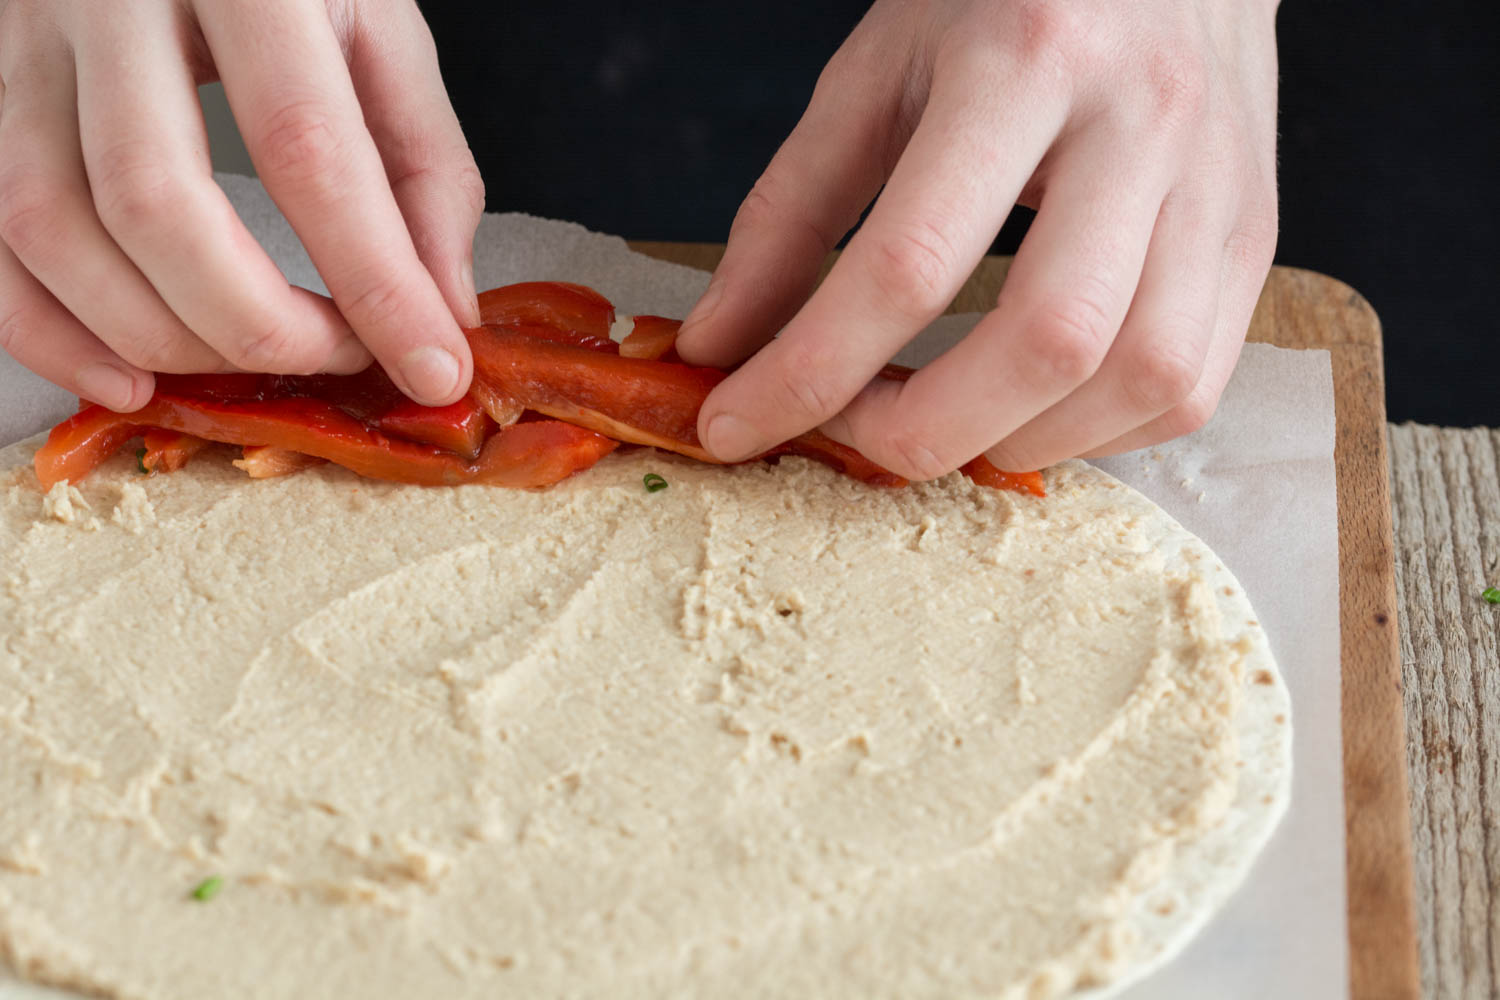
  7. Assemble the wrap. Take both flatbread and place each one on a different square of parchment paper. Divide the hummus between the two flatbreads and spread it into a fine layer. Place half of the pepper slices on one side and sprinkle them with ½ Tbsp of chopped chives. Using the parchment paper, starting from the side with the peppers, start rolling the flatbread as tight as possible. Process the same with the second flatbread and wrap tightly each roll with the parchment paper. Refrigerate for at least 1 hour before slicing.
  8. Serving and leftovers. Slice the wrap into 3cm thick slices and serve. Wrap the leftovers (if any) in cling film and refrigerate for up to 2 days.

Roasted Red Pepper Pasta (Vegan)

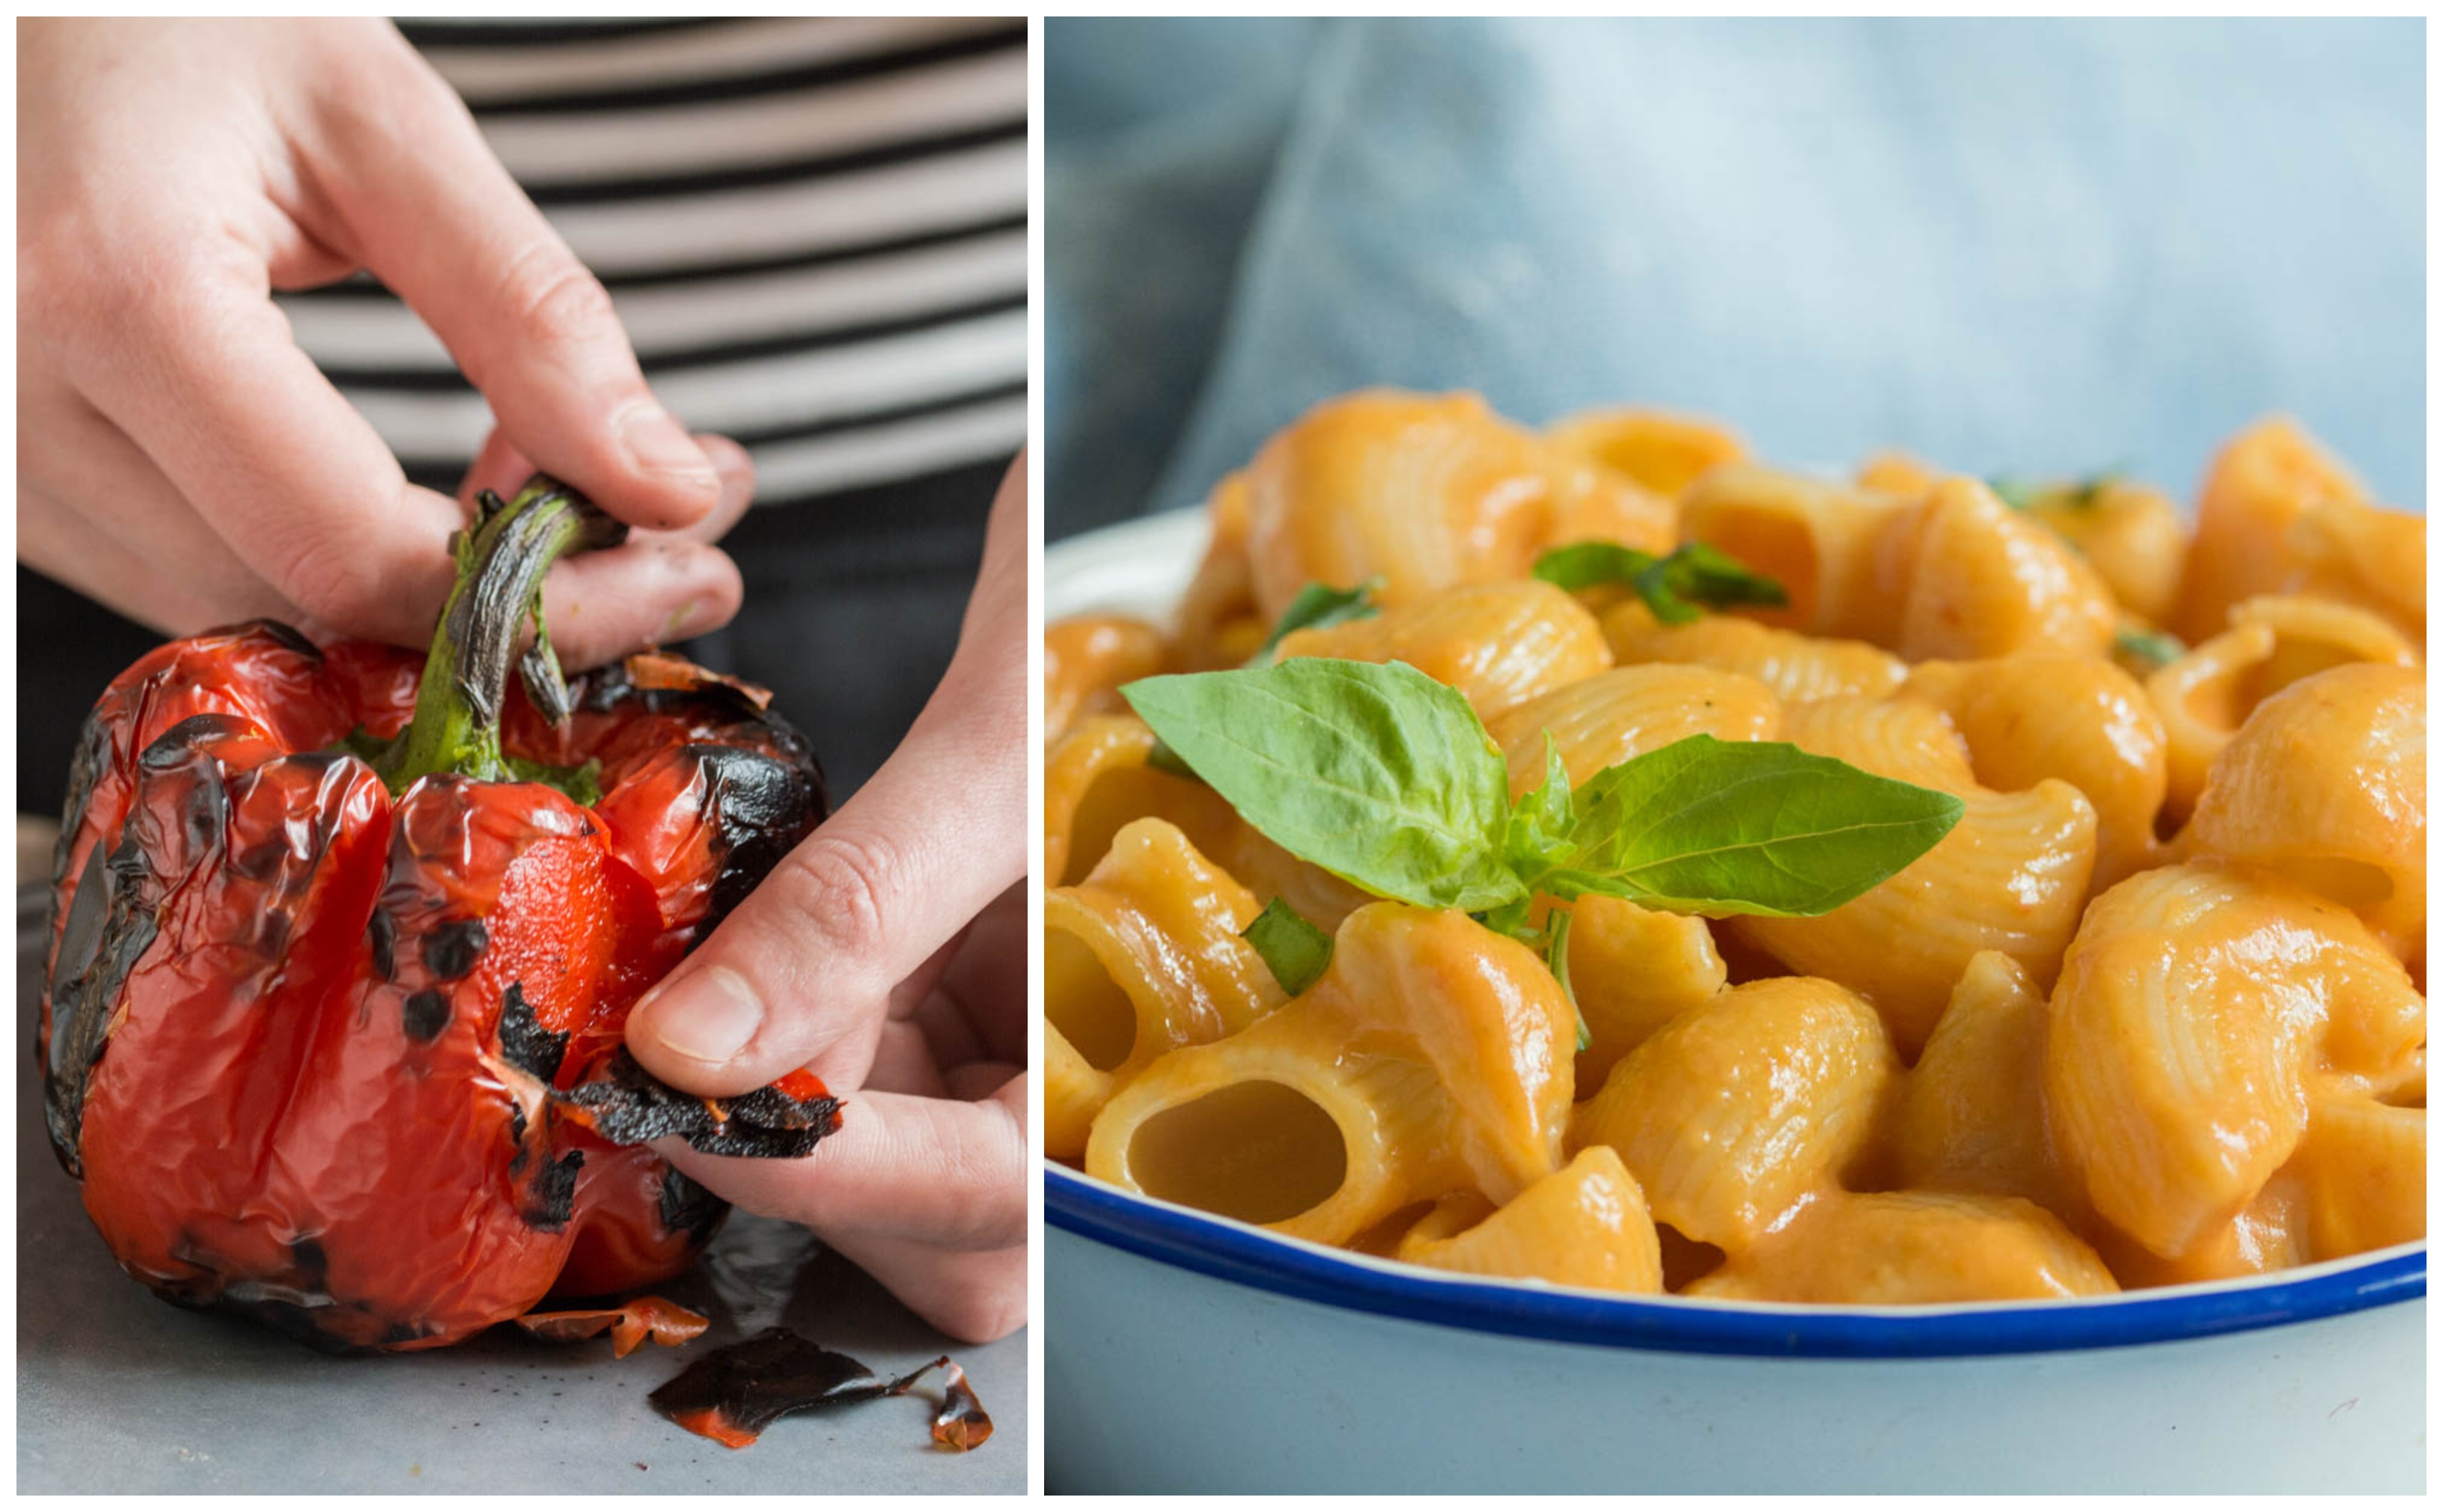
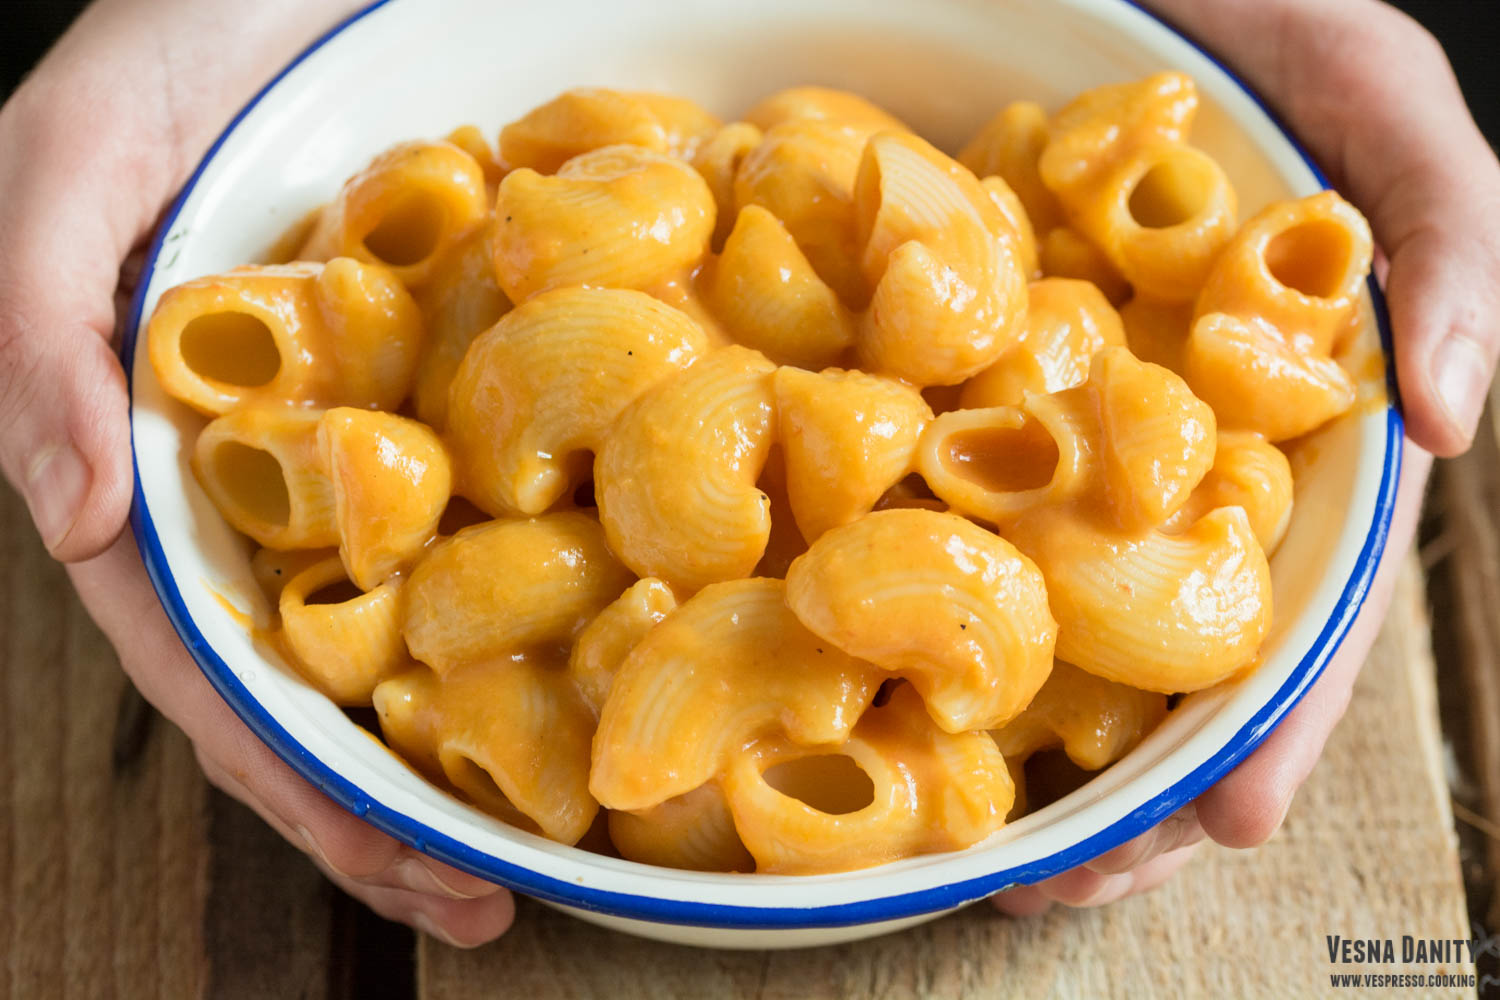
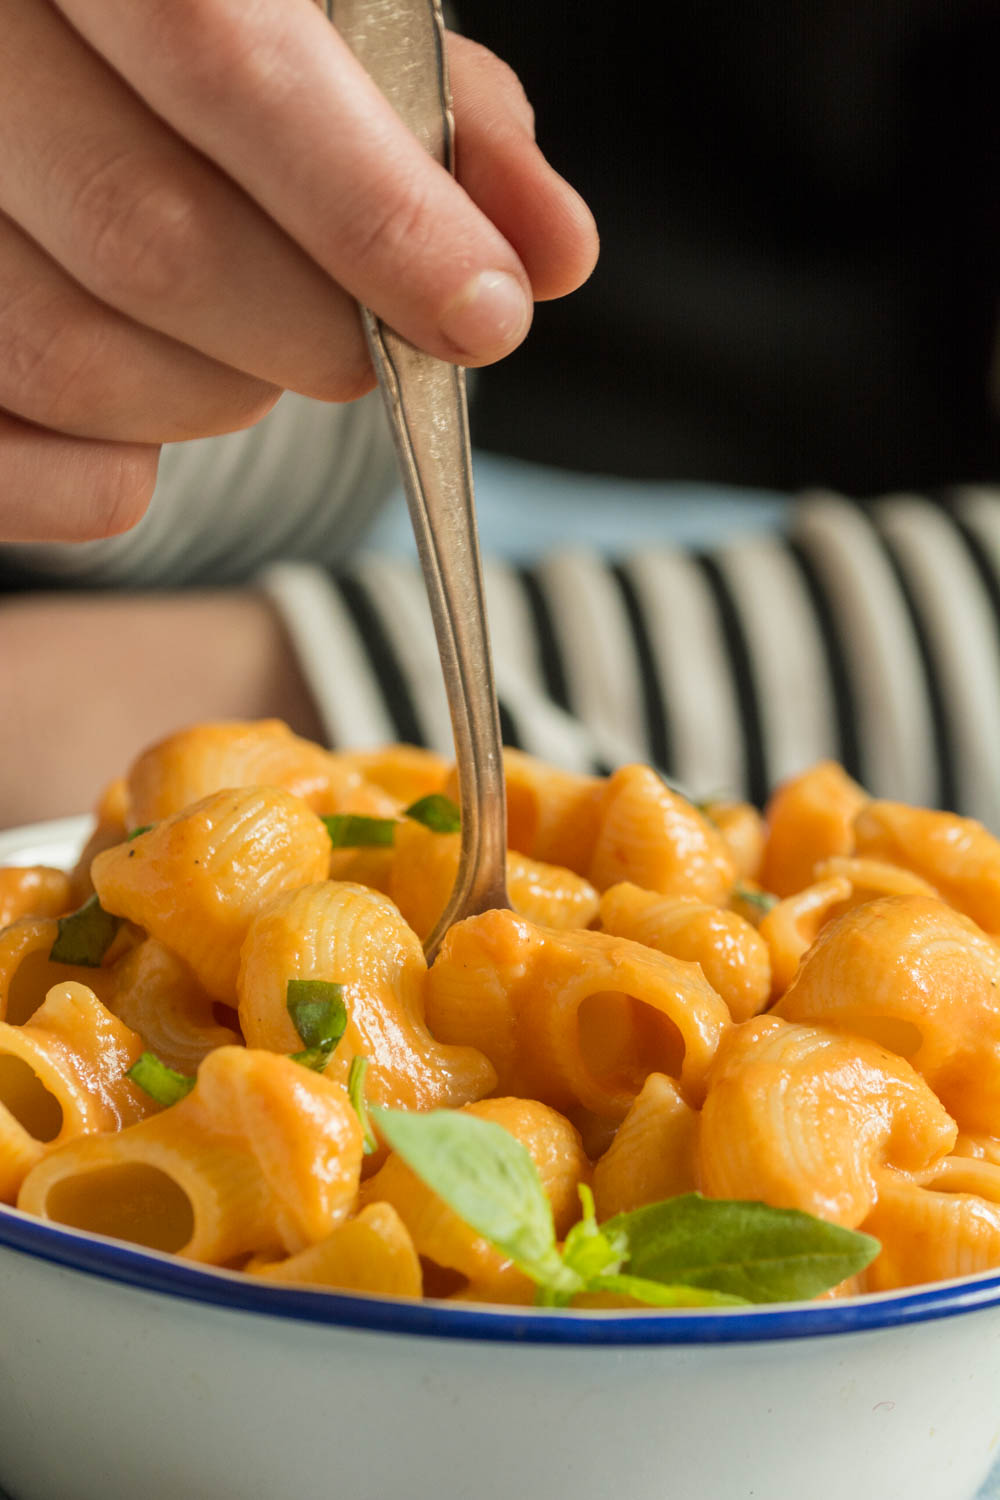
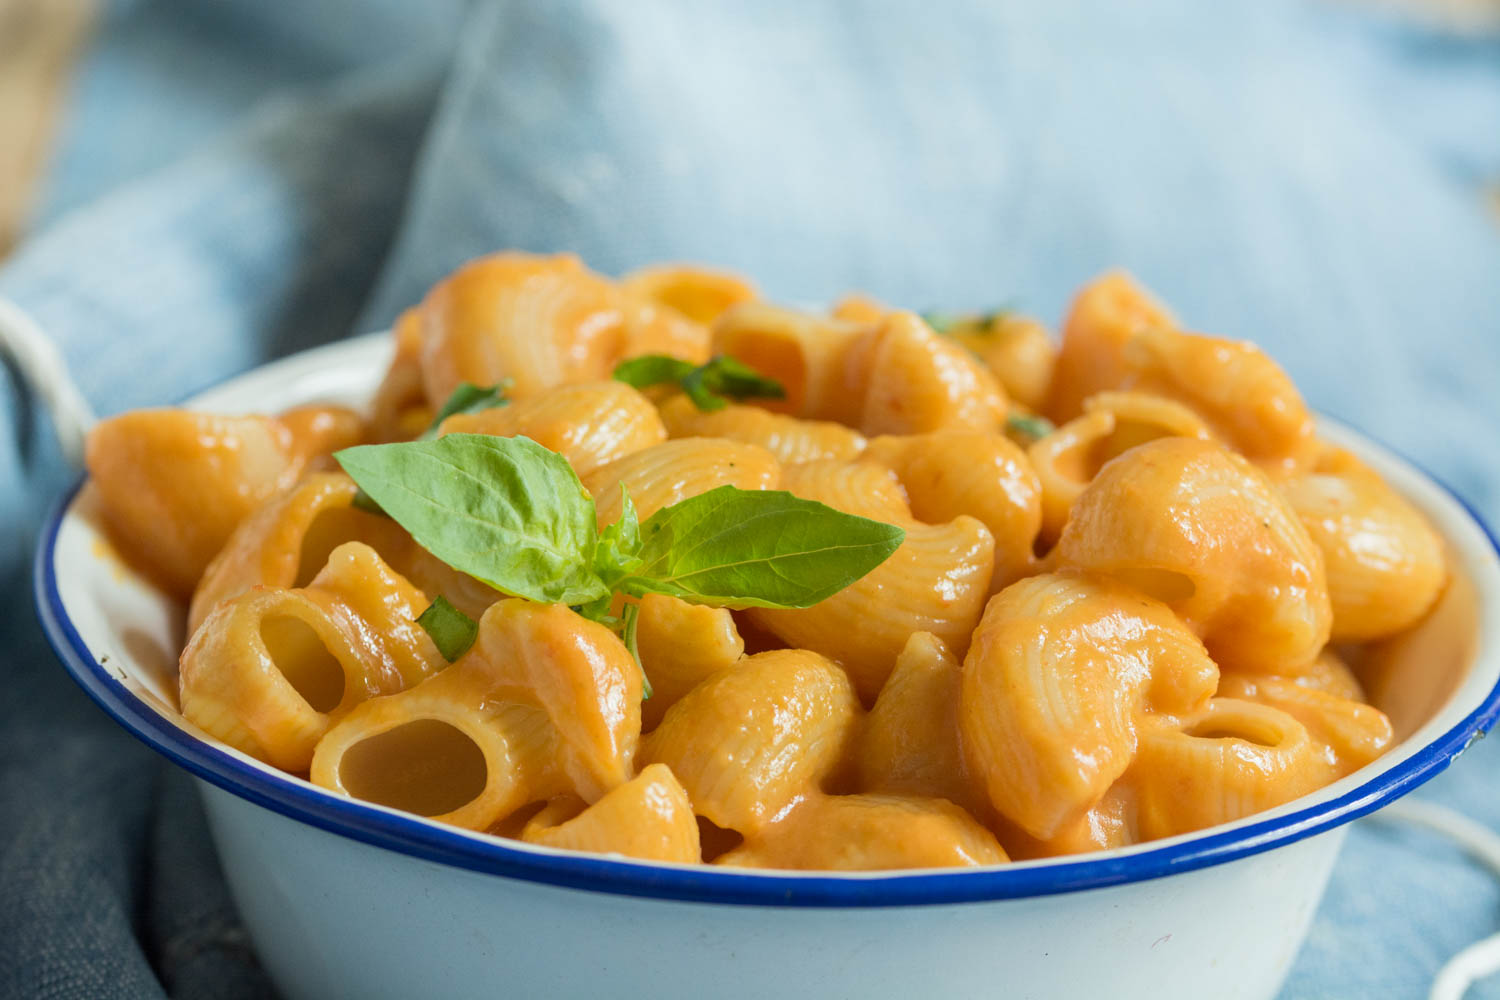
This creamy and spicy roasted pepper pasta are the ideal option on those busy evenings when time isn’t precisely your friend. With some basic organisational skills, this dish is ready in less than 1 hour. While the water boils, the peppers are being roasted and while the pasta is being cooked, the sauce simmers on the stove. I find that pipe rigate are the perfect option for this type of sauce. Once mixed with the sauce, this type of pasta captures the creamy sauce and you get to enjoy that decadent sauce with every bite. Simply amazing…

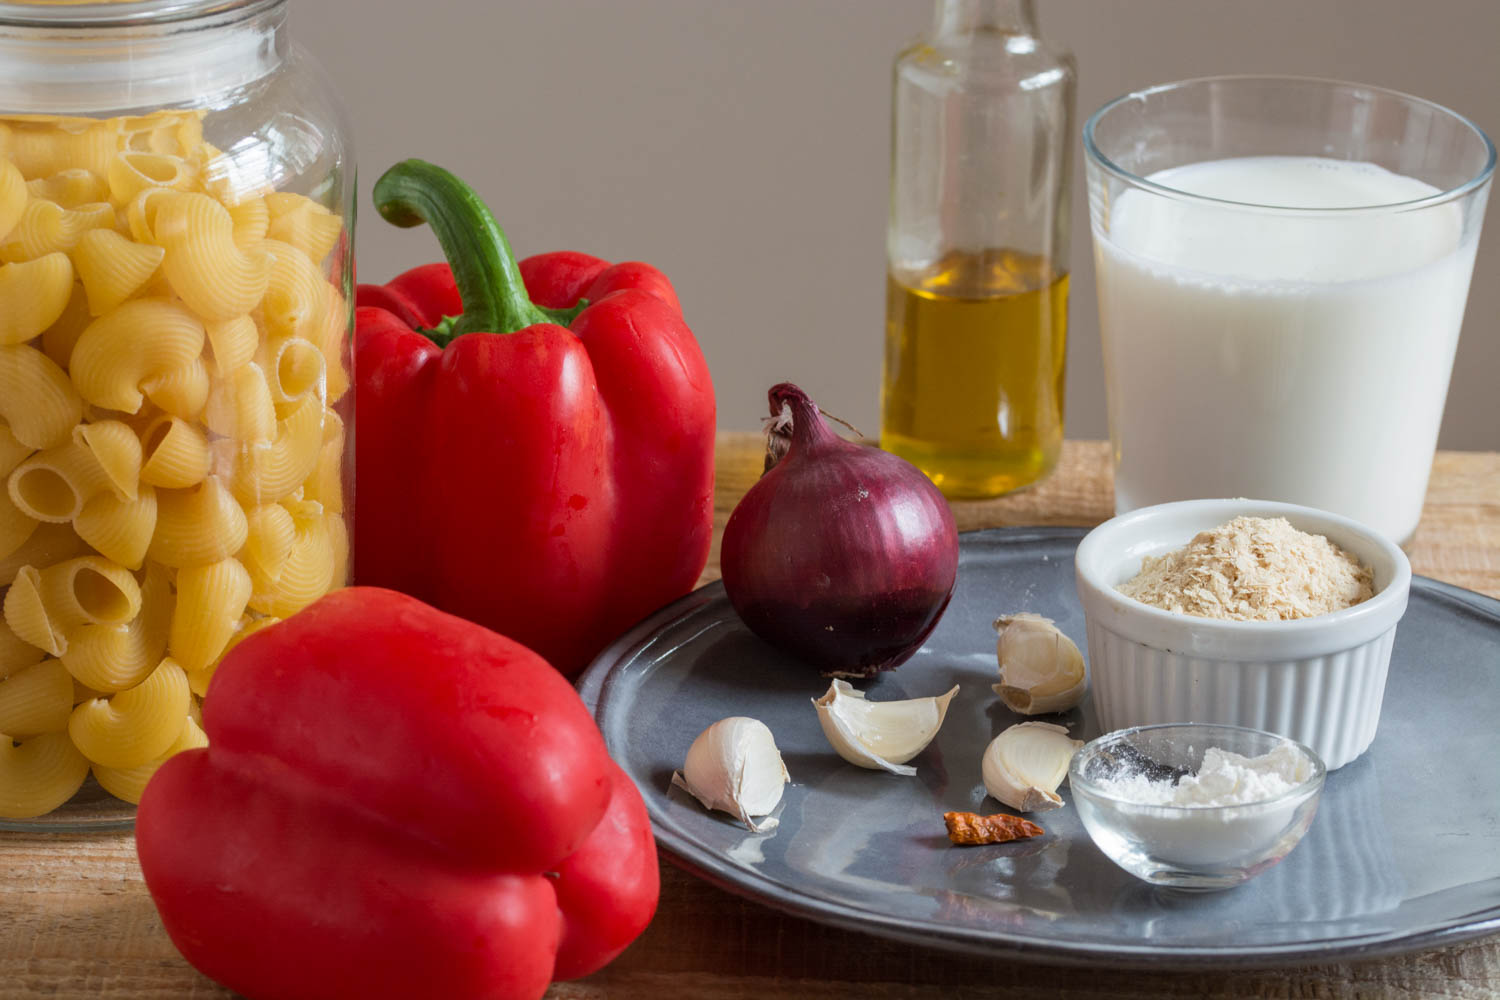
Ingredients (for 4 servings):

for the sauce:

  • 2 large red bell peppers
  • 360ml almond milk
  • 1 medium red onion
  • 4 garlic cloves
  • 3 Tbsp active dry yeast
  • 1 ½ tsp corn starch
  • 1 ‘bird’s eye’ dried chili
  • salt and pepper to taste

for serving:

  • 350g dry pipe rigate
  • fresh basil leaves
  • active dry yeast

Method:

  1. Pasta. Cook the pasta according to the instructions on the package. Drain them using a colander and cool them under cold tap water. Drain them very well and place them in a large bowl.
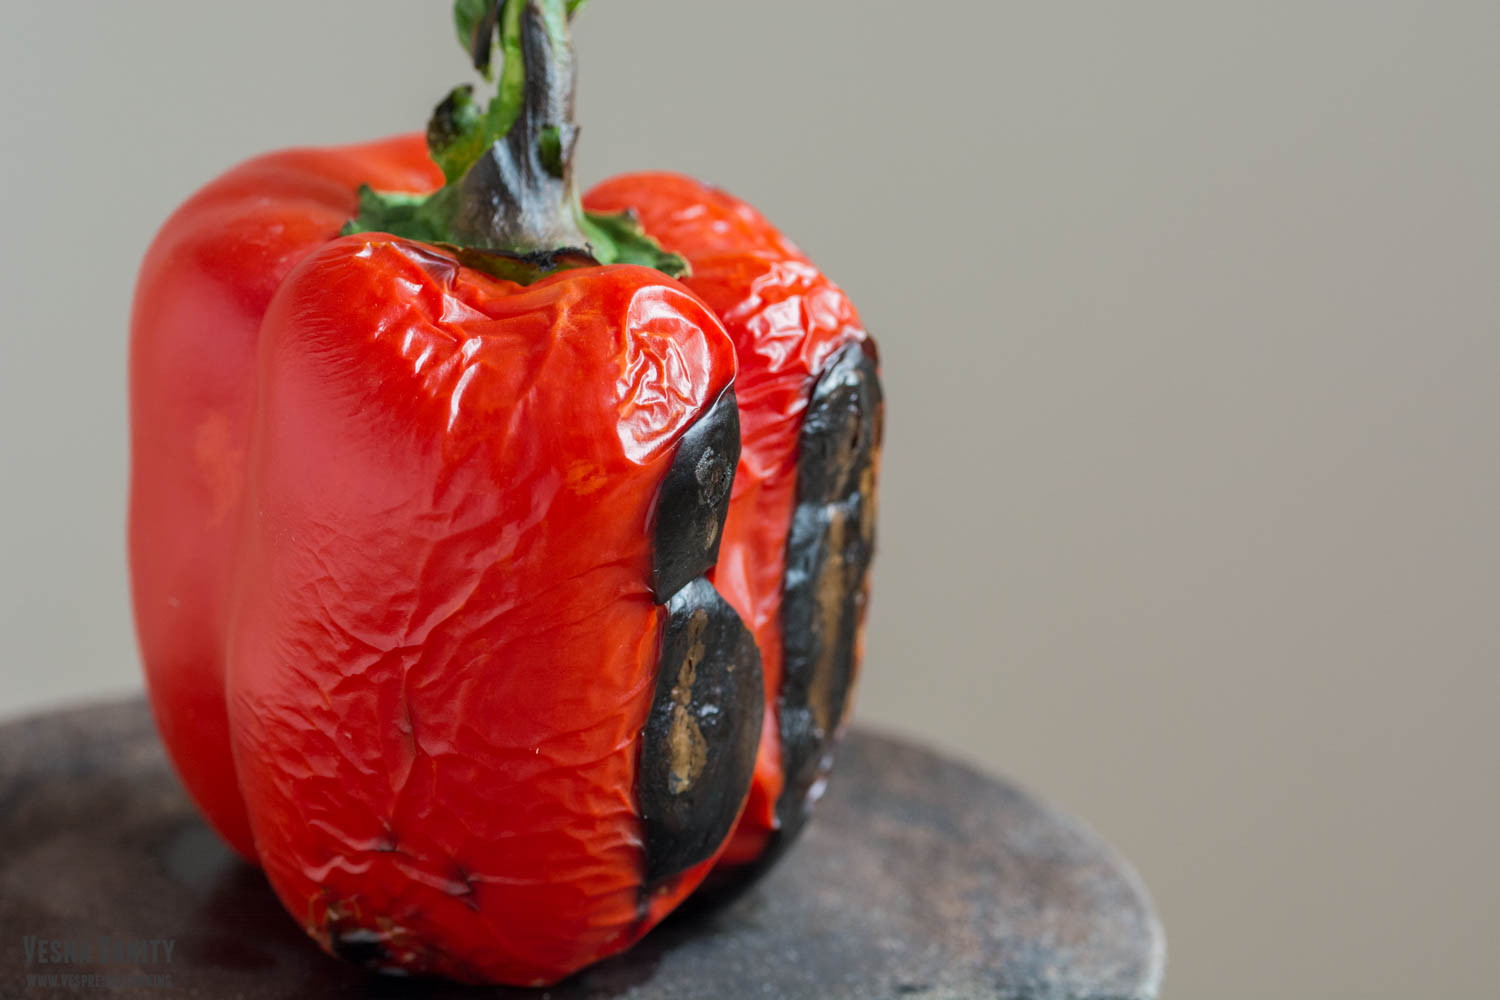
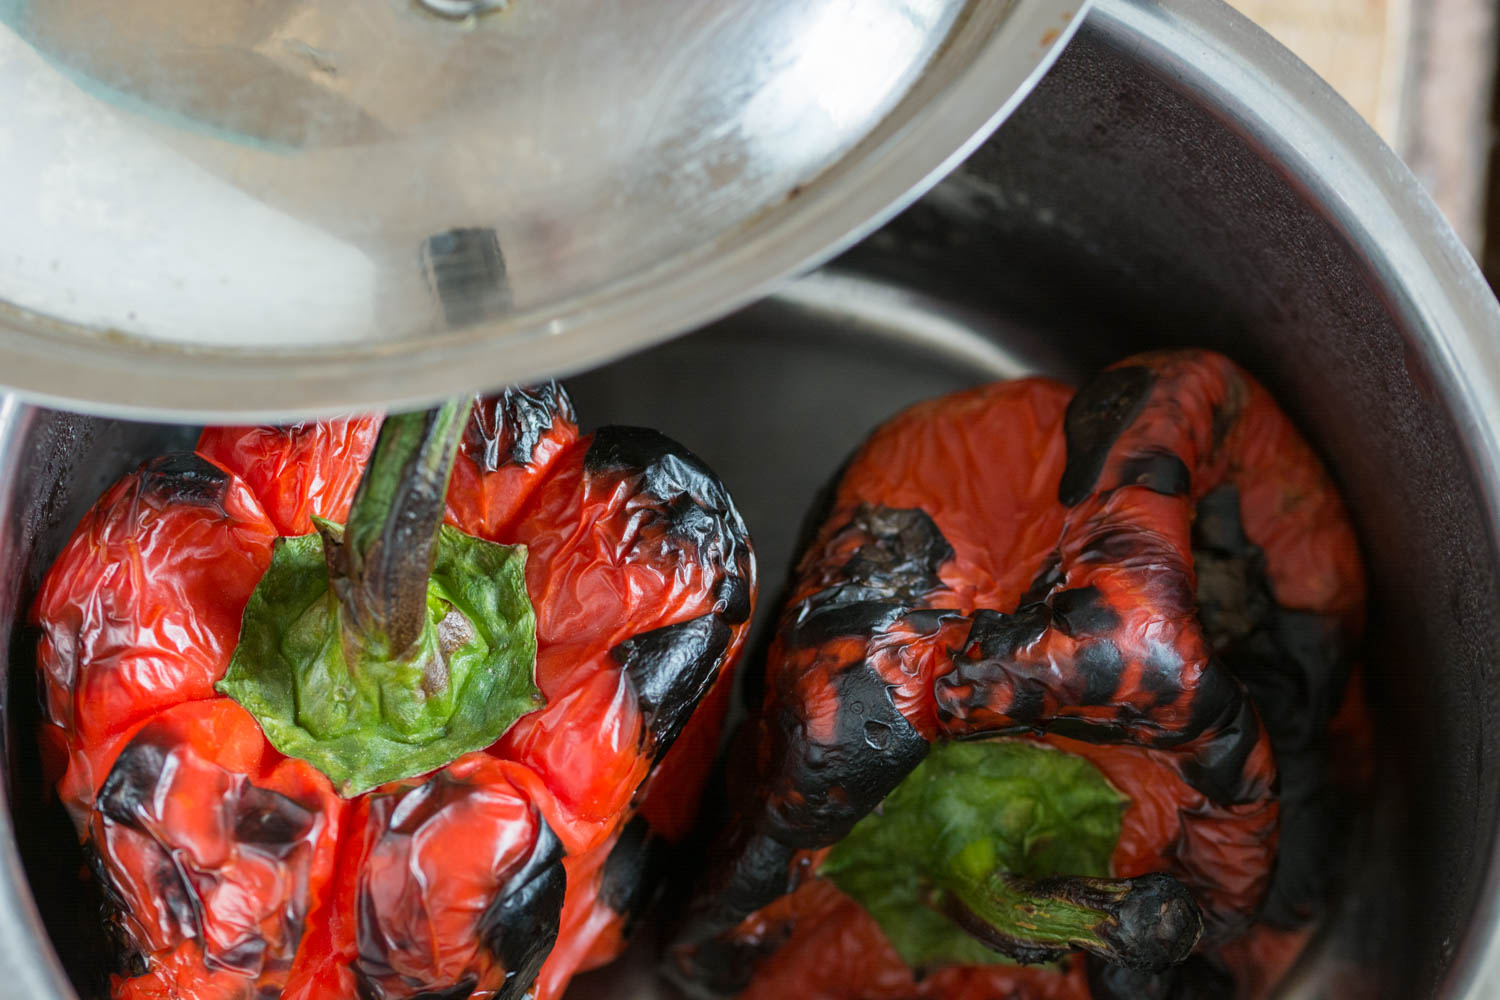
  2. Roast the peppers. While the water boils, take a metal disk, place it on the stove and roast the peppers on each side. Place the roasted pepper in a small saucepan and cover with a lid. Proceed the same with the second pepper.
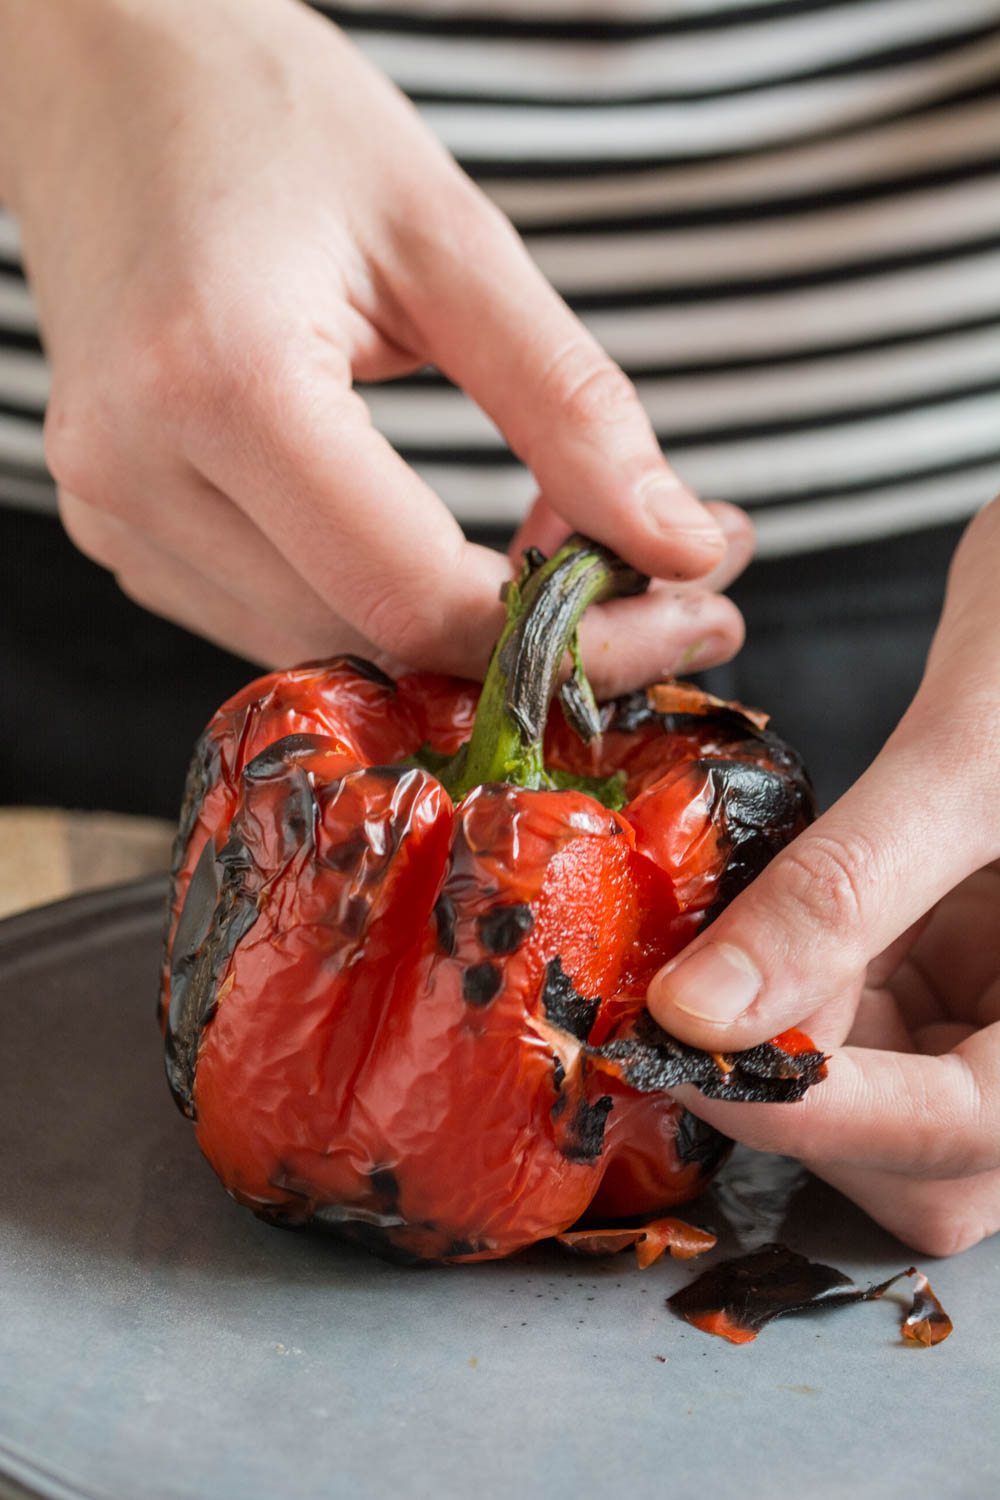
  3. Peel the peppers. Carefully peel each pepper. Remove the stem and the seeds, give them a quick wash and pat them dry with a paper towel.
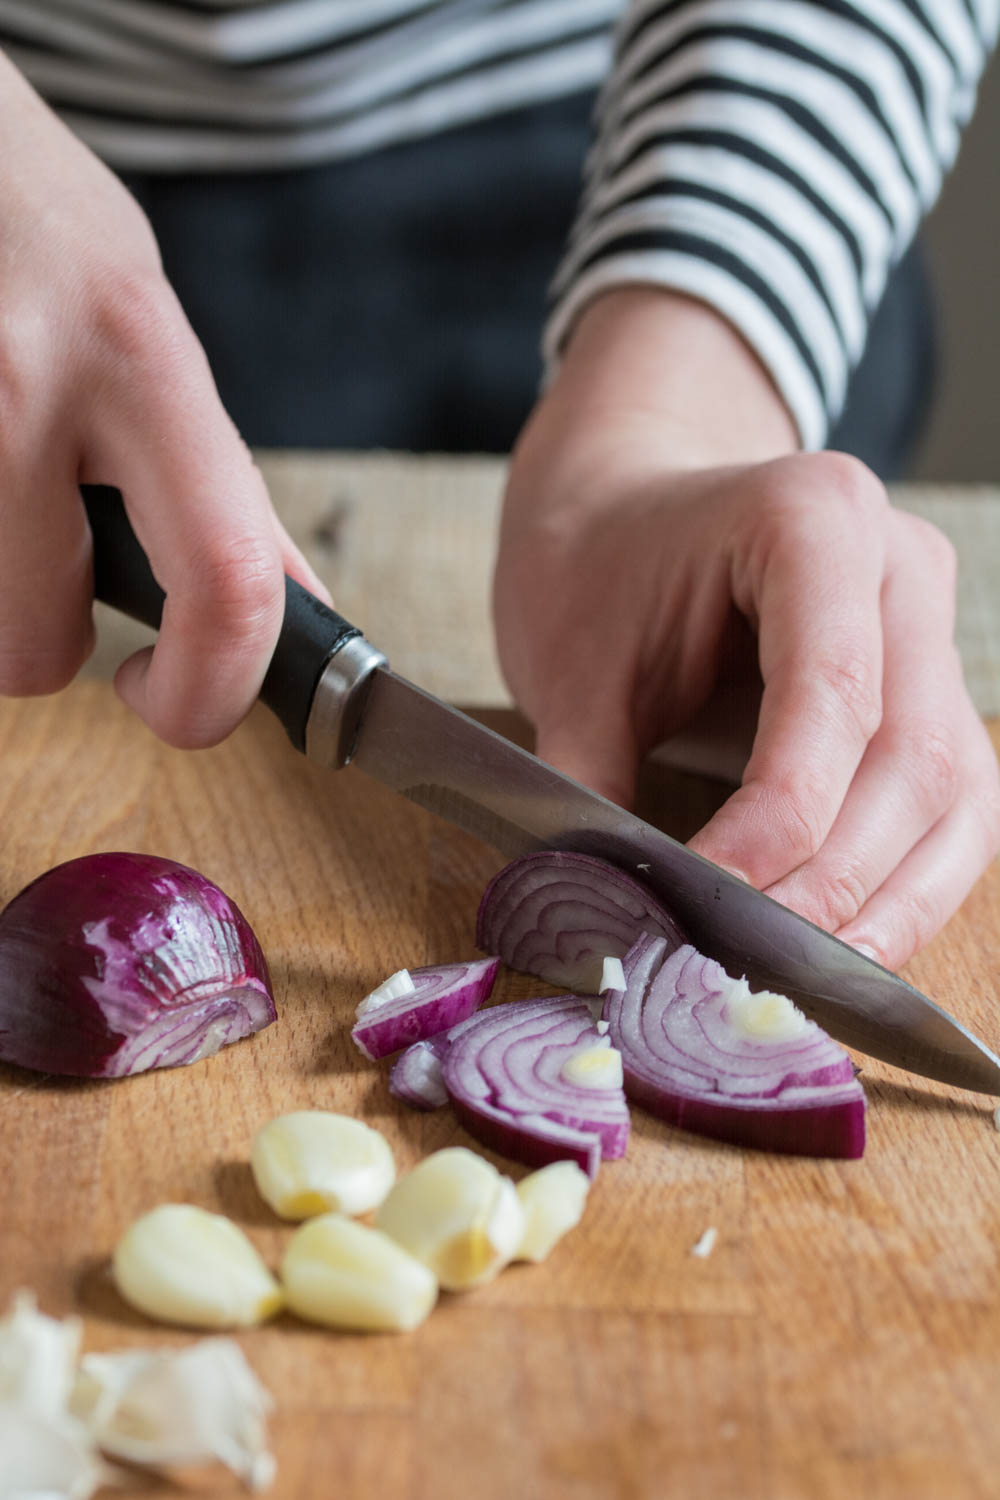
  4. Onion and garlic. Peel the onion and slice it carefully. Peel the garlic.
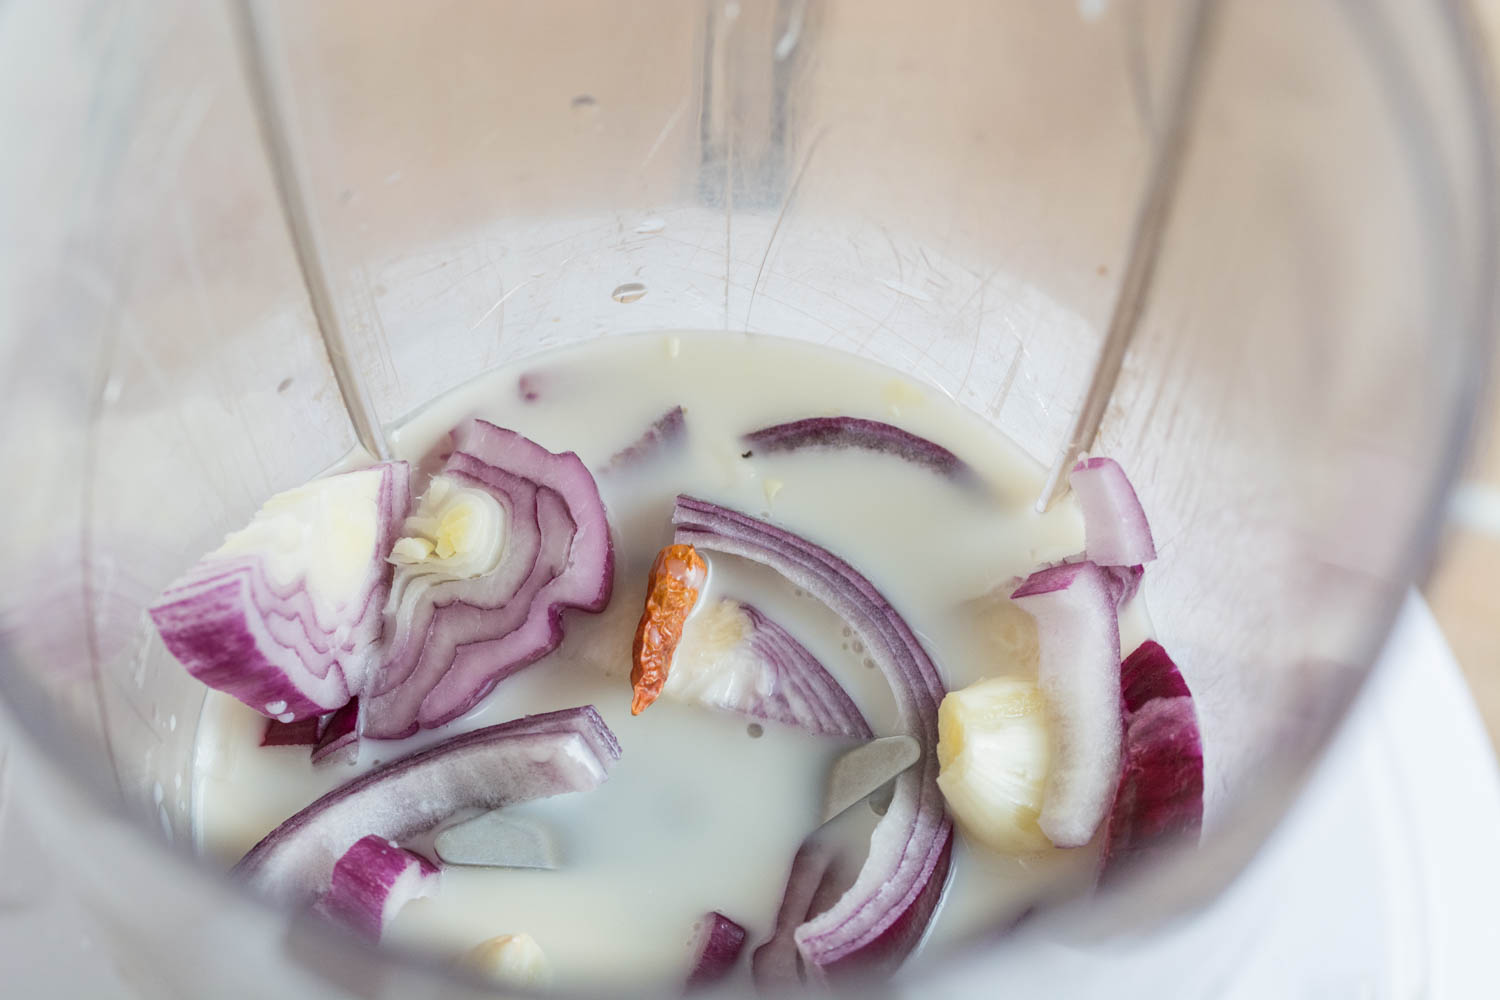
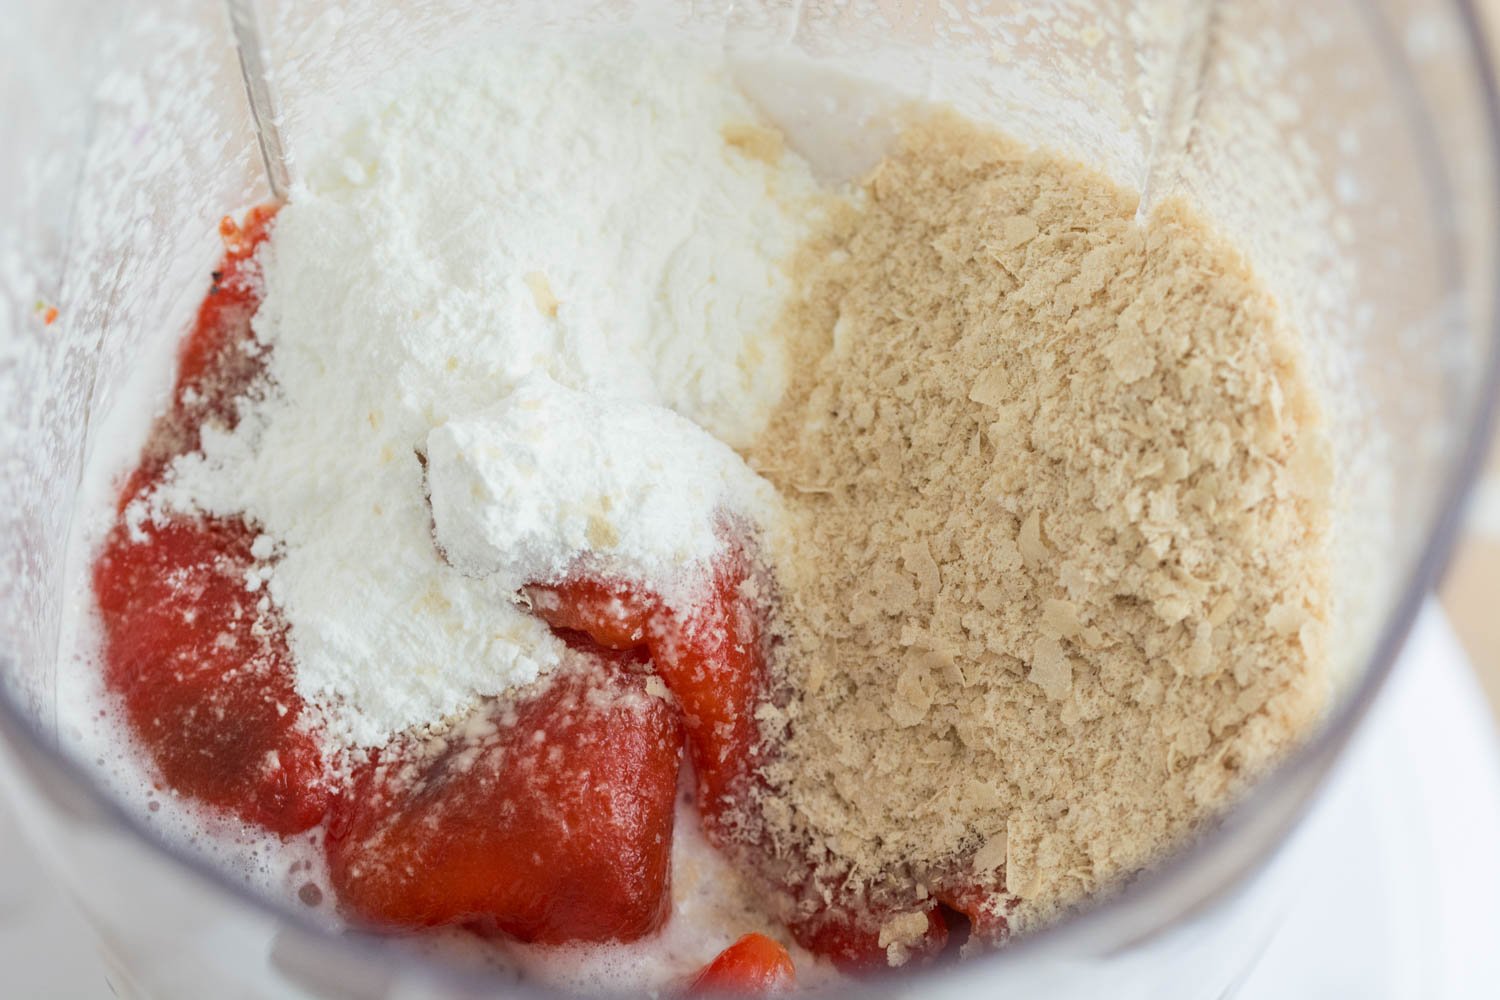
  5. Prepare the sauce. Place the milk, onion, garlic and chili in the bowl of a blender. Mix until smooth. Add the peppers, olive oil, corn starch, and dry nutritional yeast and blend until smooth and creamy.
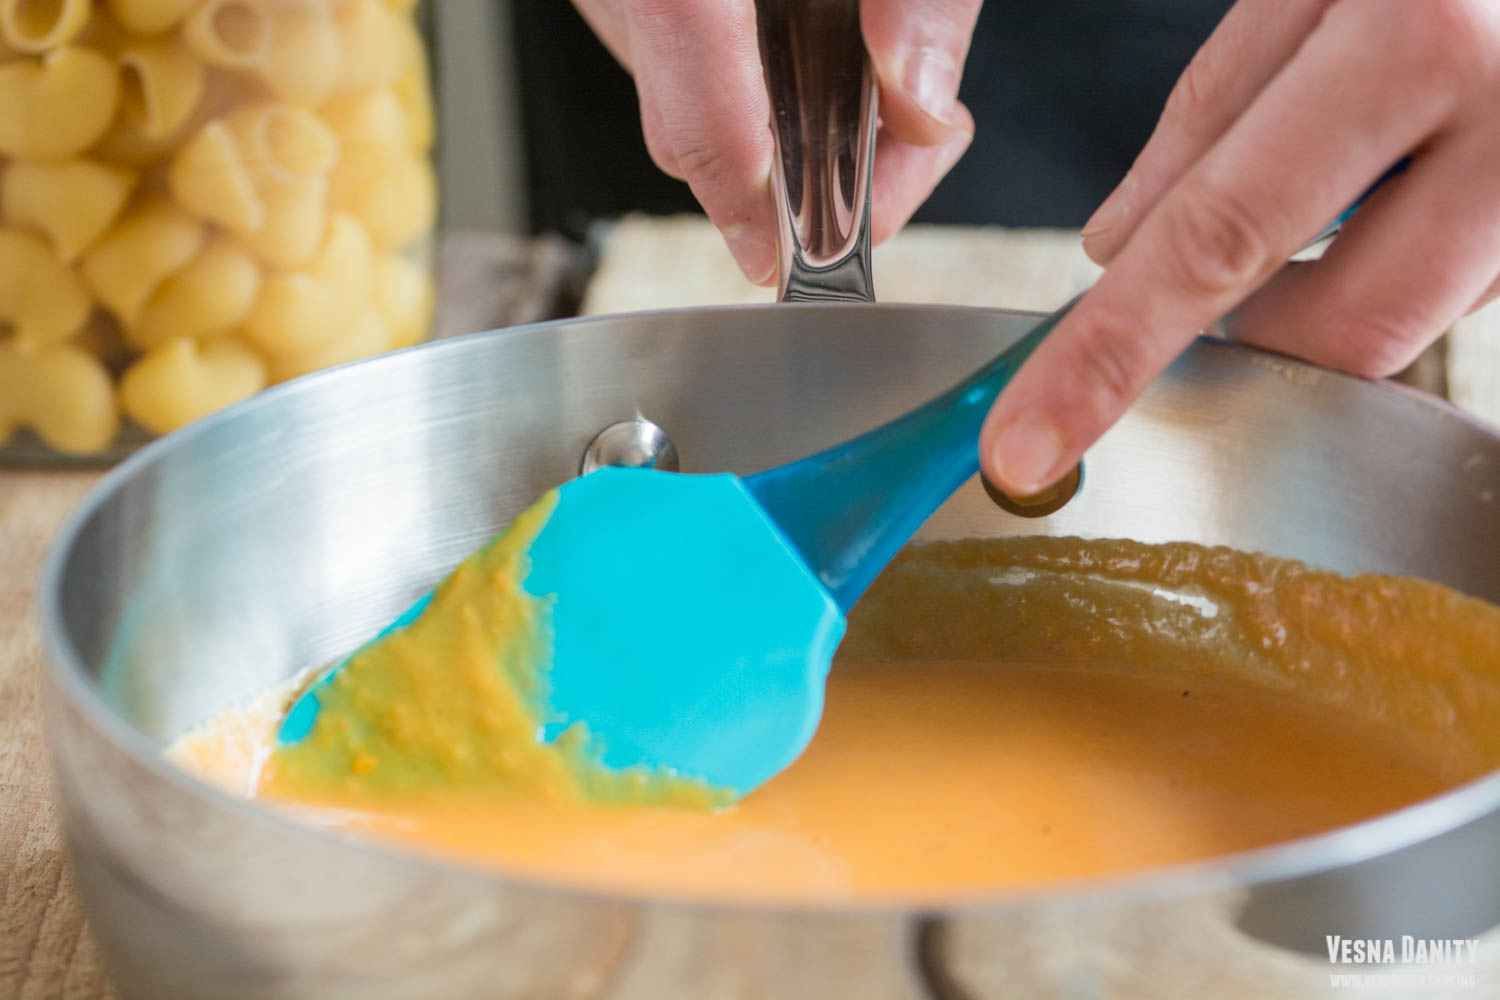
  6. Cook the sauce. Add the sauce to a medium saucepan and simmer it over low-medium heat until thick (for about 7 minutes).
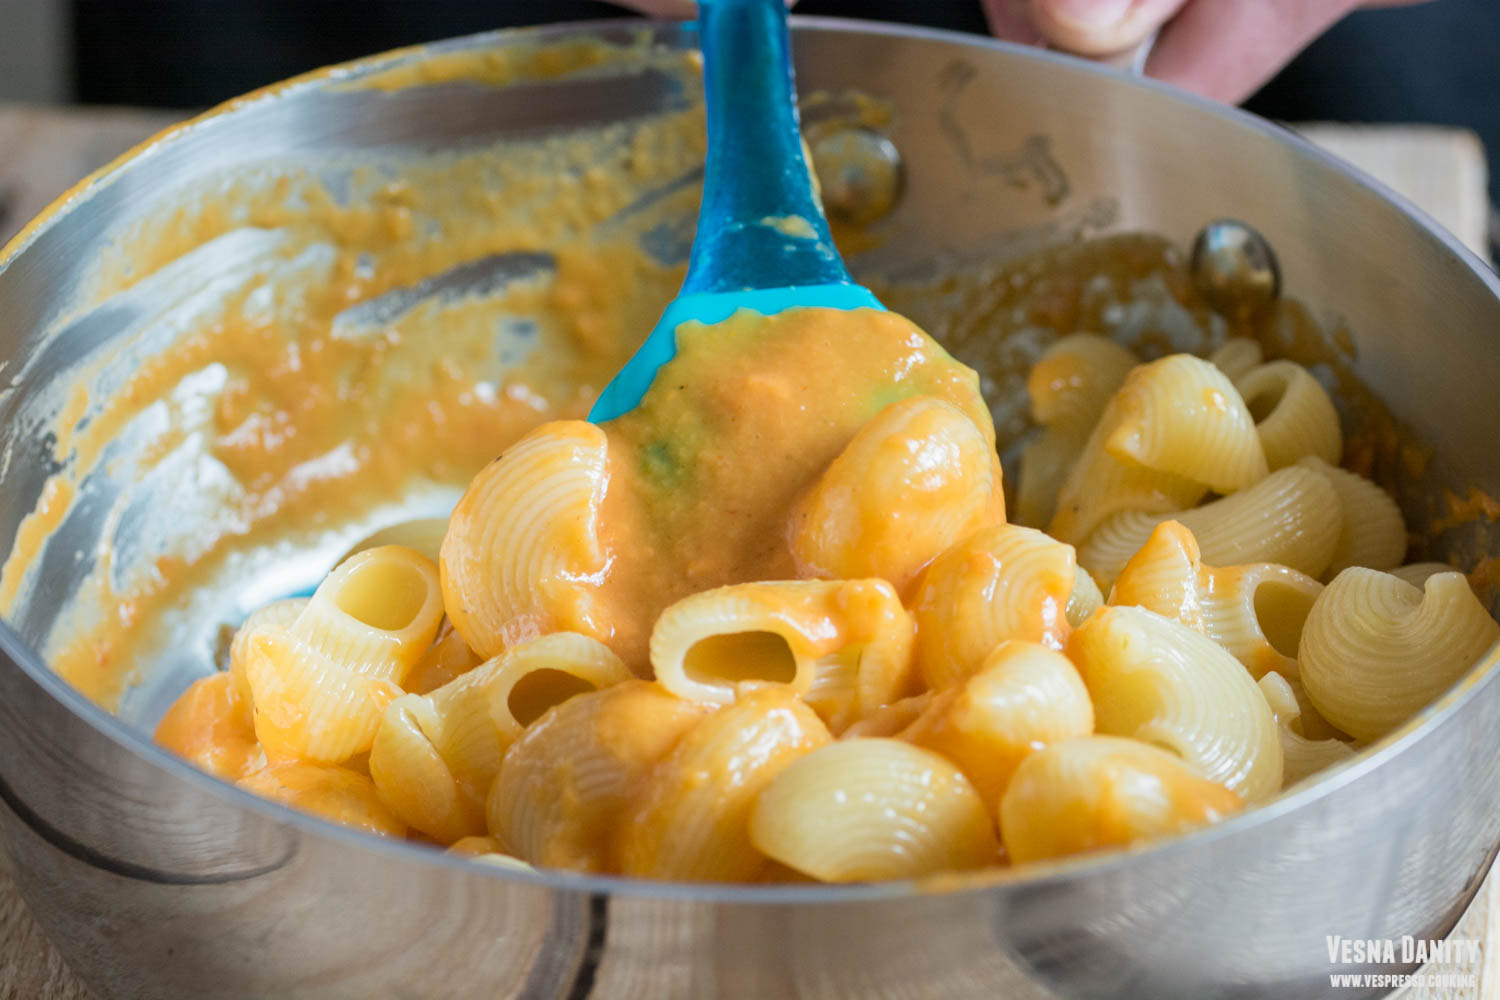
  7. Serve. Add the sauce to the pasta and mix well. Serve in large bowls and garnish with basil ribbons and nutritional yeast.

Source: www.minimalistbaker.com


Broccoli Spread


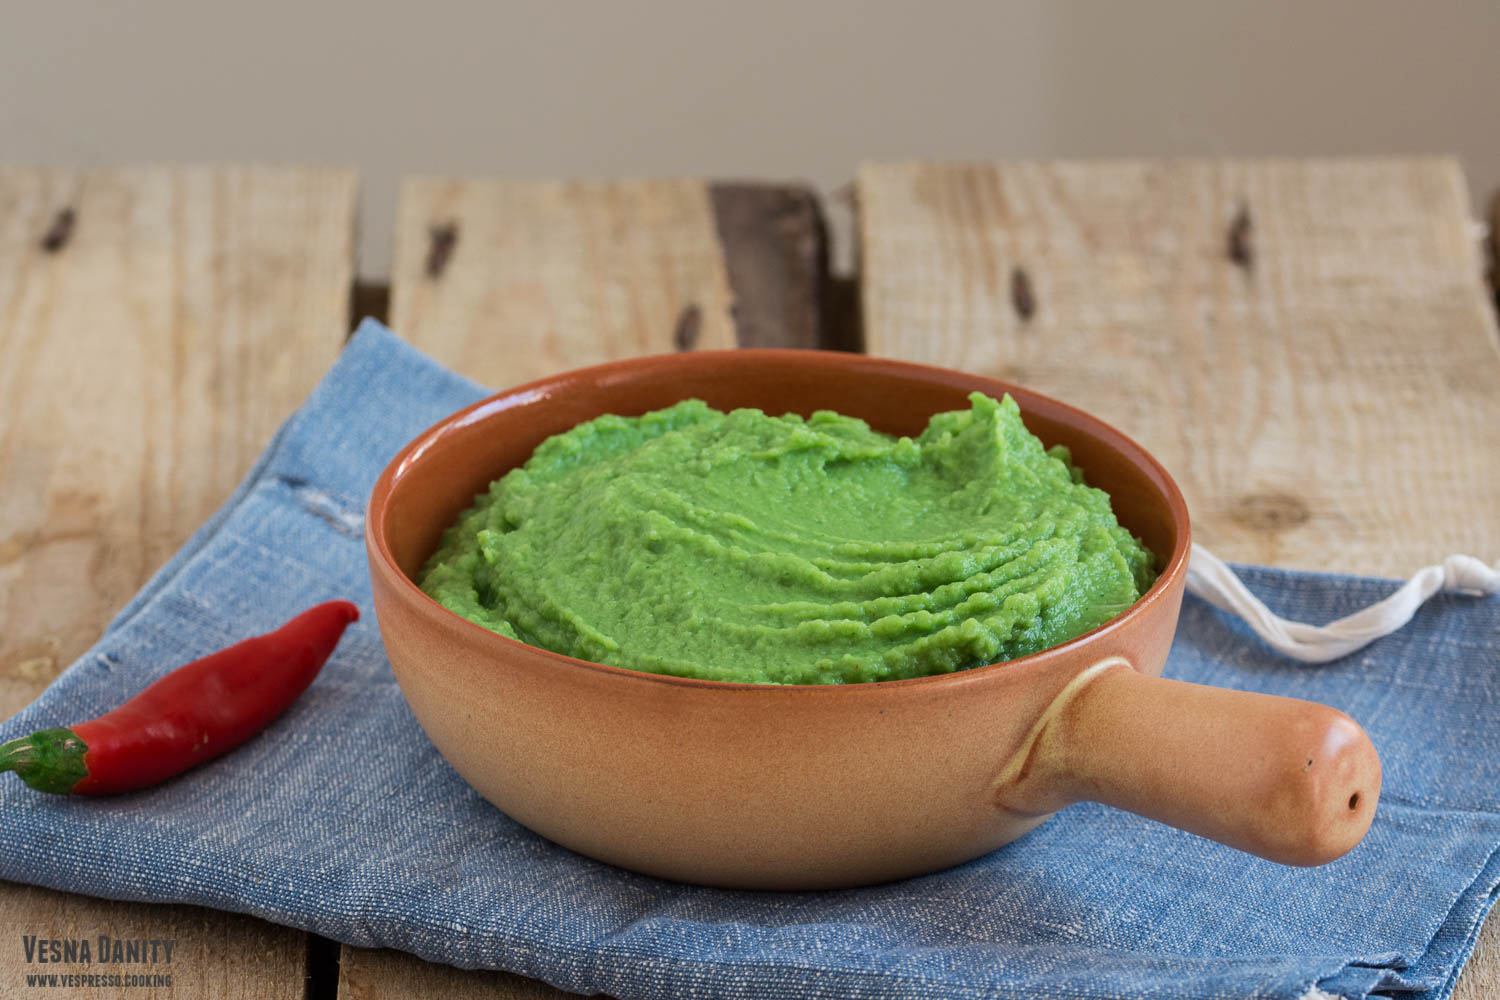
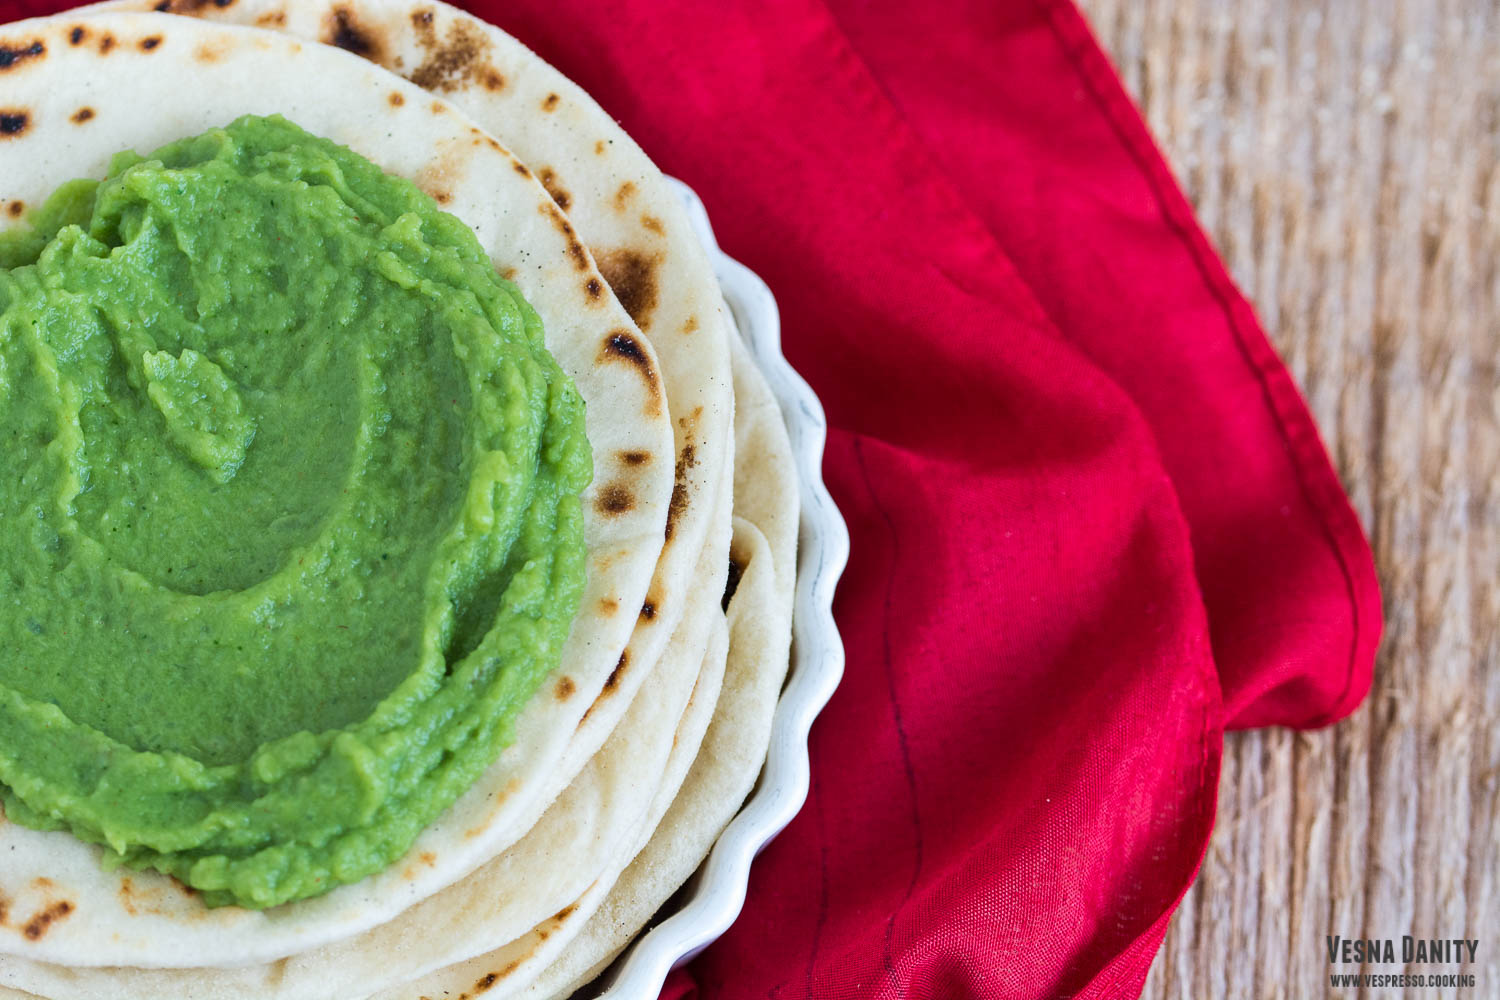
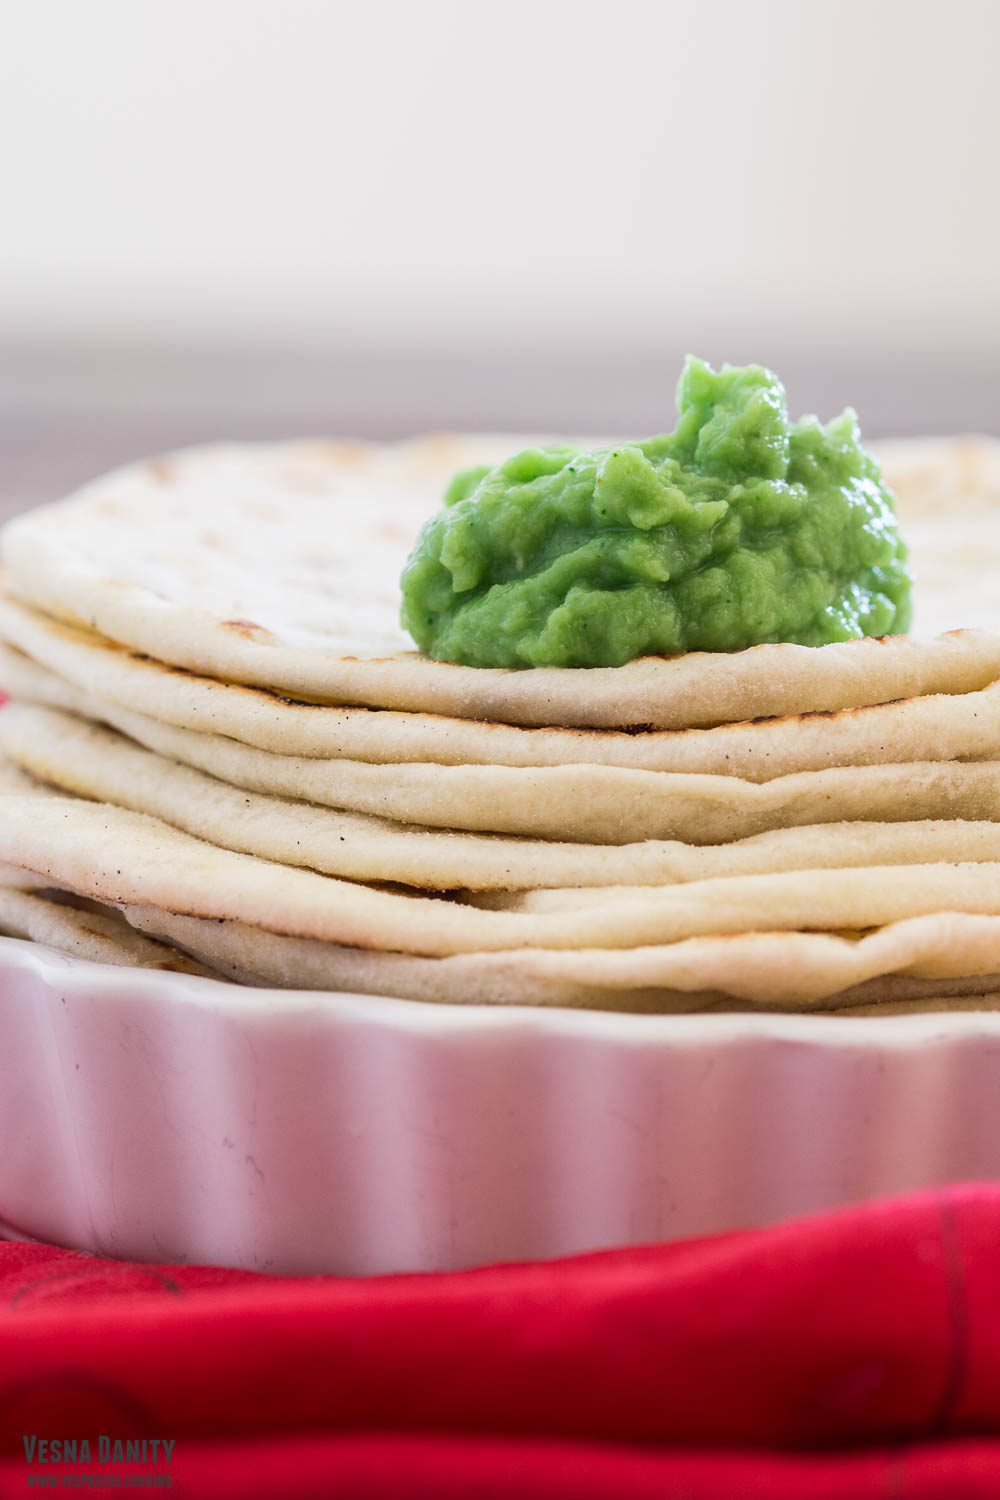
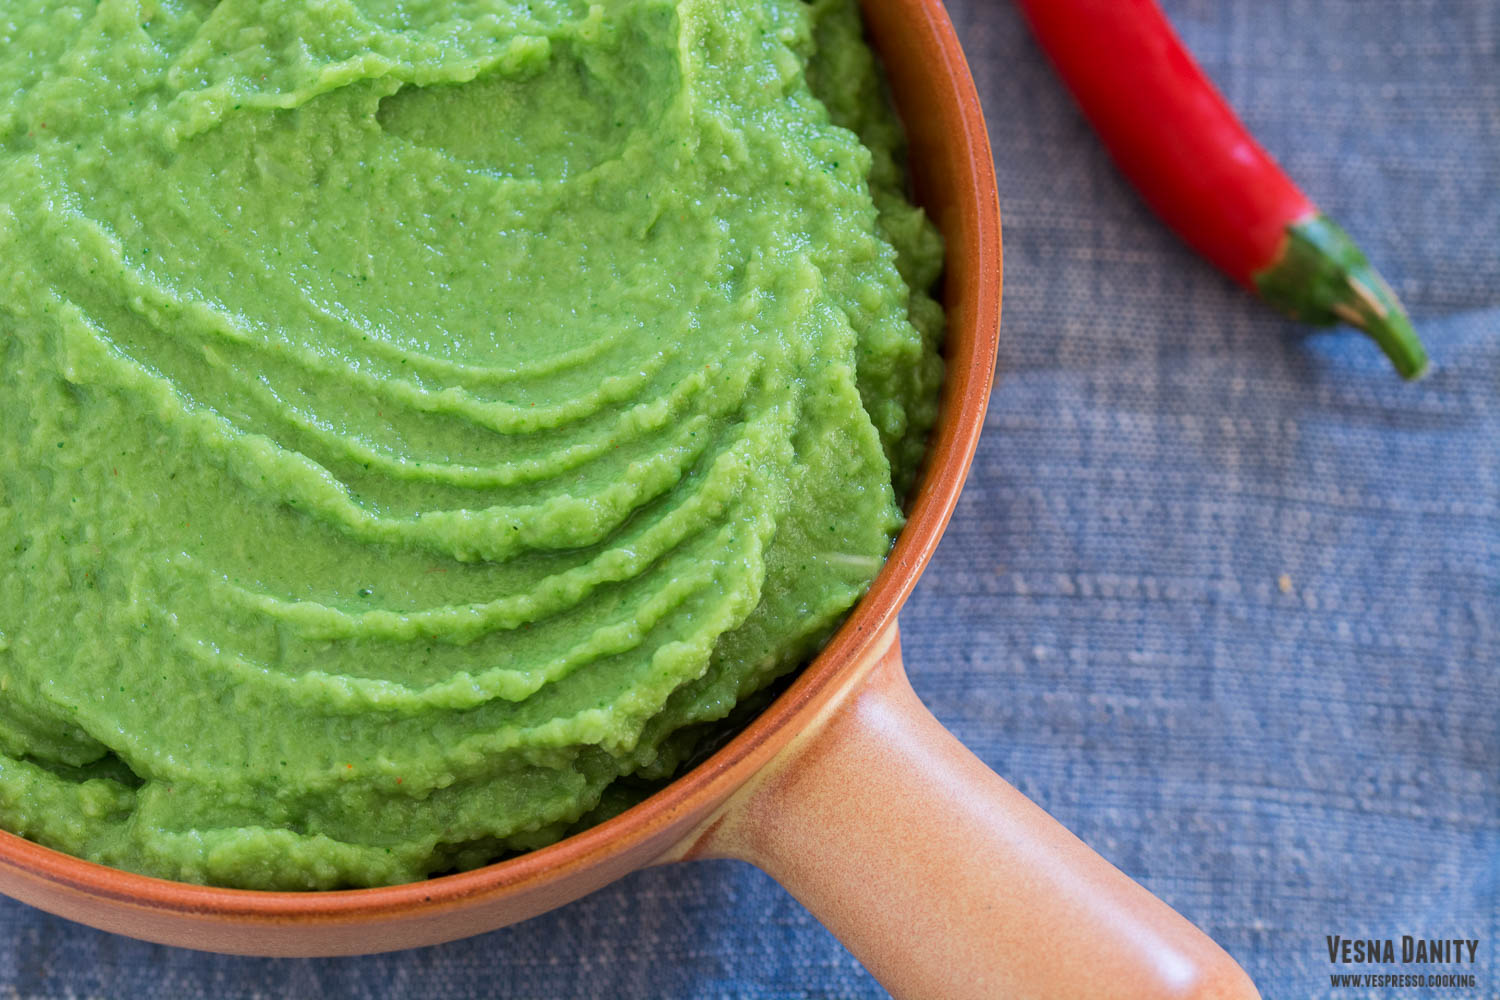
Undoubtedly, broccoli is one of my favorite vegetables. I love everything about broccoli, the taste, the texture, the fact that it’s so versatile. One of the most simple and yet delicious recipes with broccoli is broccoli spread. It’s extremely creamy and it’s wonderful spread on a slice of homemade bread (or tortilla, in my case). It’s so hearty and flavorful and the color is simply hypnothyc. This recipe is a great way to use the whole vegetable, stem included, so nothing goes to waste. And before I forget, all the ingredients are plant-based, so it’s suitable for a vegan diet.

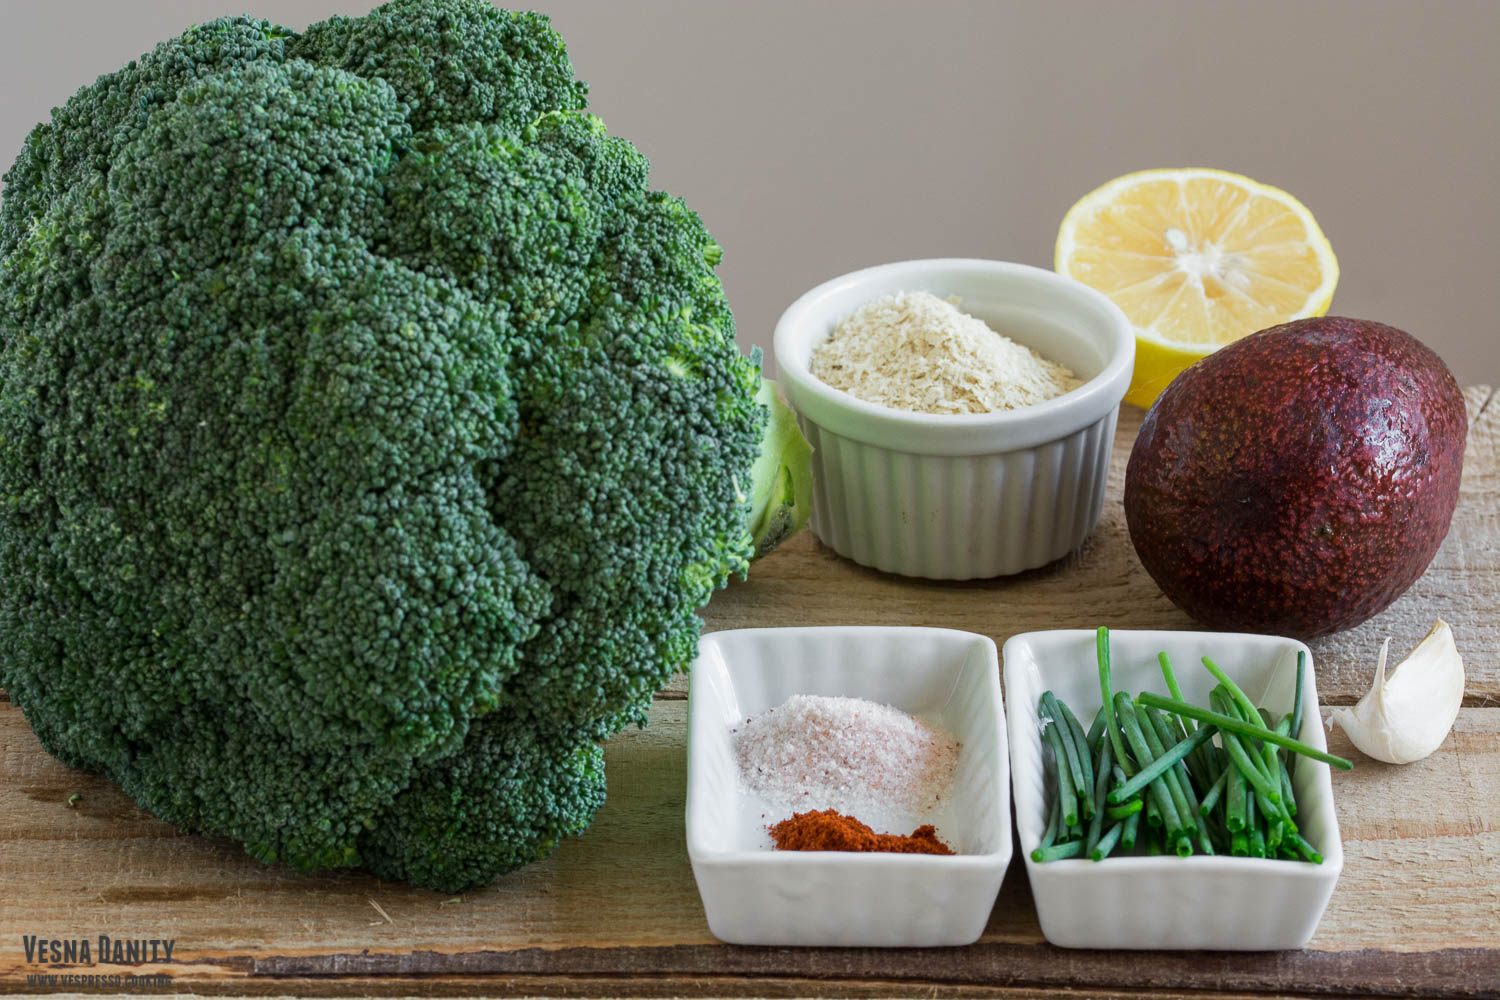
Ingredients (for 6 servings):

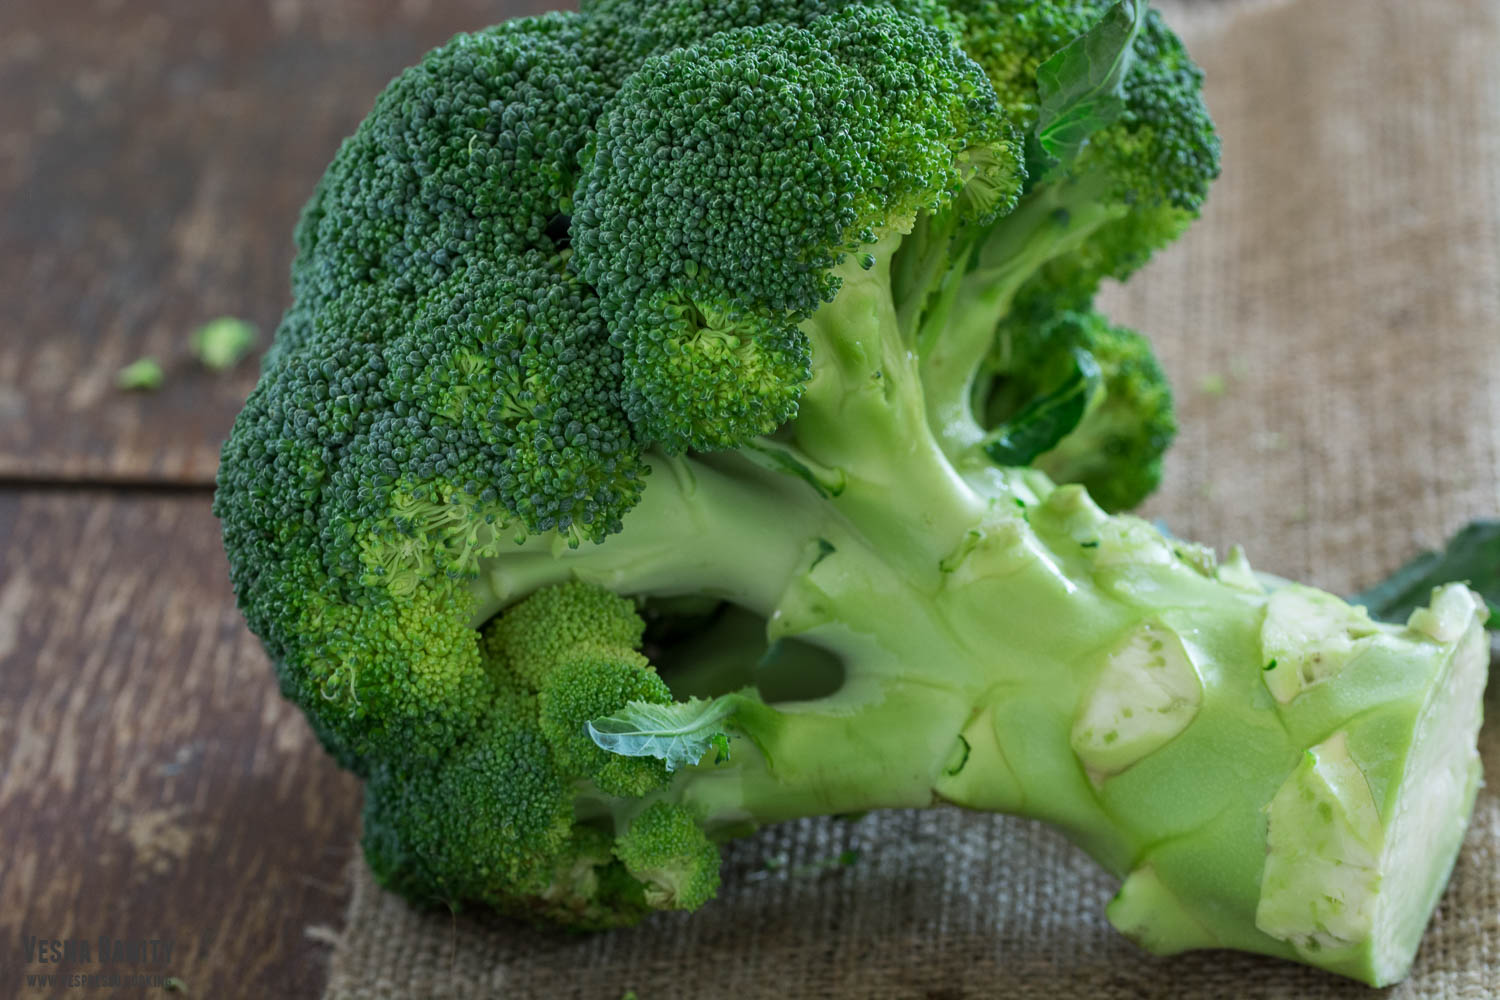
  • 500g broccoli
  • 1/2 large avocado
  • 2 Tbsp nutritional yeast
  • 1 garlic clove
  • 1 tsp chopped chives
  • 1 Tbsp lemon juice
  • 1/8 tsp chili powder
  • salt to taste

Method:

  1. Fill a medium saucepan with water, cover with a lid and bring to a boil.
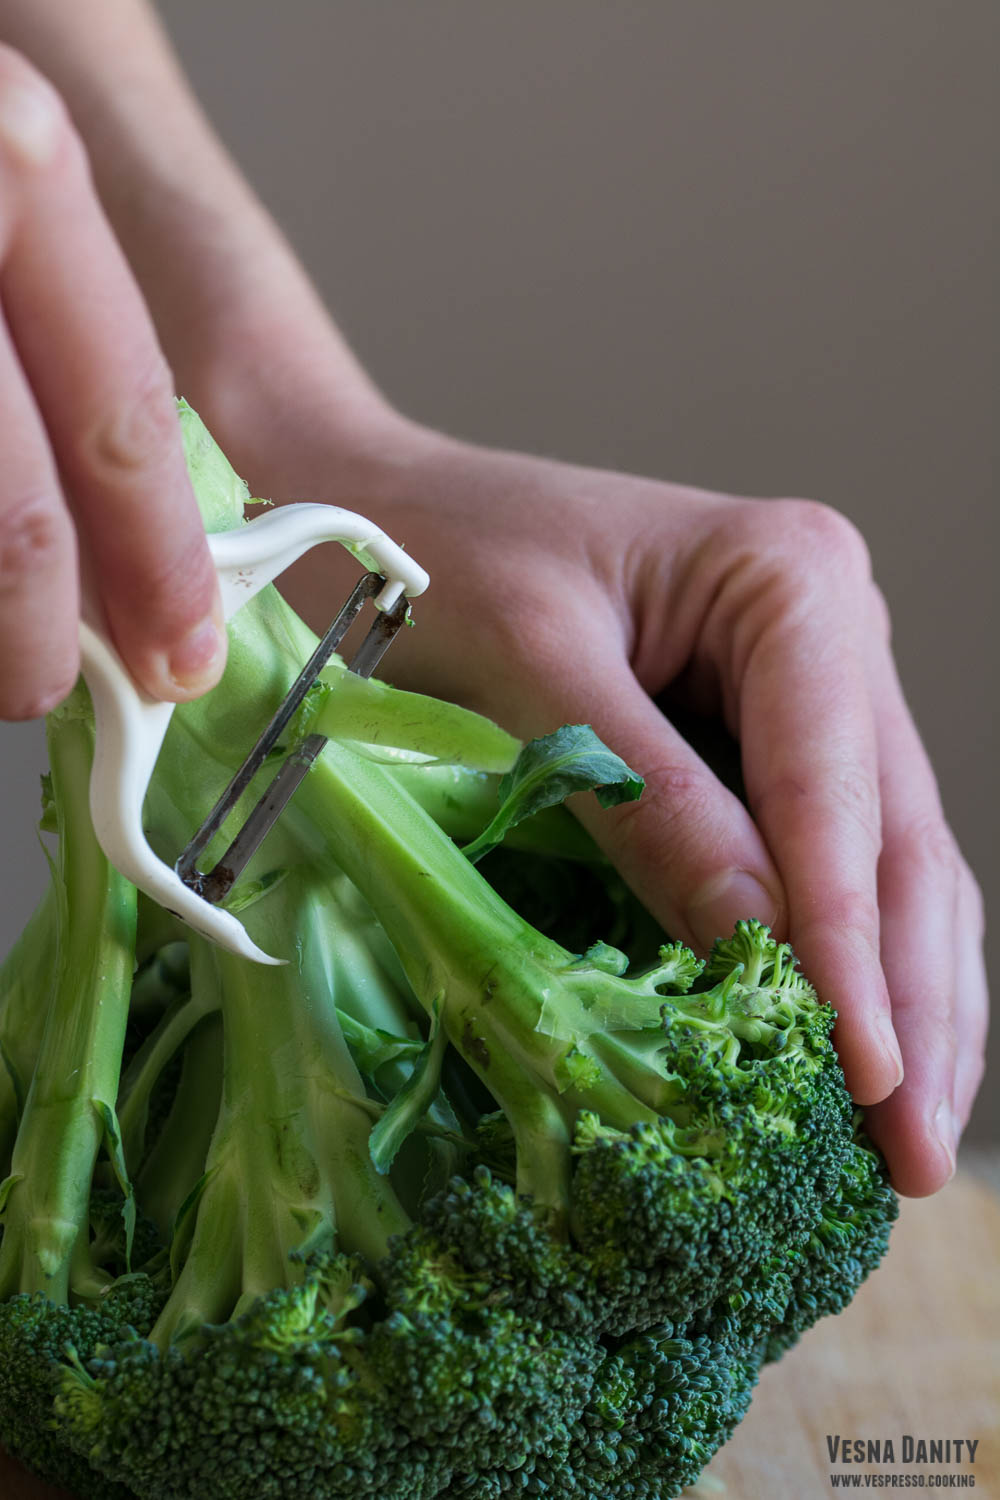
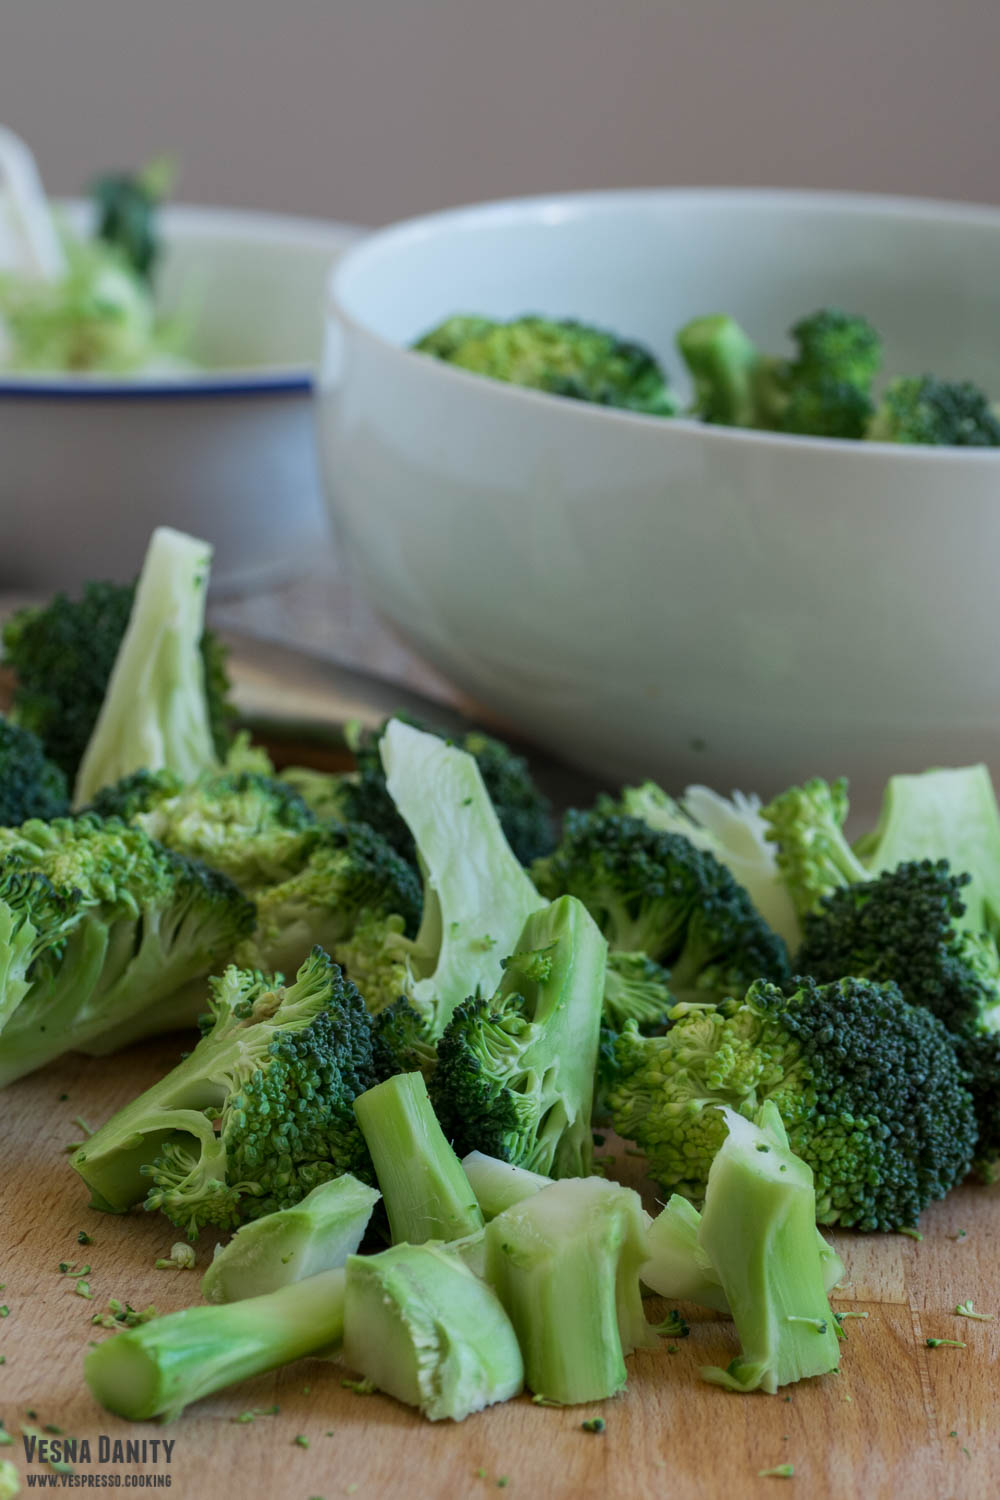
  2. Peel the broccoli stalk using a vegetable peeler. Cut the broccoli into florets and cube the peeled stalk.
  3. When the water starts to boil, add the broccoli and simmer them for 8 minutes ( the cooking time depends on the size of the florets). Meanwhile prepare the ice bath by adding 1 cup of ice to a bowl filled with cold water. Carefully drain the broccoli and immediately place itin the ice bath. Drain the broccoli using a collander and refrigerate it for about 20 minutes.
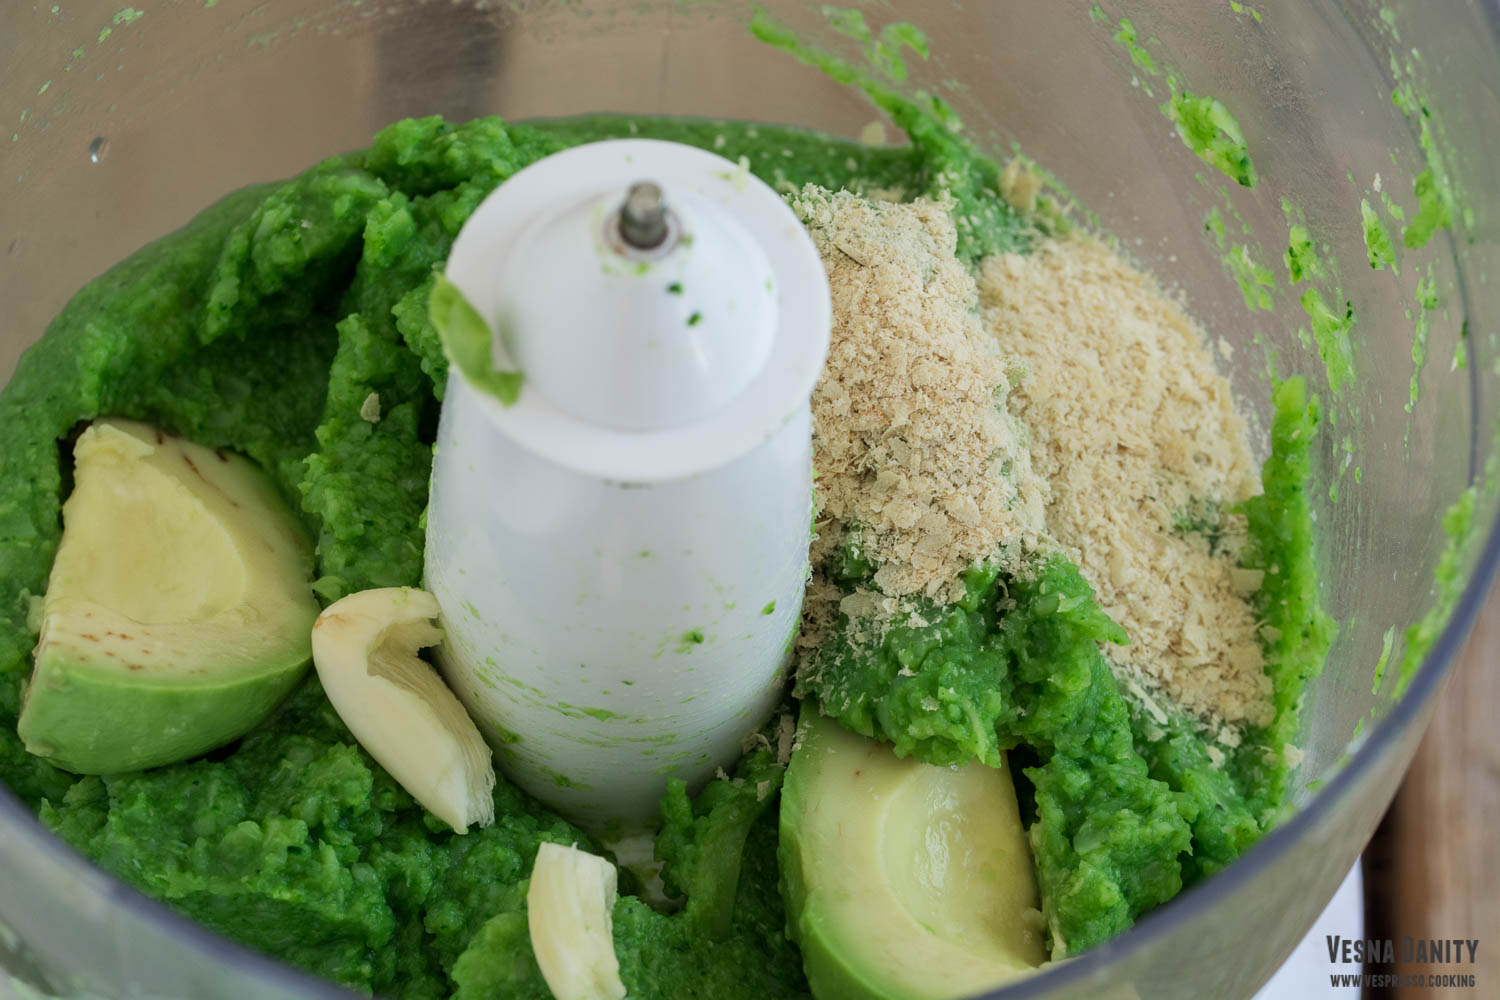
  4. After 20 minutes place it in the bowl of a food processor and pulse until smooth and creamy.
  5. Add the rest of the ingredients and pulse until smooth. Give it a taste and adjust the salt. Spoon it into a bowl and refrigerate until ready to use.

Chicken Lollipops with Tomato-Chili Sauce


Chicken lollipops are always a great idea, whether you have to prepare a party buffet or a simple lunch. Underneath their crispy crust lays a tender, juicy and flavorful meat. It is a wonderful dish, yet quite simple and budget-friendly.

I make lollipops very often and every time I use only the drumettes (the thick part of the wing, the part that has only one bone). I generally marinate the drumettes with a lemon, olive oil, garlic and sage mixture and I refrigerate them overnight. Yesterday I did the same thing and this morning I prepared some flavorful, tender and adorable lollipops. They were simply amazing but I decided to serve them with a spicy tomato and chili sauce which made them even better.

Ingredients (for 6 servings):

  • 12 drumettes
  • ¼ cup all-purpose flour
  • ½ cup bread crumbs
  • 1 egg
  • 1 Tbsp milk
  • ¼ tsp salt
  • ¼ tsp pepper

for the marinade:

  • 1 Tbsp olive oil
  • juice and zest from half a lemon
  • 1 tsp soft brown sugar
  • 3 garlic cloves
  • 7 sage leaves
  • ½ tsp sea salt
  • ¼ tsp pepper

Method:

  1. Prepare the marinade by mixing in a large bowl all the ingredients above.
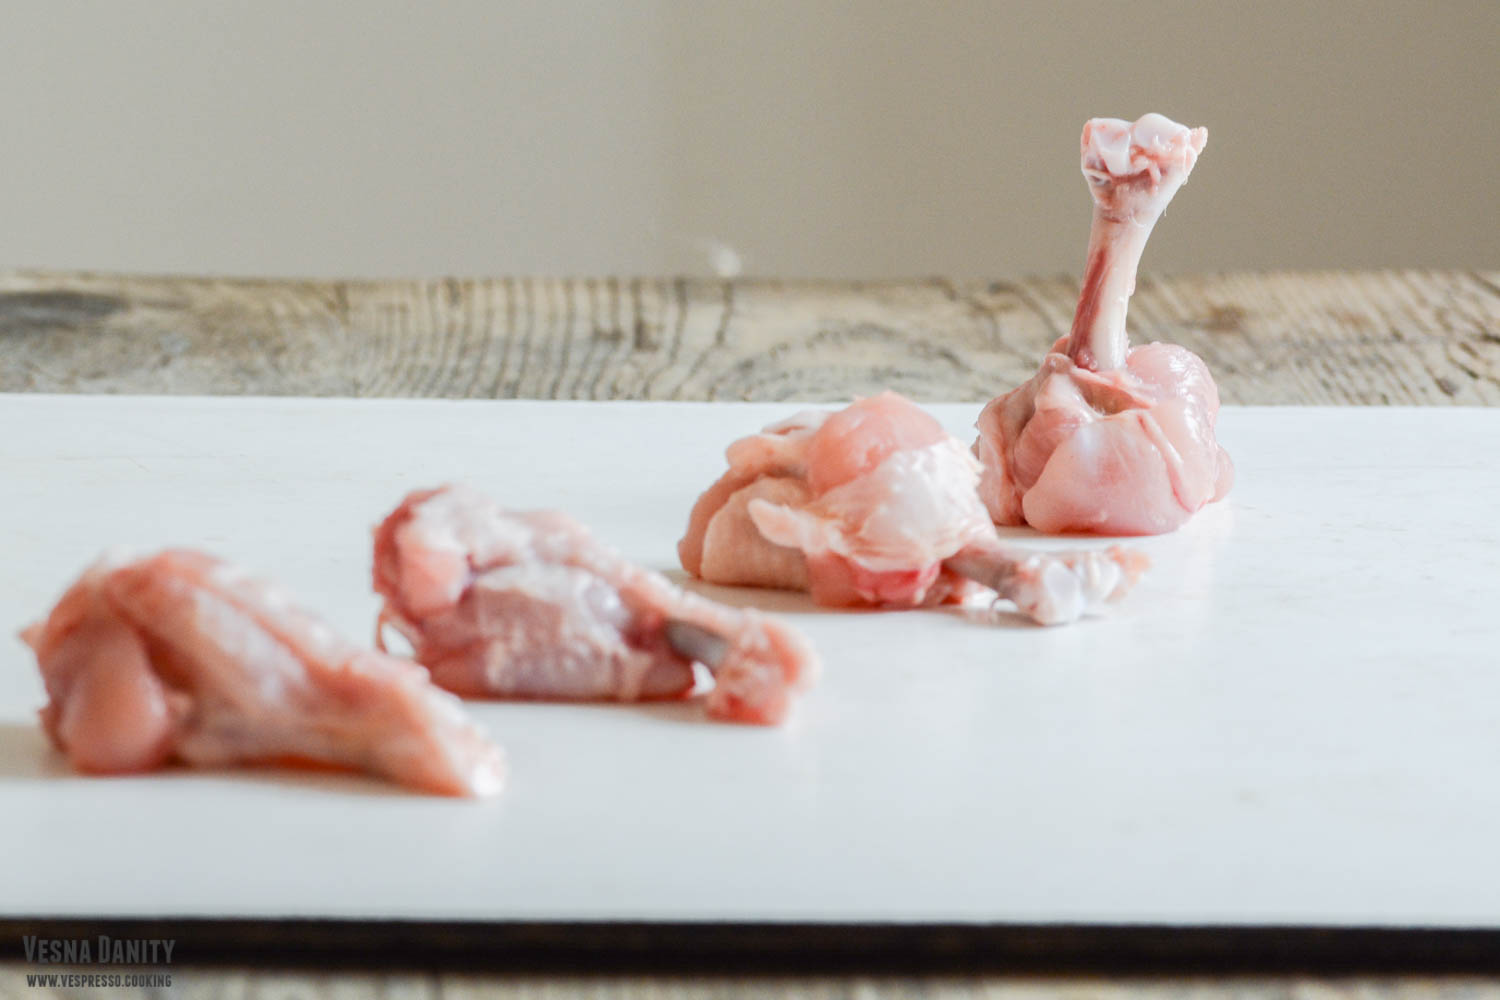
  2. Prepare the drumettes. Grab the thin part and cut the skin and the ligaments surrounding the bone. Scrape the bone with a knife and pull the meat up, towards the thick end. Carefully pull the meat over the fat to create a sphere (picture).
  3. Place the drumettes in the marinade bowl and toss to cover. Place them in a zip-lock bag and refrigerate for at least 4 hours.
  4. Remove them from the refrigerator and take 3 bowls; place the flour in the first bowl, the bread crumbs in the second bowl and the egg, milk, salt and pepper in the third.
  5. Roll the drumettes in the flour, dip them in the egg mixture and then in the bread crumbs.
  6. Deep-fry them at 340°F/170°C for 7-8 minutes, until golden brown.
  7. Carefully remove them from the oil and place them on a paper towel.


  • Tomato and chili sauce

    Ingredients (for 6 servings):

    • 1 Tbsp olive oil
    • 1 onion, chopped
    • ½ small carrot, grated
    • ½ celery stalk chopped
    • 2 garlic cloves
    • 1 chili, chopped
    • 30ml dry red wine
    • 1 chopped tomato tin (400g)
    • 1 bay leaf
    • 1 tsp fresh thyme, chopped
    • ½ tsp sugar
    • ¼ tsp salt
    • ¼ tsp pepper


    Method:

    1. Heat the oil in a saucepan and add chopped onion, carrot, celery and chili to the pot. Cook on high heat, stirring occasionally, until the onion is translucent (about 5 minutes).
    2. Add minced garlic, bay leaf and thyme and cook for 1 minute.
    3. Add wine and cook until the liquid is reduced by half.
    4. Add tomatoes and cook uncovered, on low heat for 30-40 minutes until all the liquid has evaporated.
    5. Discard bay leaf, add sugar, salt and pepper and puree the sauce using a blender. Serve warm with chicken lollipops.


Butter Bean, Tuna and Cherry Tomato Salad

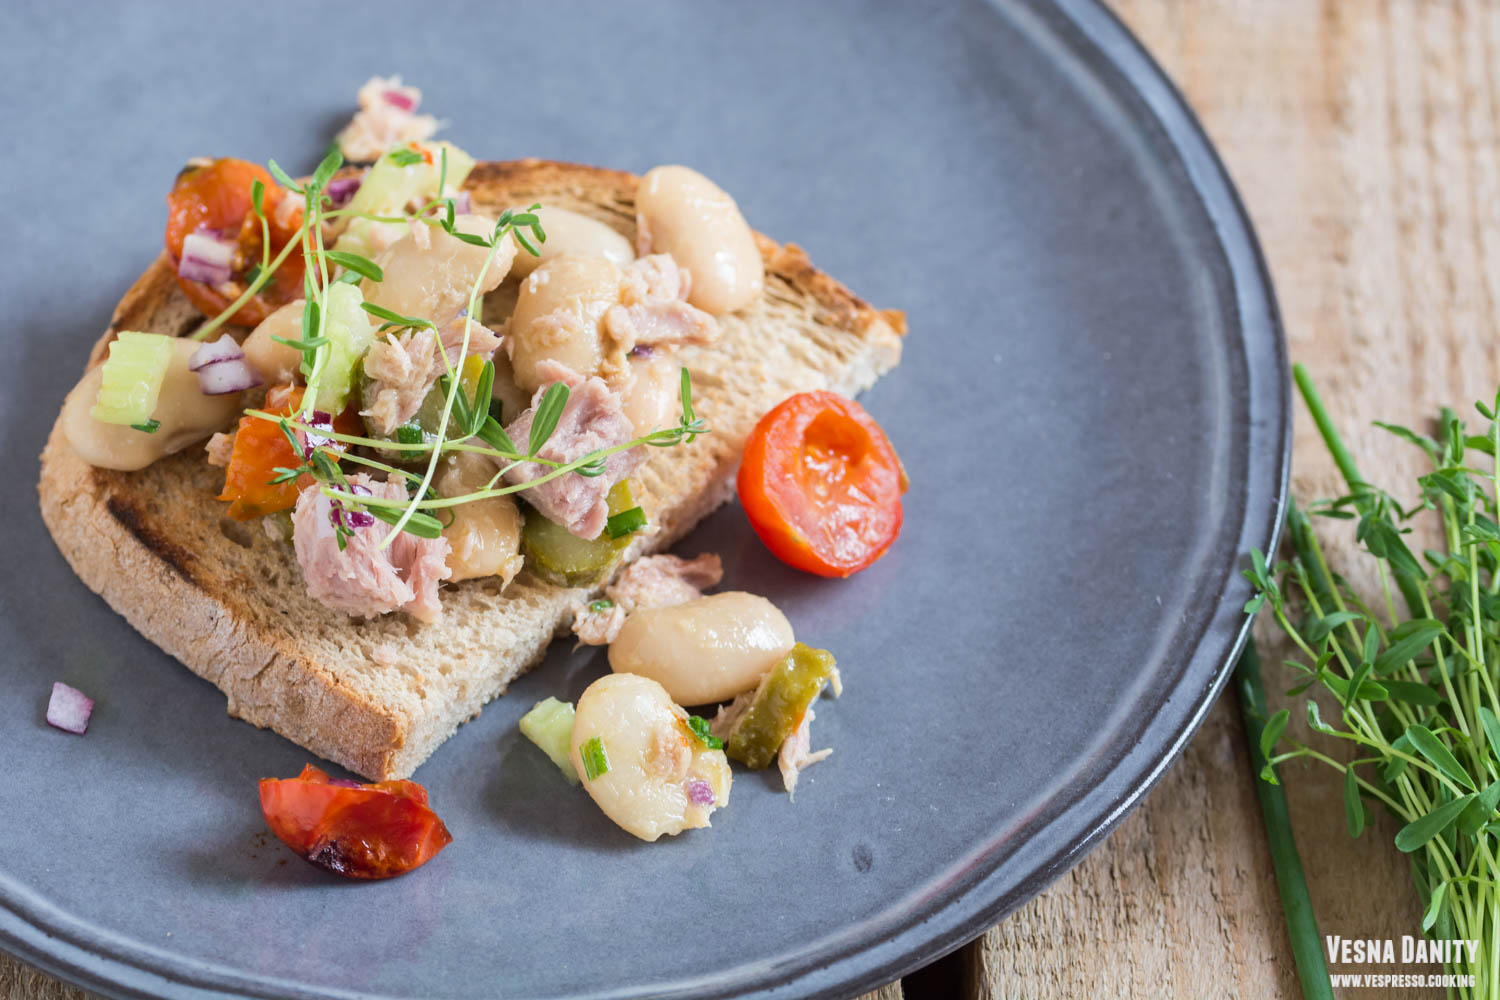
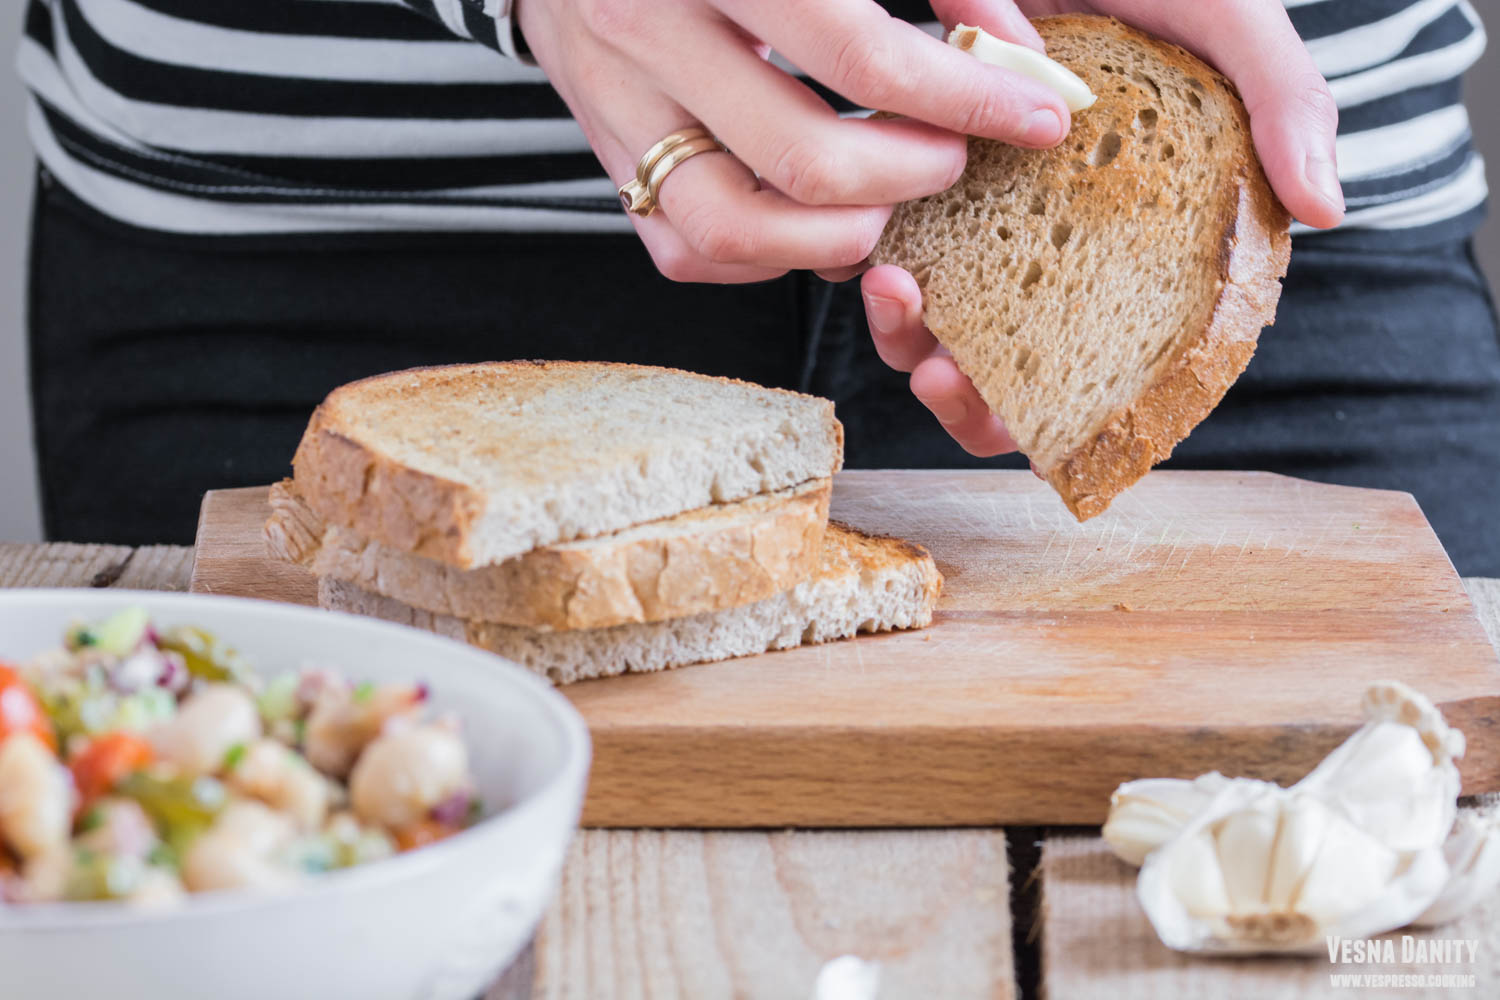
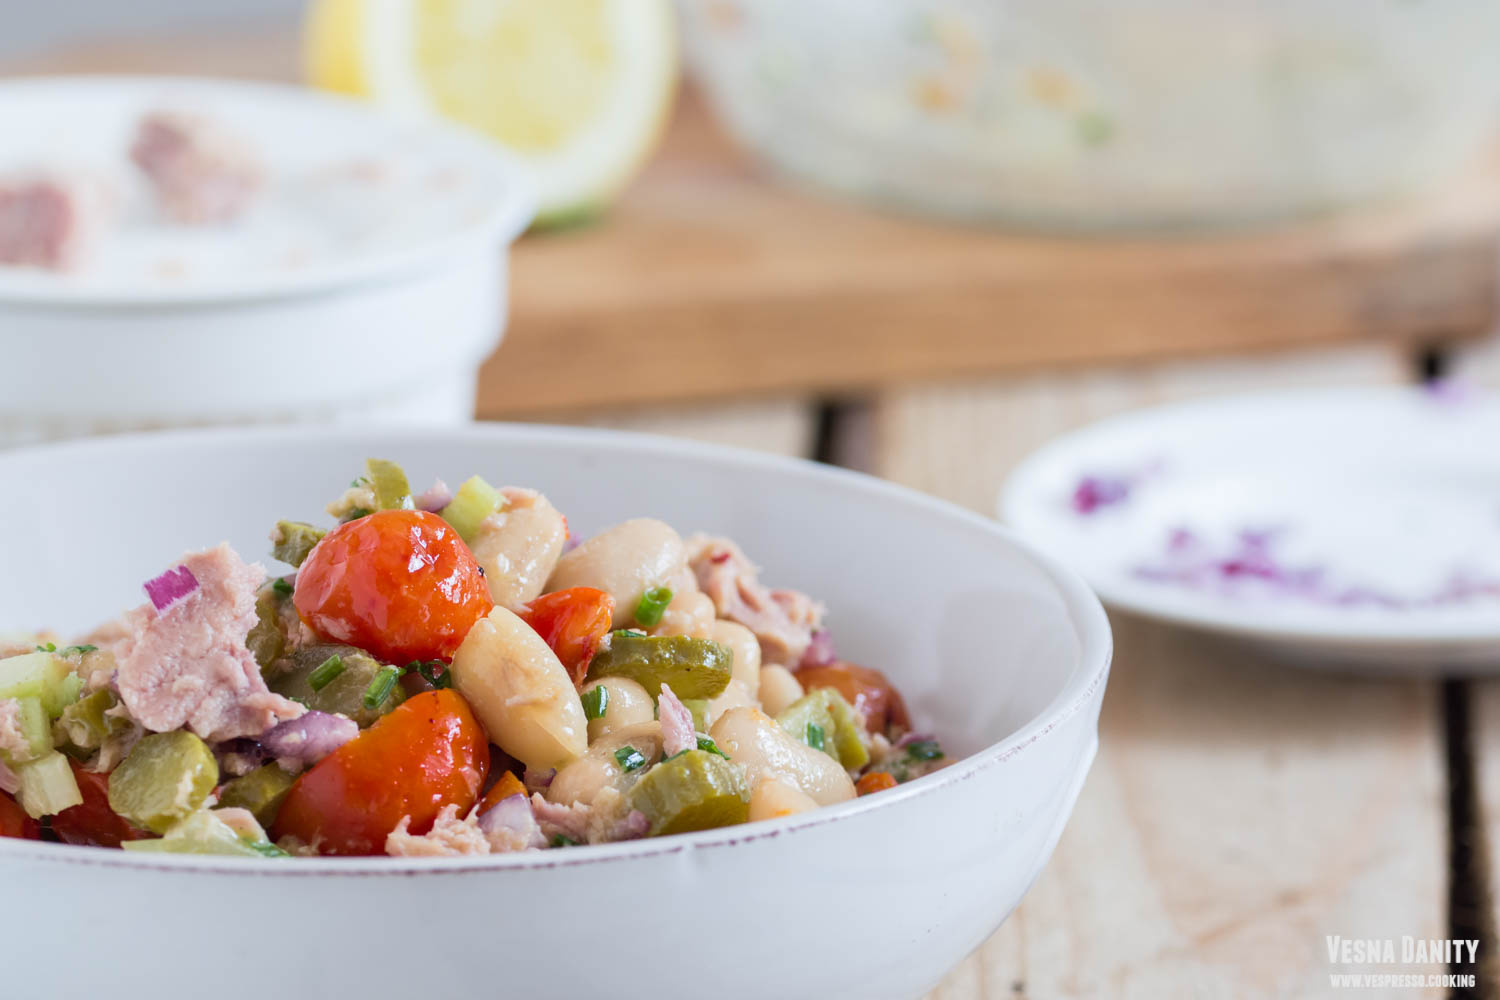
This butter bean and tuna salad is simply divine! It’s very tasty, nutritious and hearty. It is a rustic, unpretentious salad, but at the same time the flavor and texture combination give it a particular charm. It’s so easy to make and to gain some time, I start the recipe by roasting the cherry tomatoes just until they caramelize nicely and burst with flavor. While my tomatoes brown patiently in the oven, I make the creamy mustard dressing and I chop the rest of the ingredients and the dinner is ready. Or the lunch. Or the brunch, if you’re as greedy as I am. I serve this lovely salad on a garlicky whole-wheat toast and I enjoy every last bite of it. Continue reading Butter Bean, Tuna and Cherry Tomato Salad

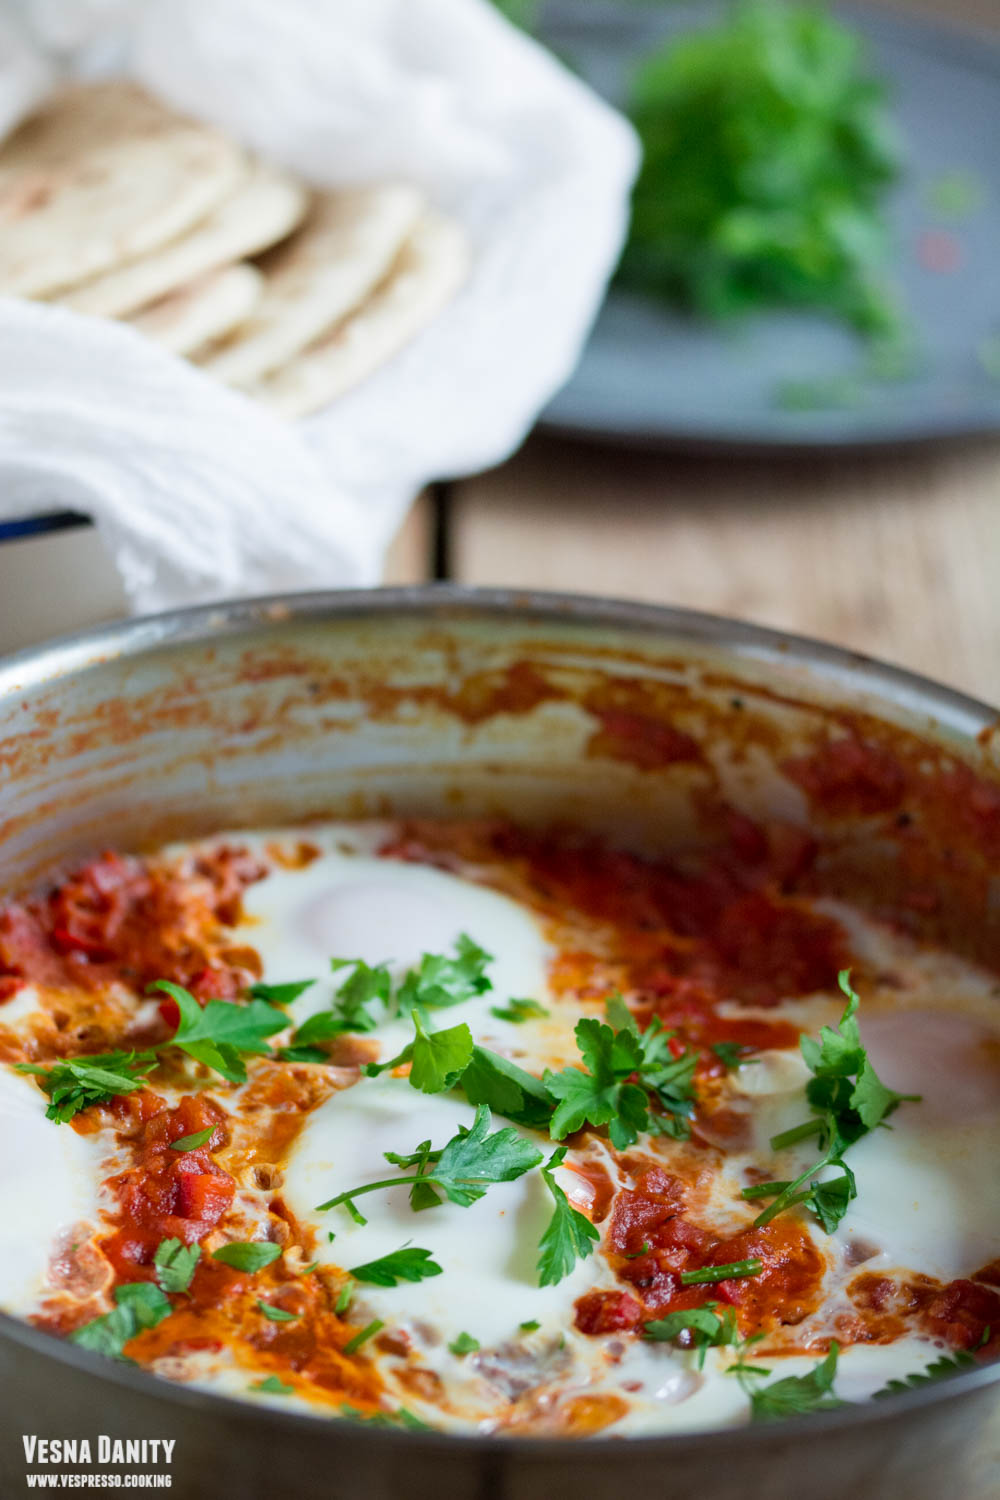
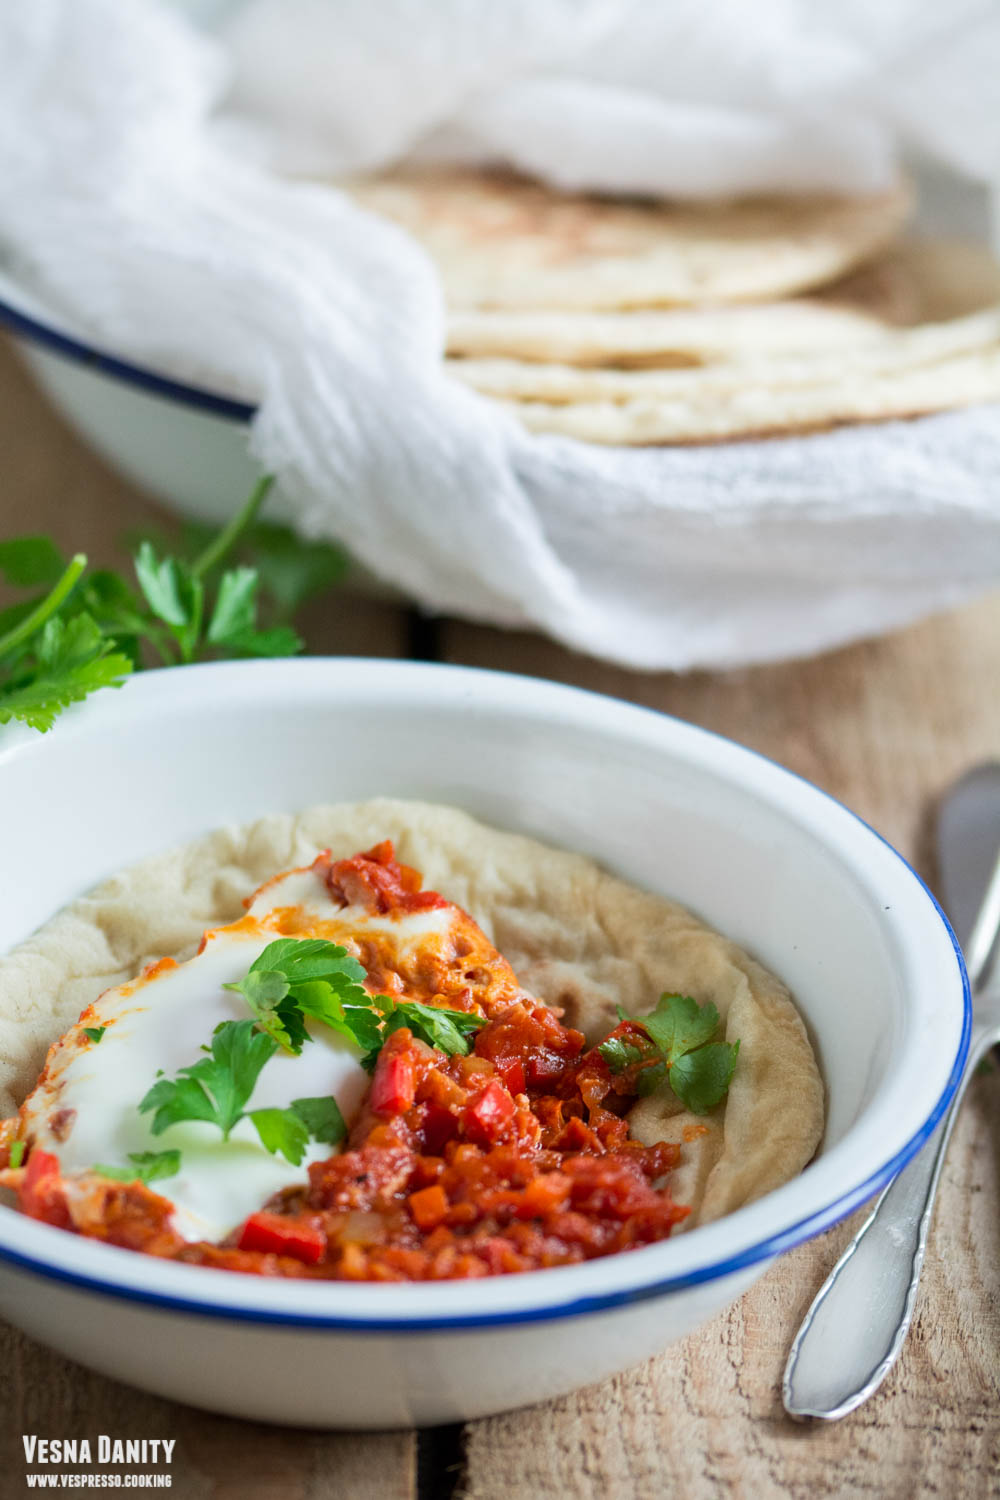
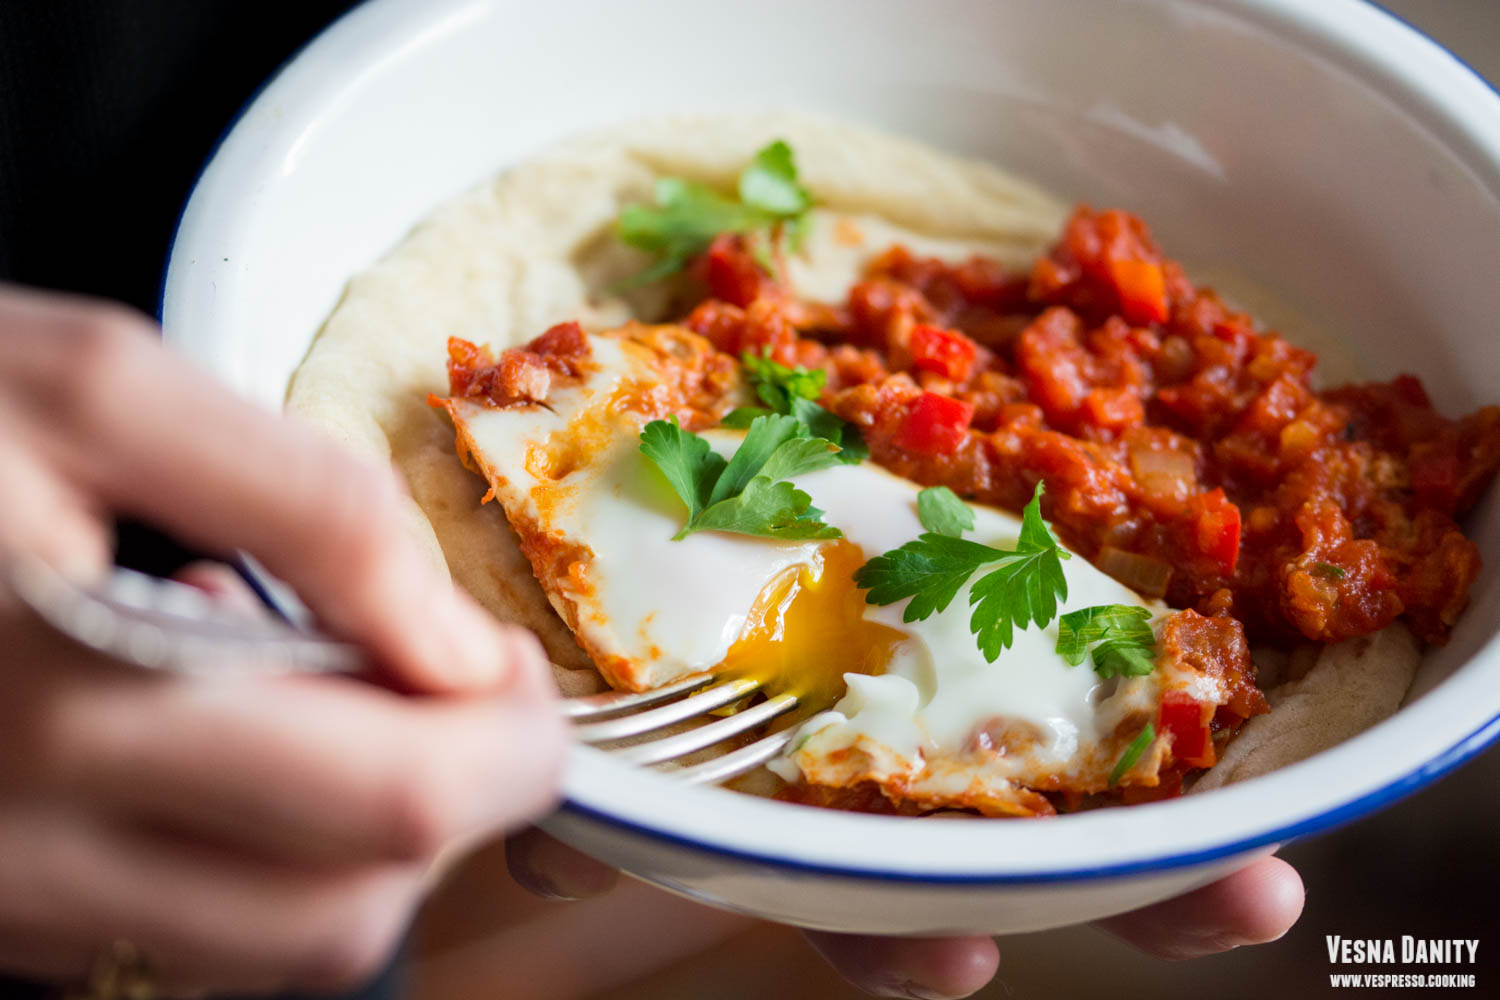
Shakshuka (Eggs Poached in Tomato Sauce)


Shakshuka is an absolutely delicious North African dish. Under this adorable name hide some eggs poached to perfection in a decadent tomato sauce. Shakshuka is usually served for breakfast, but nothing keeps you from serving it for lunch or even supper. One pan. Some olive oil, onion, red bell pepper, garlic, cumin, paprika and tomatoes.  Five eggs poached for five minutes. The beauty of this dish is the fact that all the story takes place in one single pan.

Why I love Shakshuka:

  • it’s so easy to make, it’s mouth-watering, healthy and packed with protein
  • it’s perfect for brunch
  • it’s ready in about 20 minutes
  • it takes just one single pan
  • it has a charming rusticity

Continue reading Shakshuka (Eggs Poached in Tomato Sauce)

Quail Egg Salad

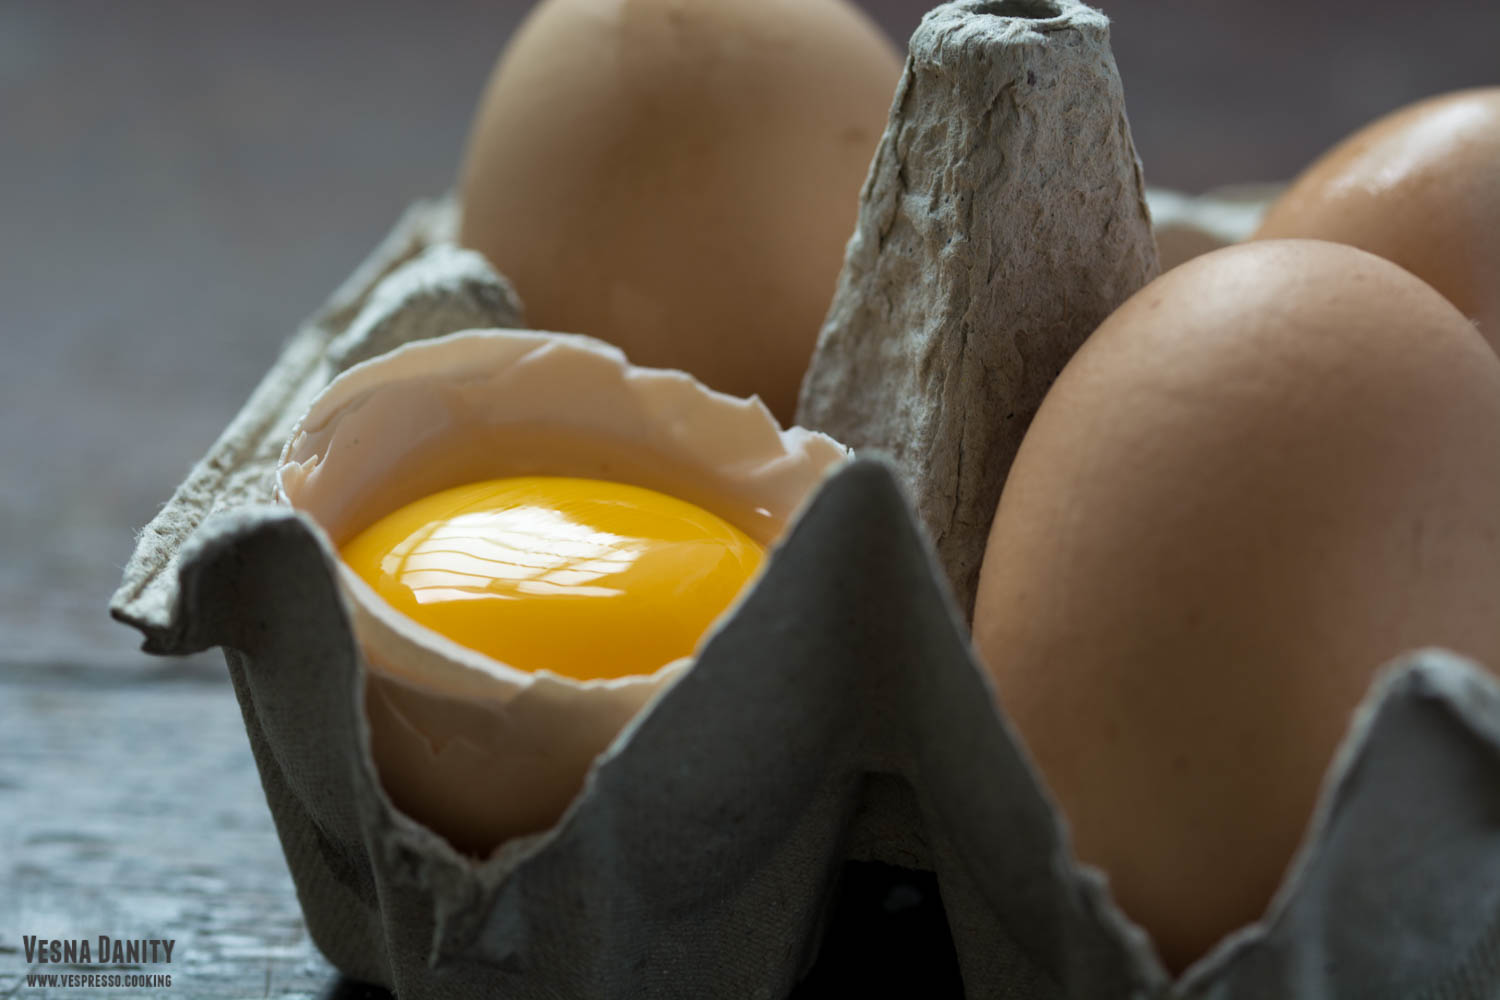
I’ve been testing quail egg recipes for quite a while and I include them almost daily in my diet. I serve them for breakfast, lunch or dinner, as appetizers, main dishes or even desserts. They are so versatile, nutritious and they are also, given their size, ready in no time.

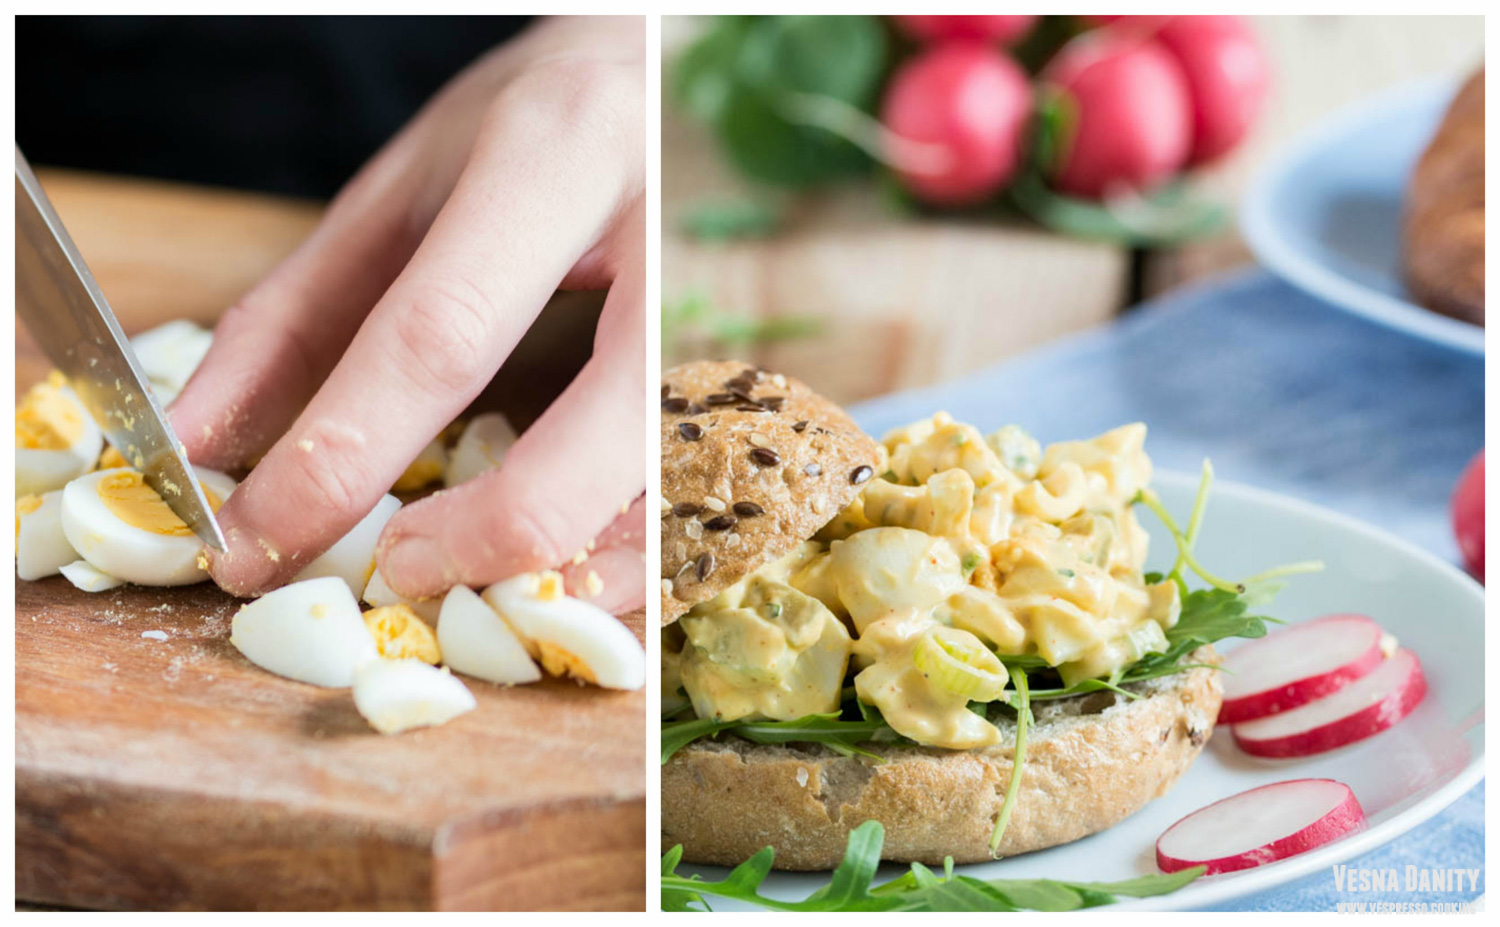
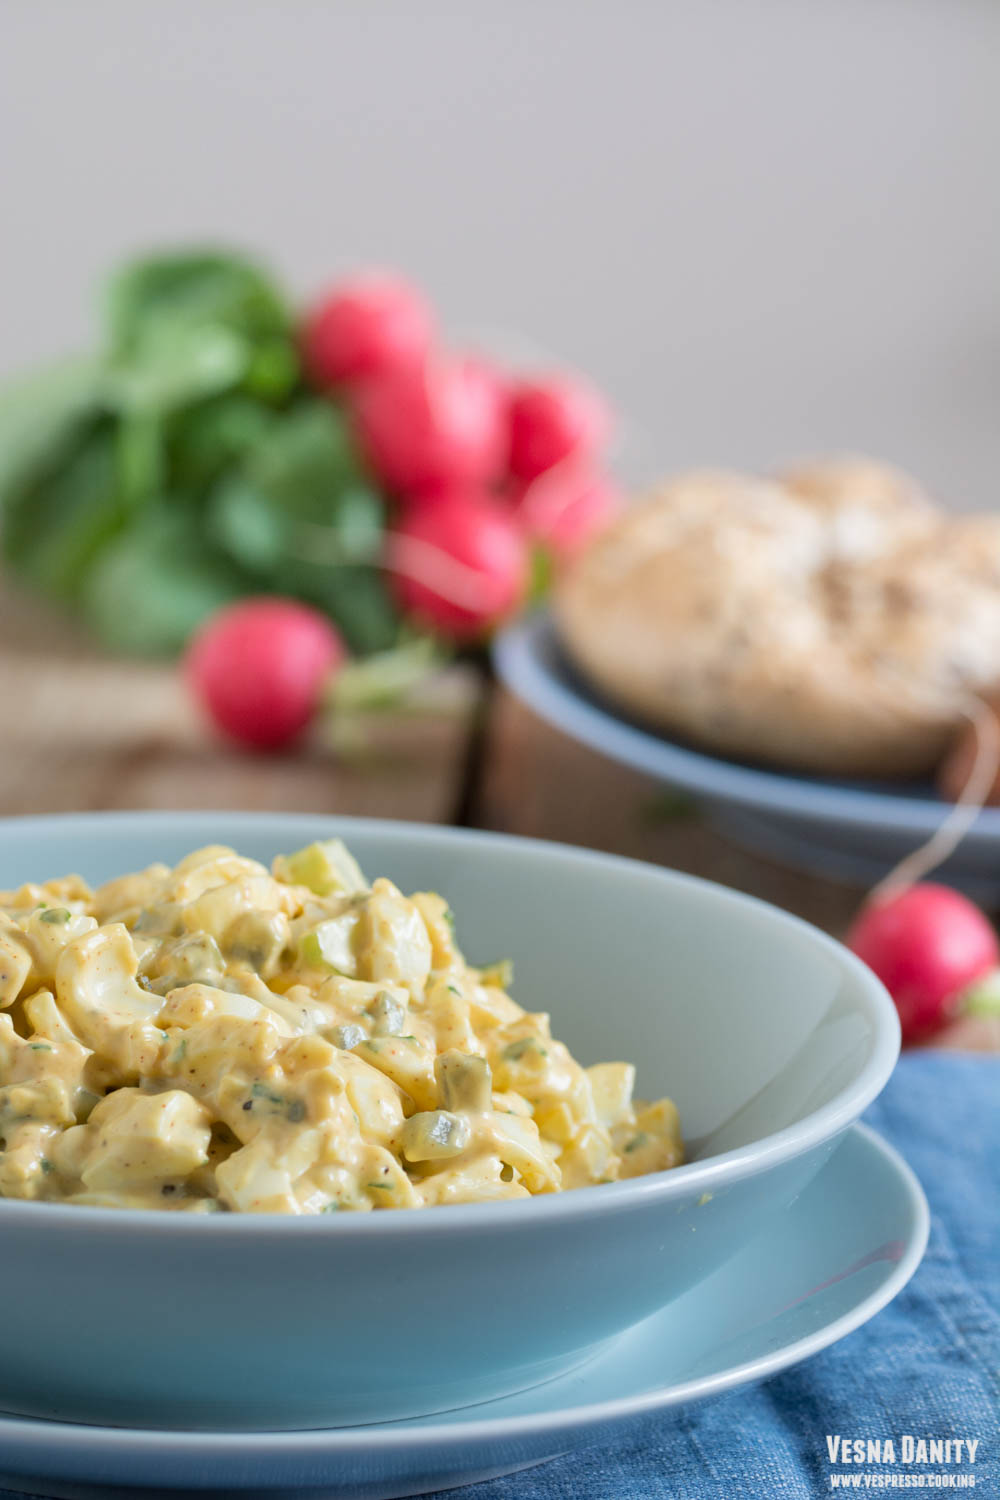
Quail egg salad is simply mouth-watering. It’s ready in less than 20 minutes, it’s smooth and velvety and it’s a true texture and flavor symphony. Homemade mayonnaise gives this salad its creaminess; homemade mayonnaise is so inexpensive and definitely more delicious and nutritious than the store-bought version. For this salad I boiled the quail eggs for 3 minutes, I chopped them and I combined them with scallions, celery and homemade pickled cucumbers. I flavored the salad with Dijon mustard, parsley, lemon zest and chili powdered. Three tablespoons of mayo, salt and freshly ground pepper and the salad was ready. Extremely easy and over-the-top delicious! Continue reading Quail Egg Salad

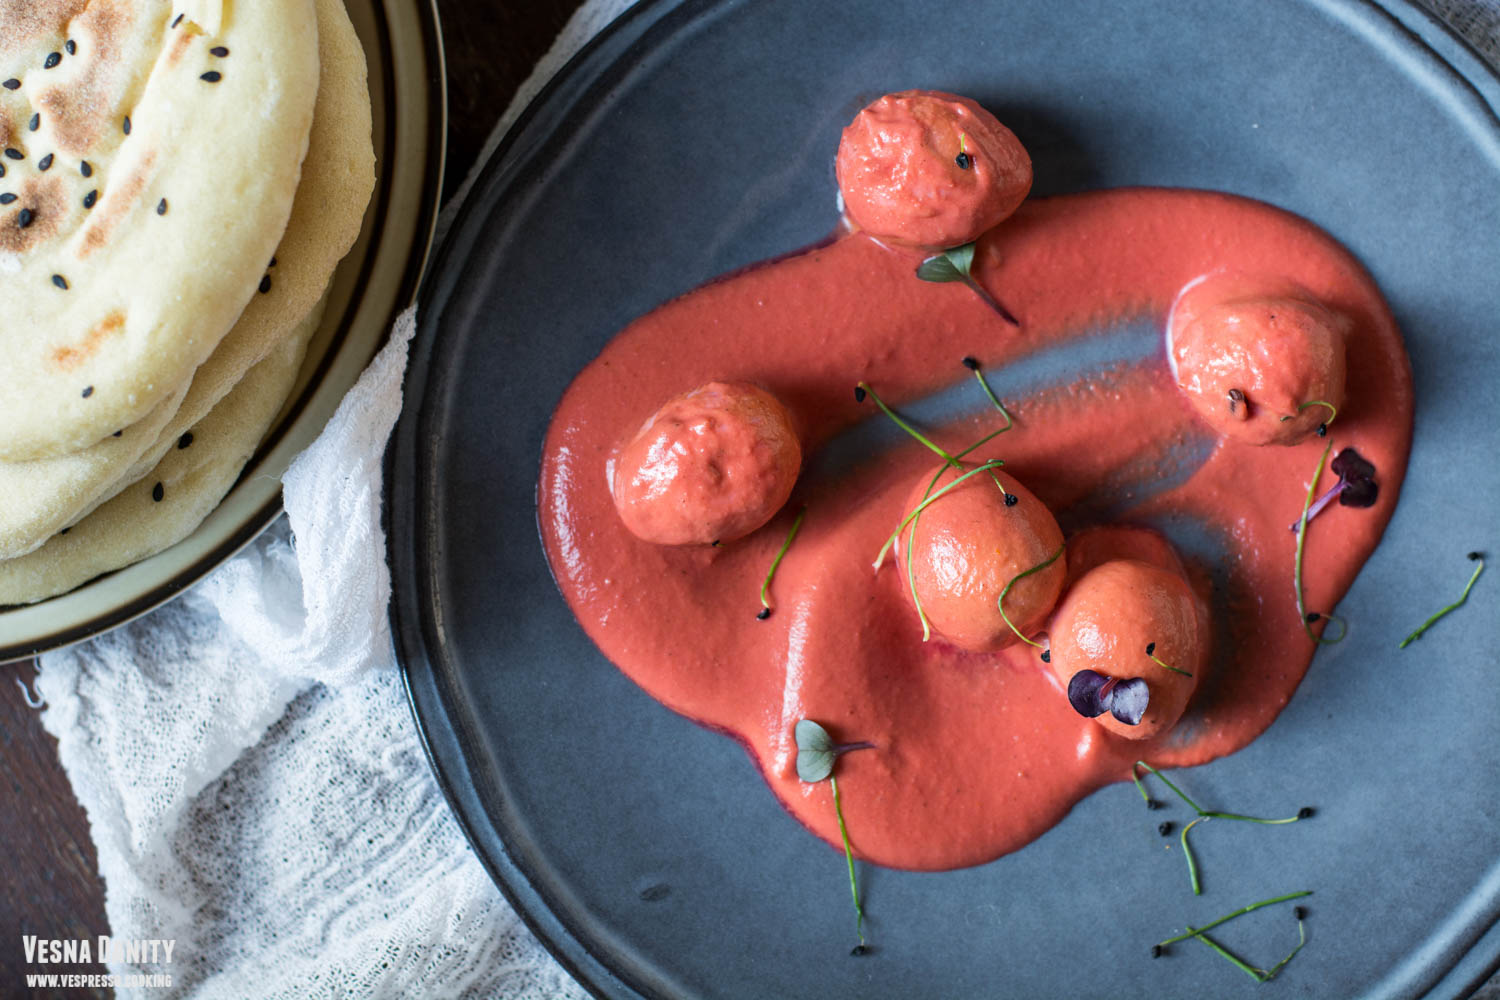
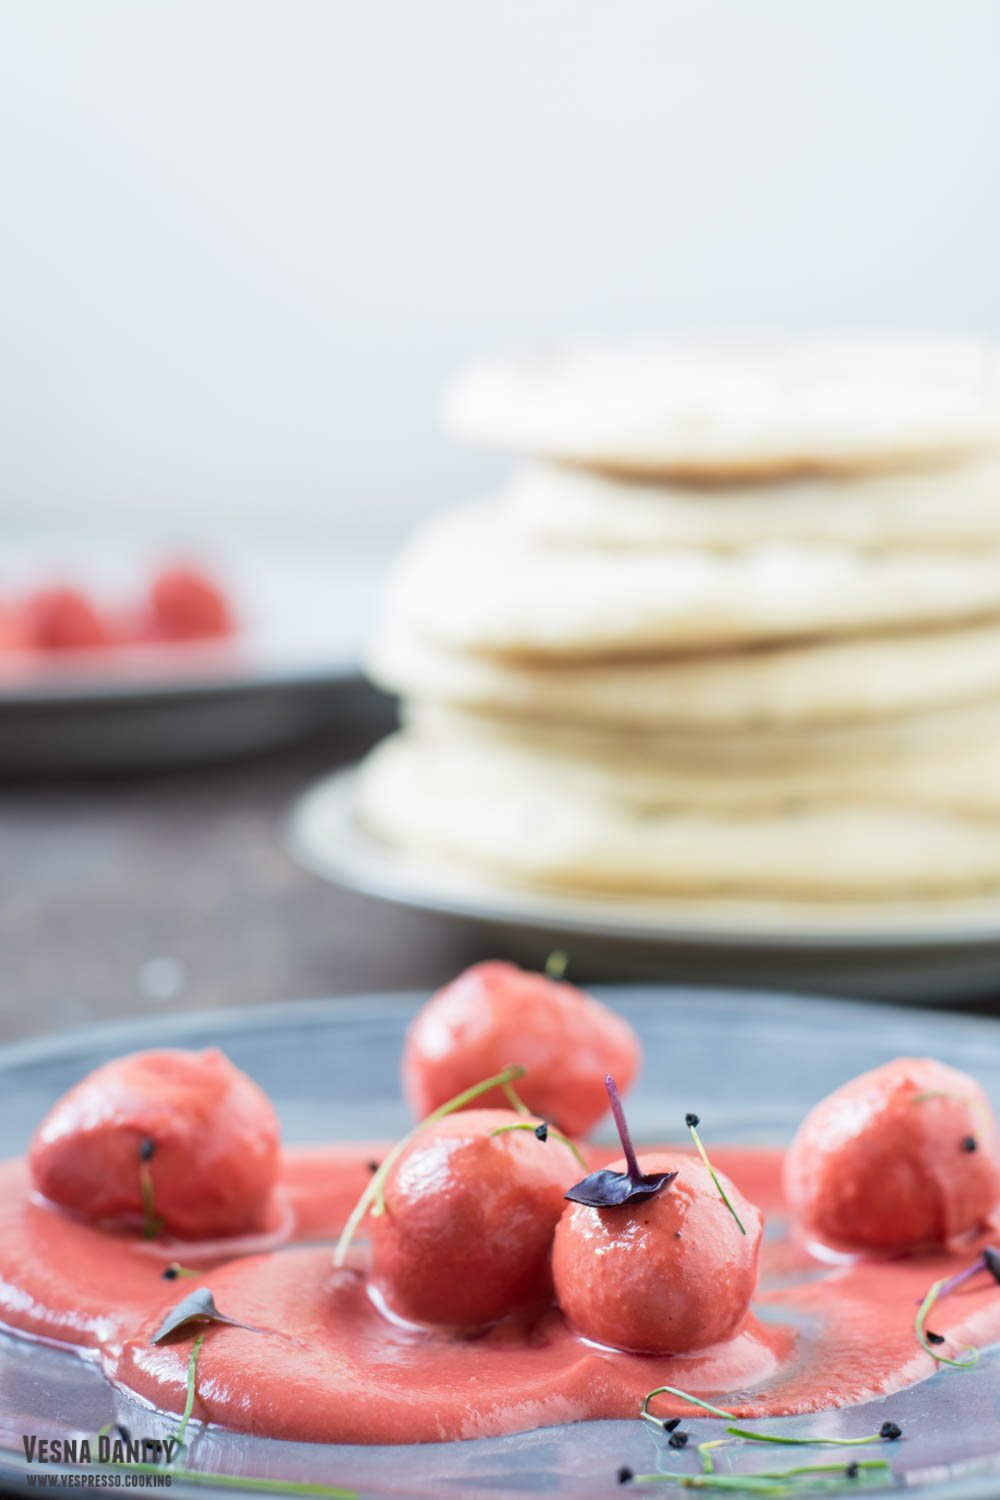
Quail Egg Butter Curry

quail-egg-curry-naan

quail-egg-beetroot-curry

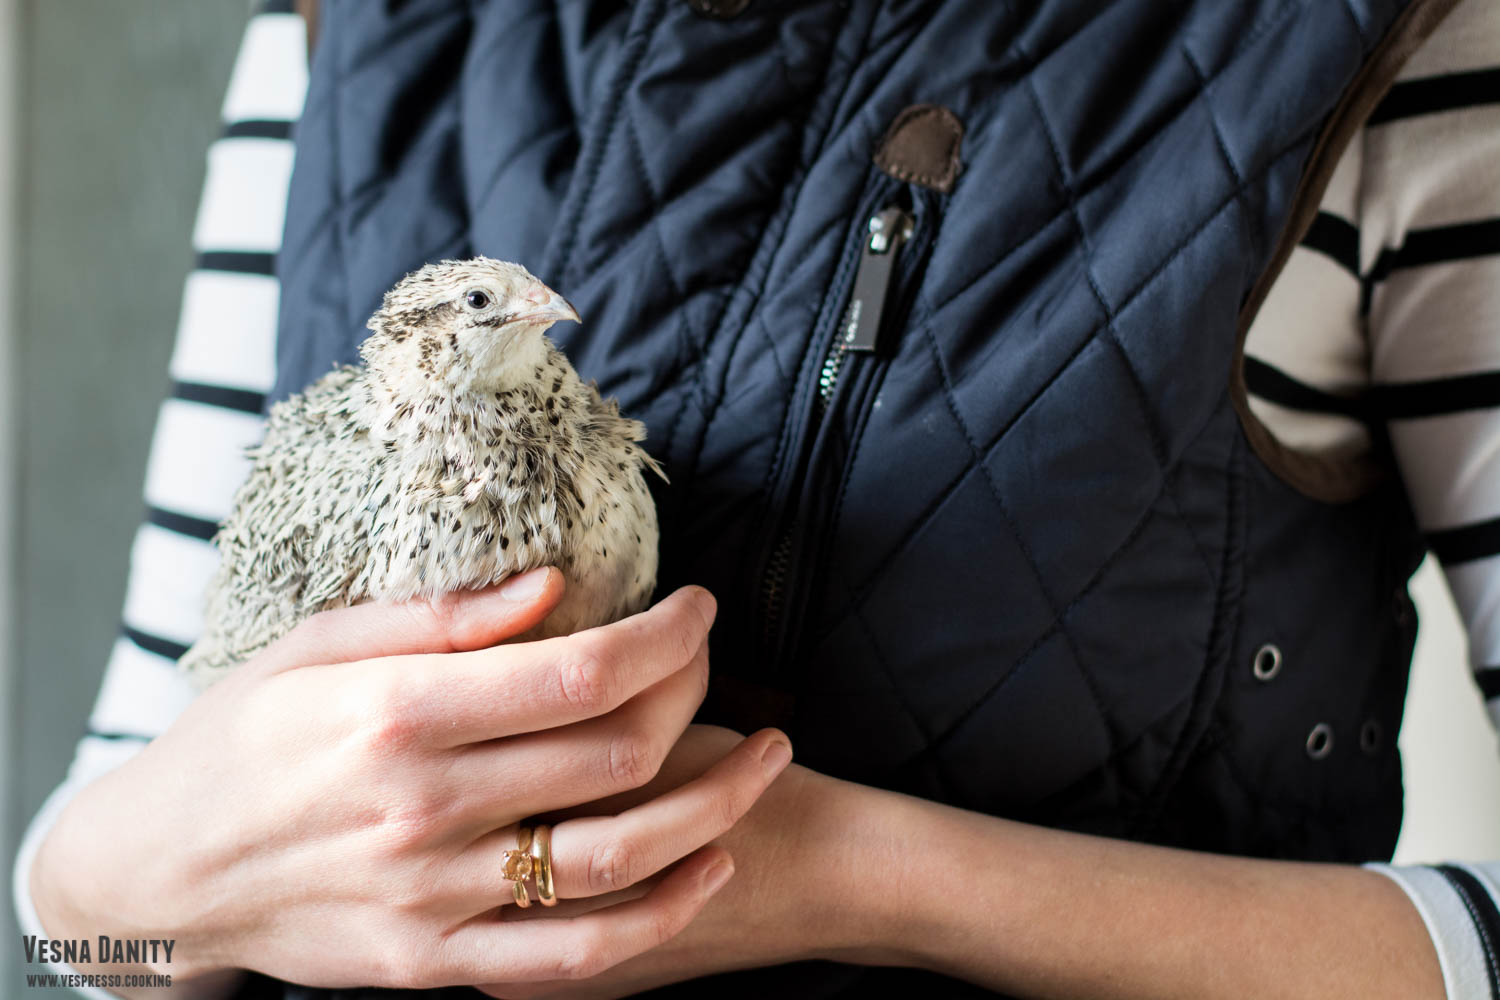
pretty-little-quail

silky-curry

quail-egg-butter-curry-and-sprouts

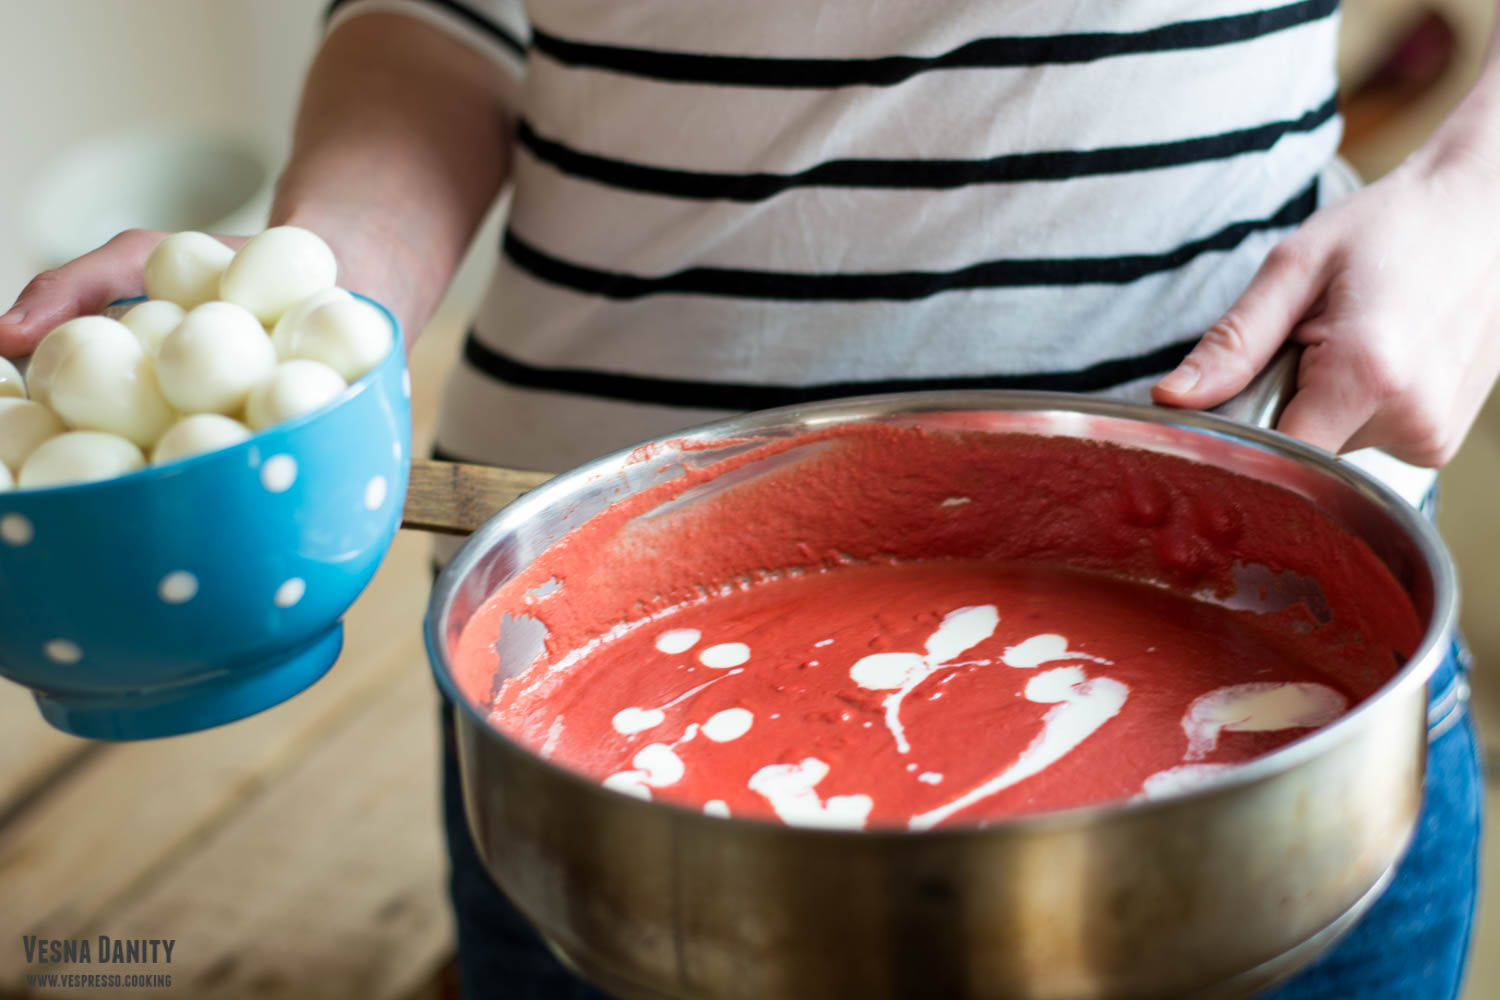
Quail eggs boiled to perfection, served in a velvety and decadent butter and beetroot sauce, scented with ginger and Garam Masala. It does sound appealing, doesn’t it! The fact is I’m seldom dazzled by a combination of flavors, not because I’m a person hard to impress, but because I try really hard to content my emotions, at least culinary-wise. But this flavor profile mesmerizes me, it fascinates me to the point I drag myself to the kitchen at 1 am, in my pijamas, just to enjoy that taste again.

The starting point of this recipe is in fact Murgh Makhani, a delicious Indian butter chicken curry. About three years ago I substituted chicken with quail eggs and the recipe made so much sense, that I’ve made it only with quail eggs ever since. I often make this recipe with ghee, the Indian clarified butter, a very nutritious ingredient, but since I make my own ghee and I happened to run out ot it, I decided to use regular butter. And yes, that gorgeous chick in the picture is one of my quail-pets. On this note, how cool is the fact that my pets also provide breakfast? Continue reading Quail Egg Butter Curry

Roasted Pumpkin and Corn Salad

salad

pumpkins

pumpkin-corn-salad

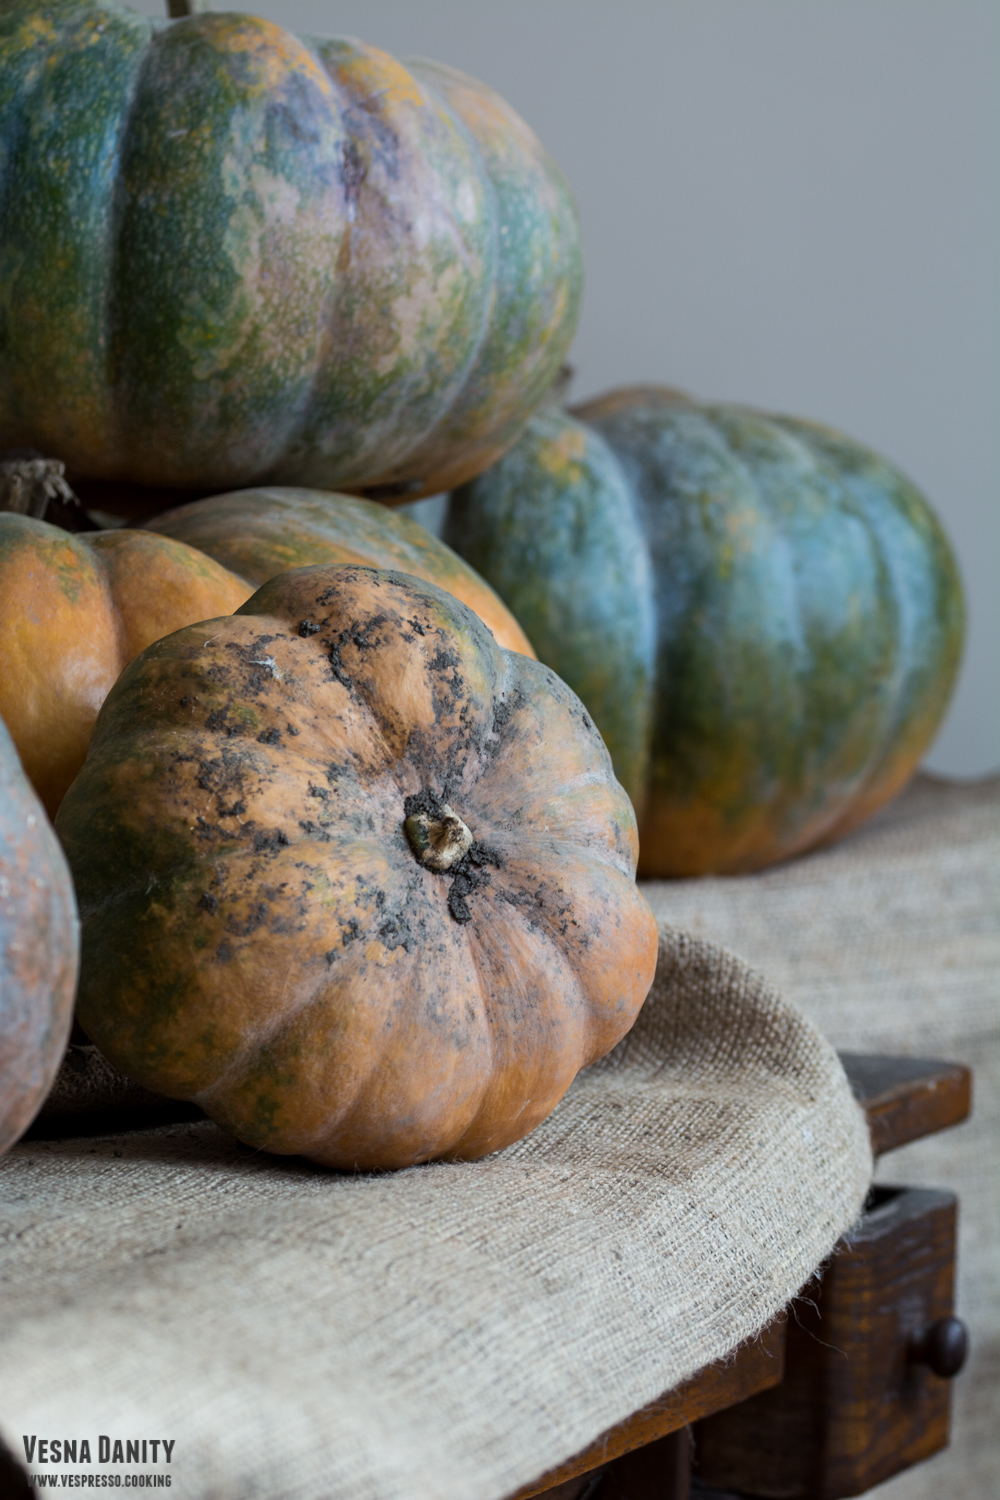
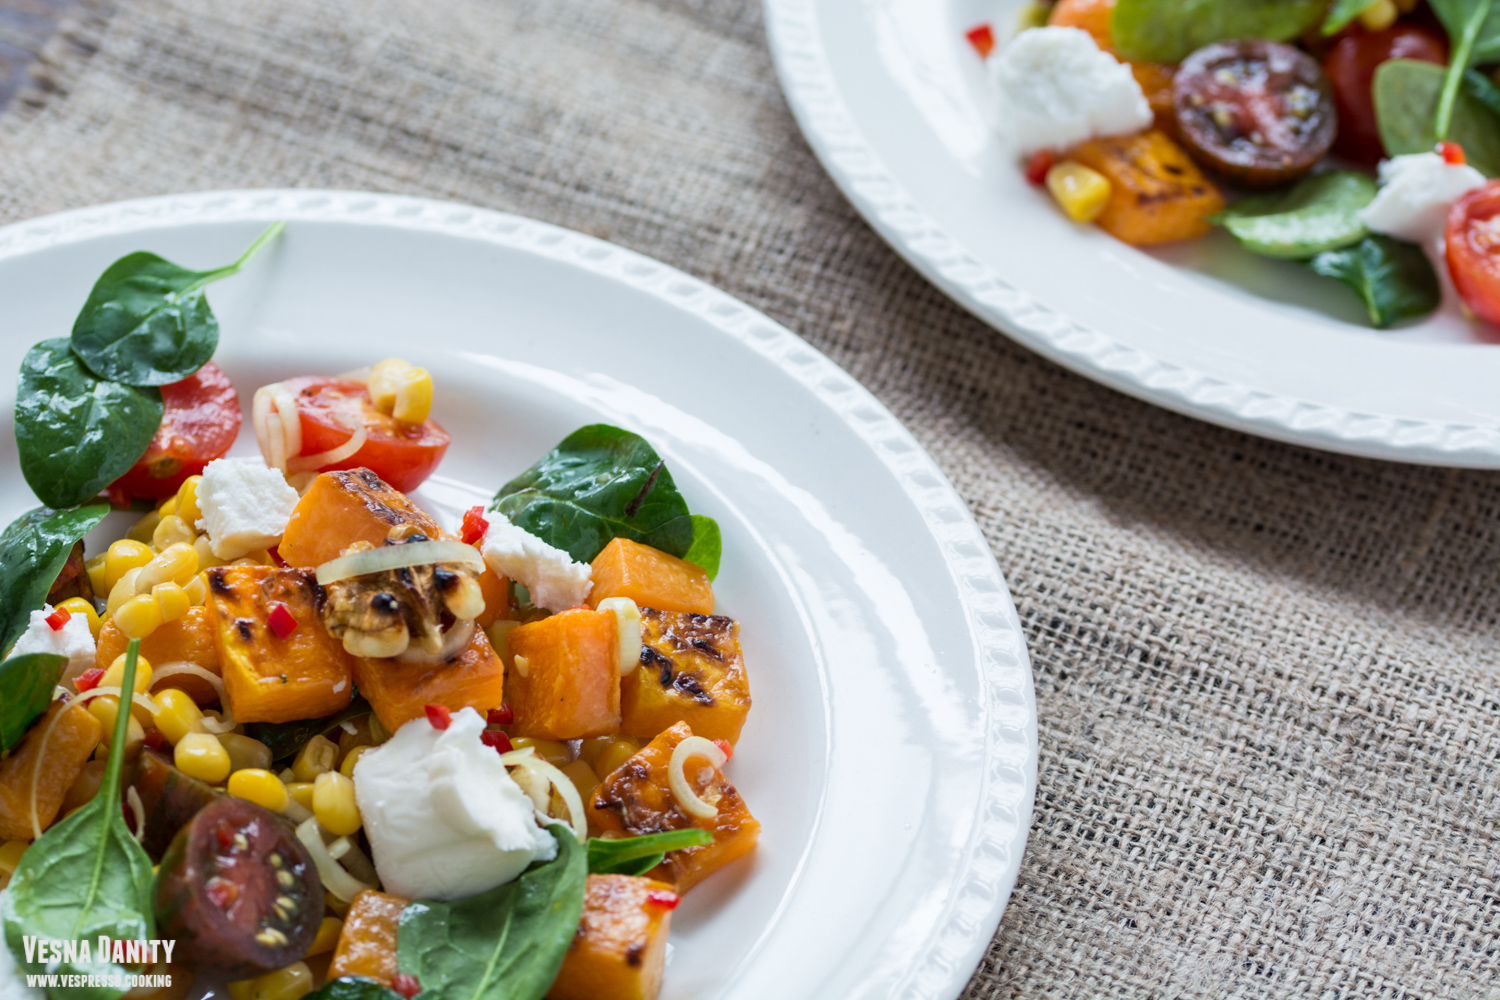
For me, autumn basically translates itself by pumpkin. Pumpkin soups and creams, pumpkin salads and stakes, pumpkin cakes, pies and smoothies.  This humble and extremely versatile vegetable has won my heart through time, due to its lovely flavor, texture and sweetness. Undoubtedly, my favorite variety of pumpkin is Musquee de Provence, a French variety that I’ve been growing in my own veggie garden for years. This beautiful giant has a gorgeous burnt orange skin with teal patches and a deep-orange flesh. The flesh is delicious and flavorful and if it’s finely sliced, it can be served even raw. Continue reading Roasted Pumpkin and Corn Salad

Sweet Chili Jam

sweet-sour-chili-sauce

chili

chili-sauce-jars

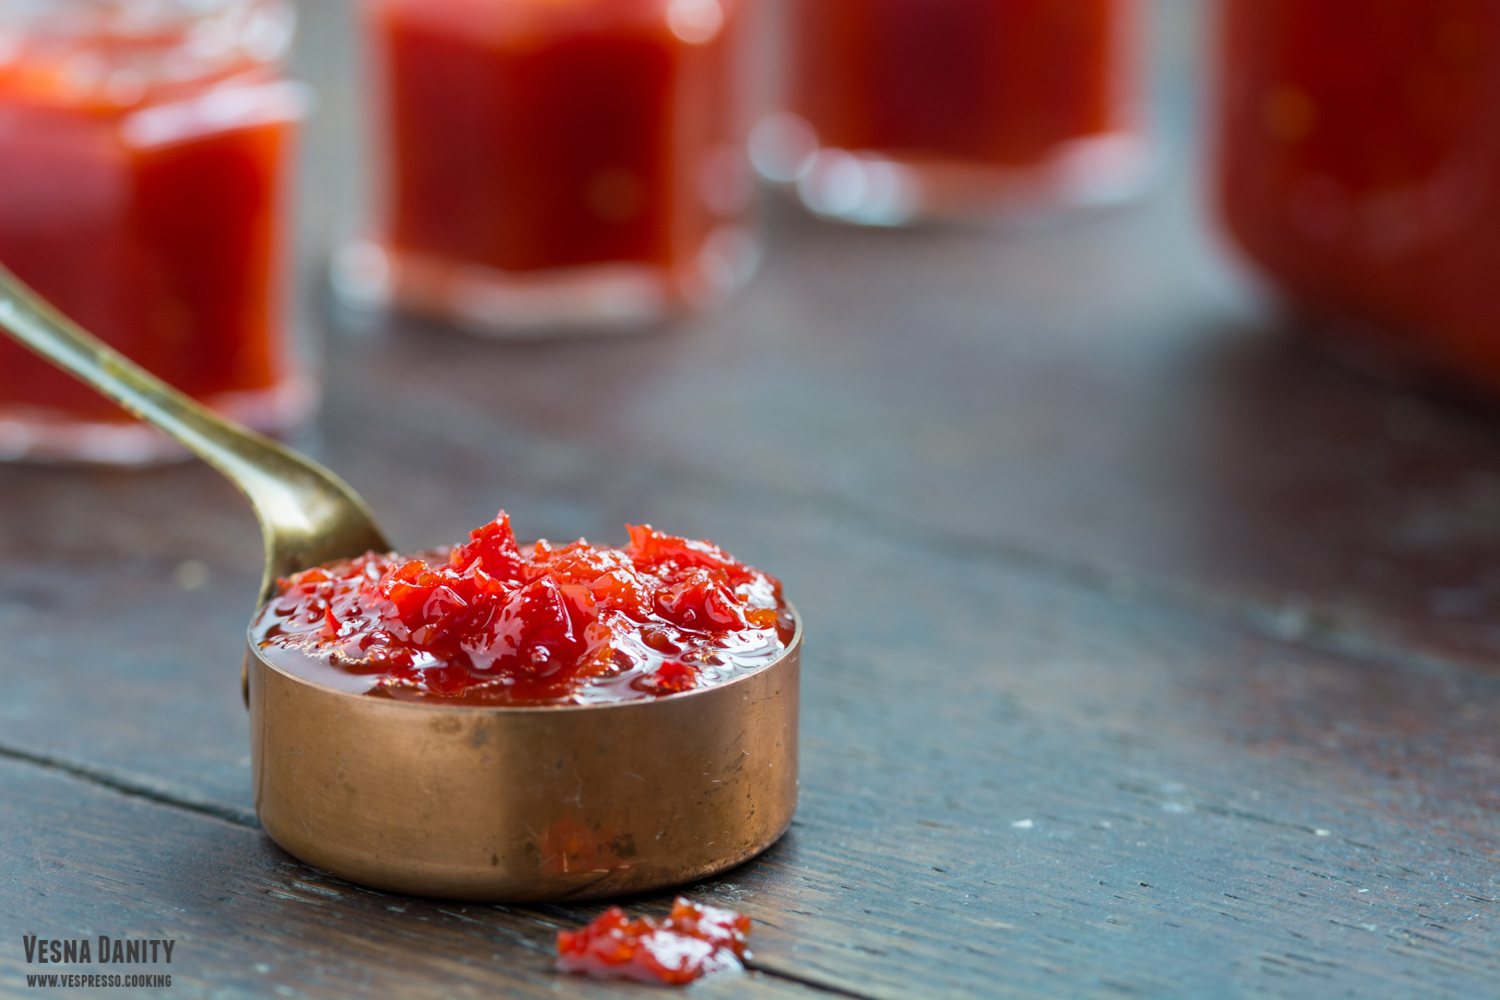
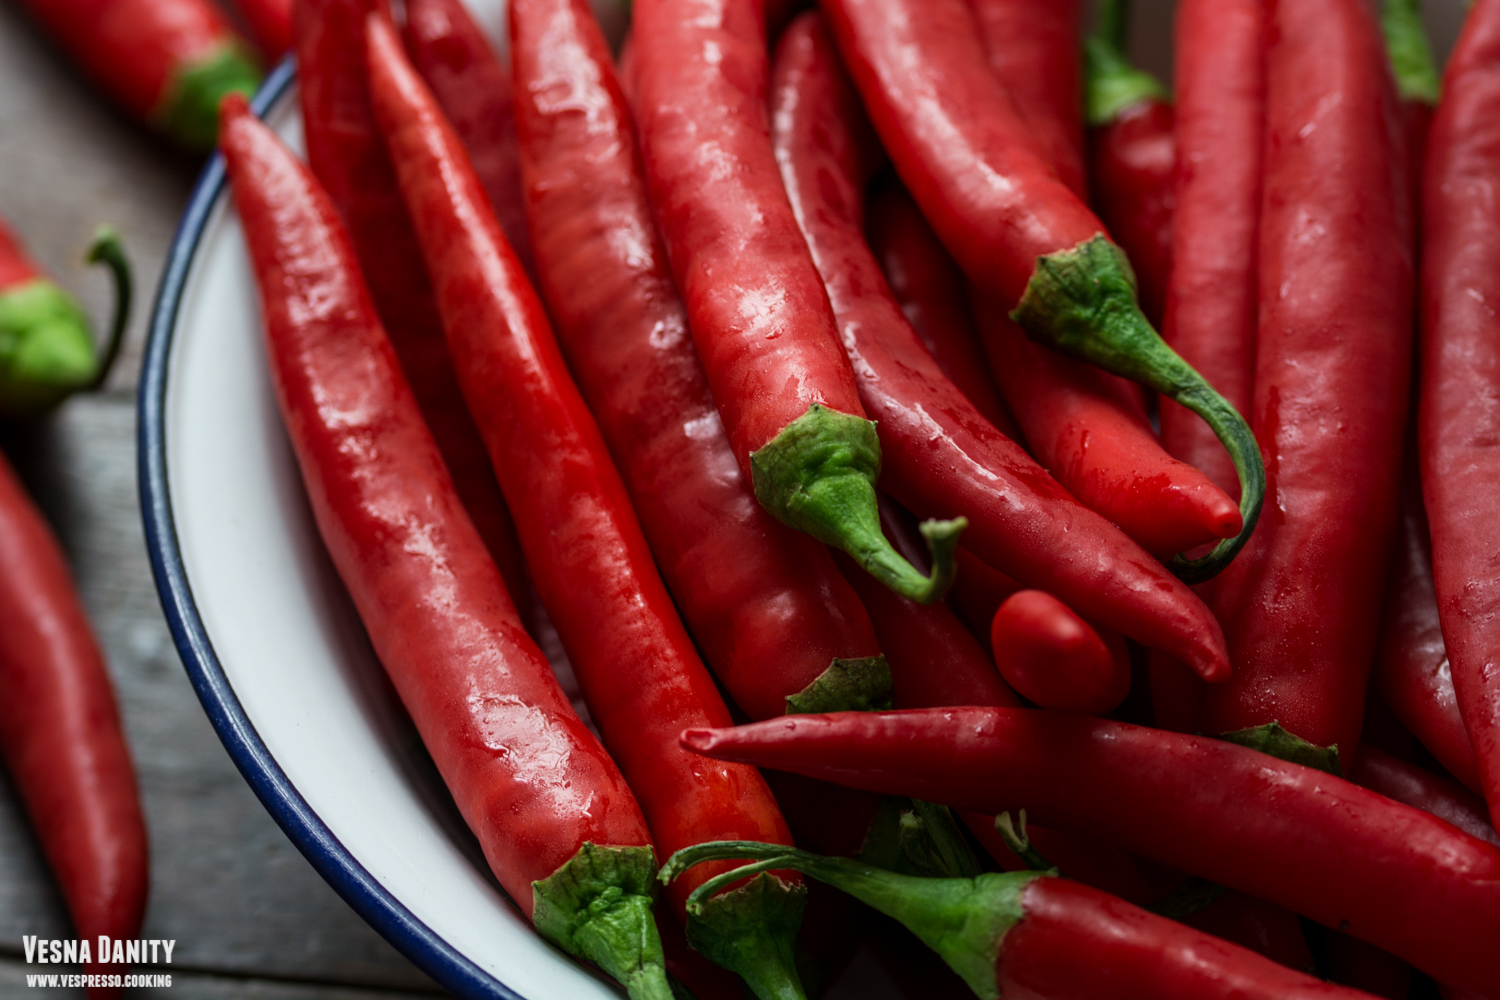
Sweet and sour chili jam is an amazing thing! It’s a vegan sauce, made from only four budget-friendly ingredients (chili, apple cider vinegar, brown sugar and garlic). This sauce has the capacity to elevate each and every single dish you can think of, it goes divine with veggies, dairy and meat products, pasta, rice, omelets, burgers or sandwiches. I love chili sauce so much that I’d be even tempted to pair it with tarts and cakes, the only thing that discourages me a tiny bit is the garlic in its composition.

Chili sauce has such a lovely vibrant color. It’s so creamy and dense. It is hot and spicy, fragrant and so flavorful. It is also extremely easy to make at it lasts in the refrigerator up to 2 months. Theoretically. Practically, the jar will be empty in 2 or 3 weeks. I really hope you’ll give it a try! Continue reading Sweet Chili Jam