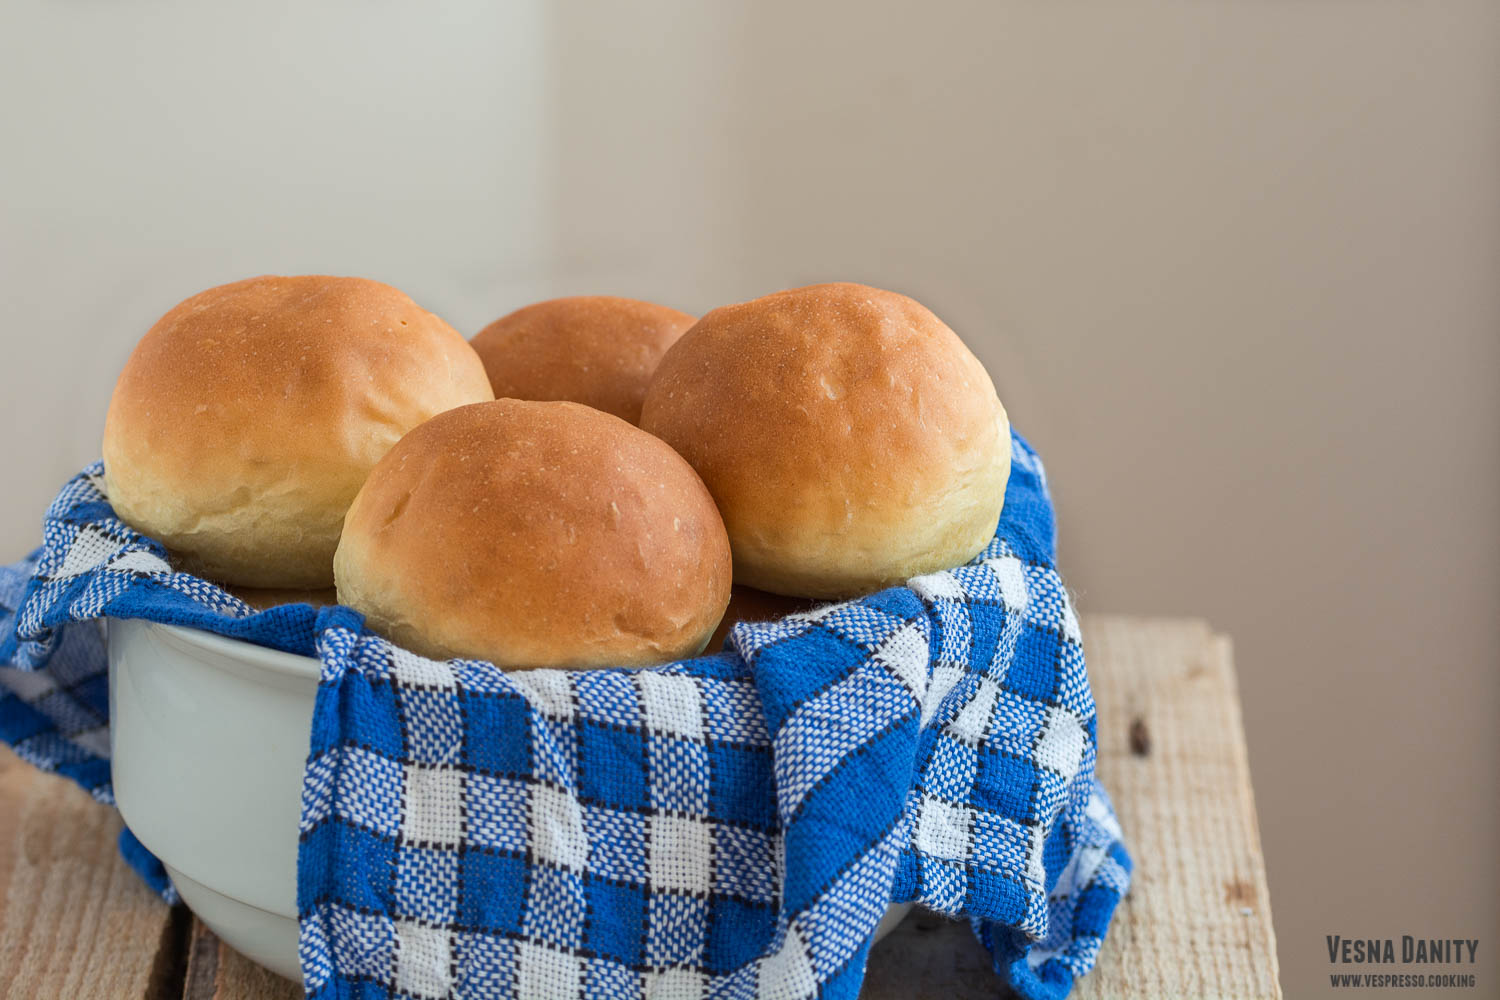
Burger Buns (Vegan)


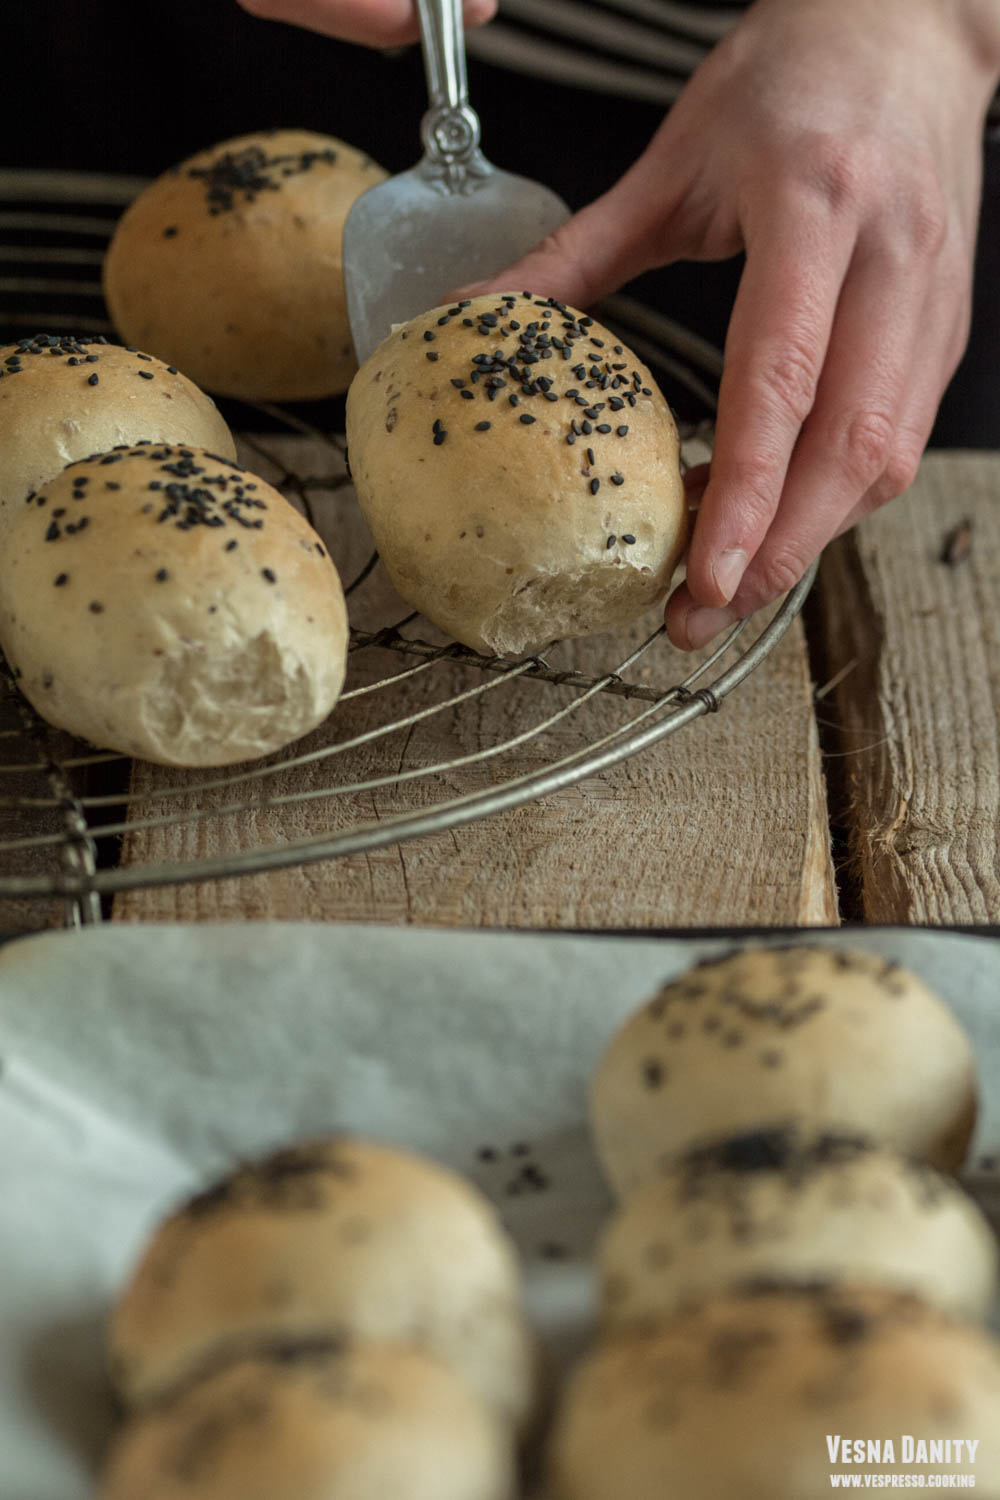
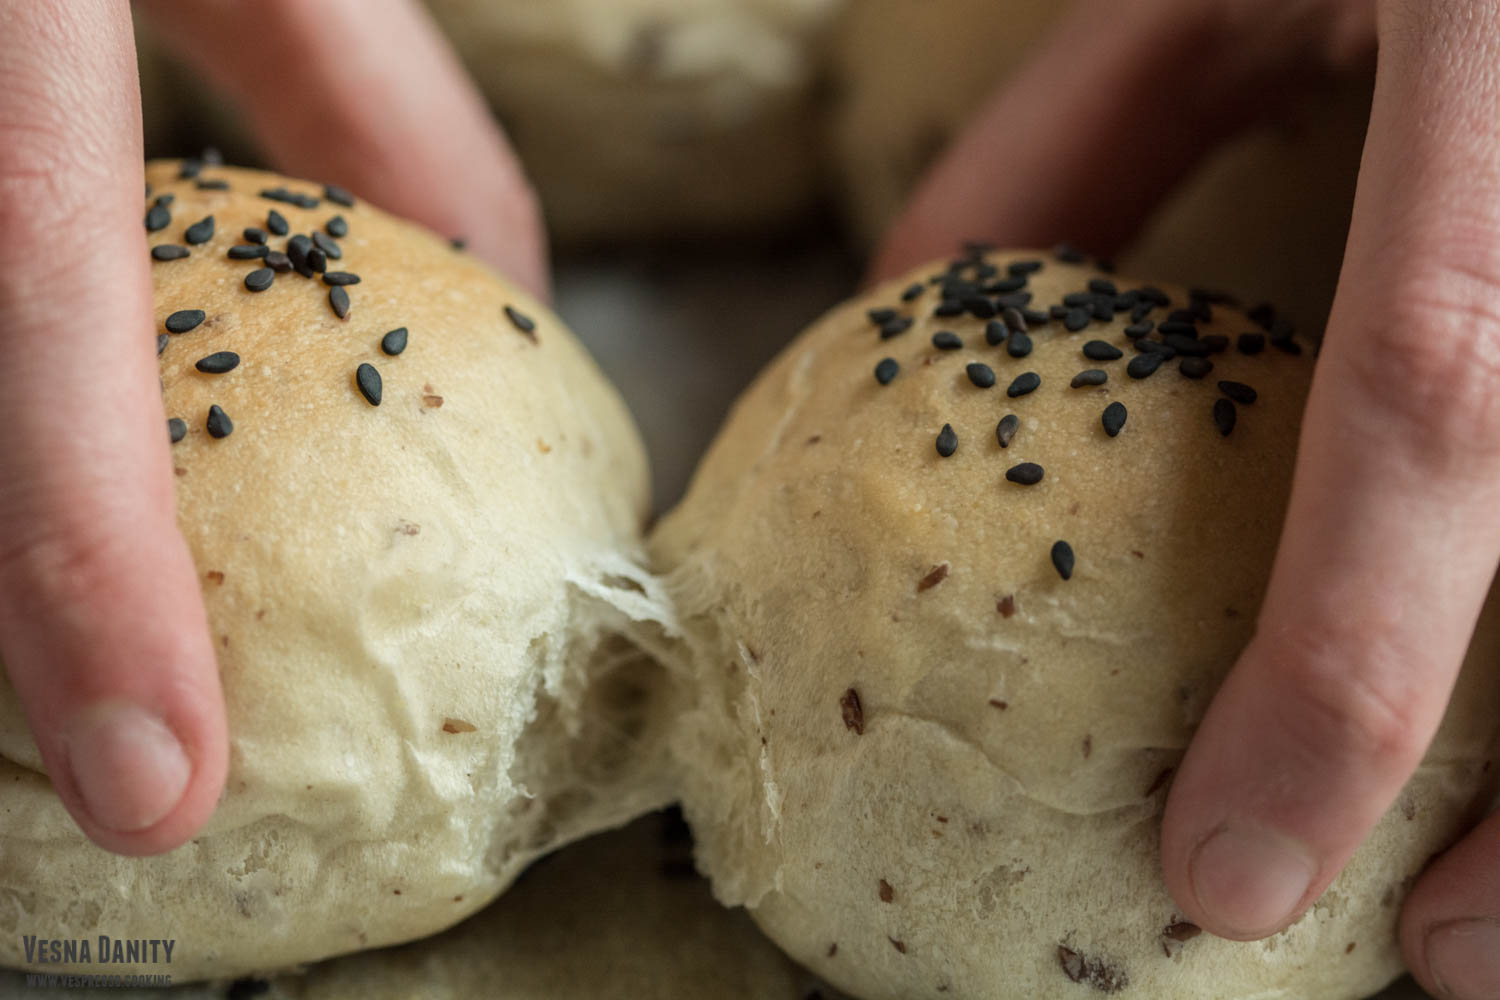
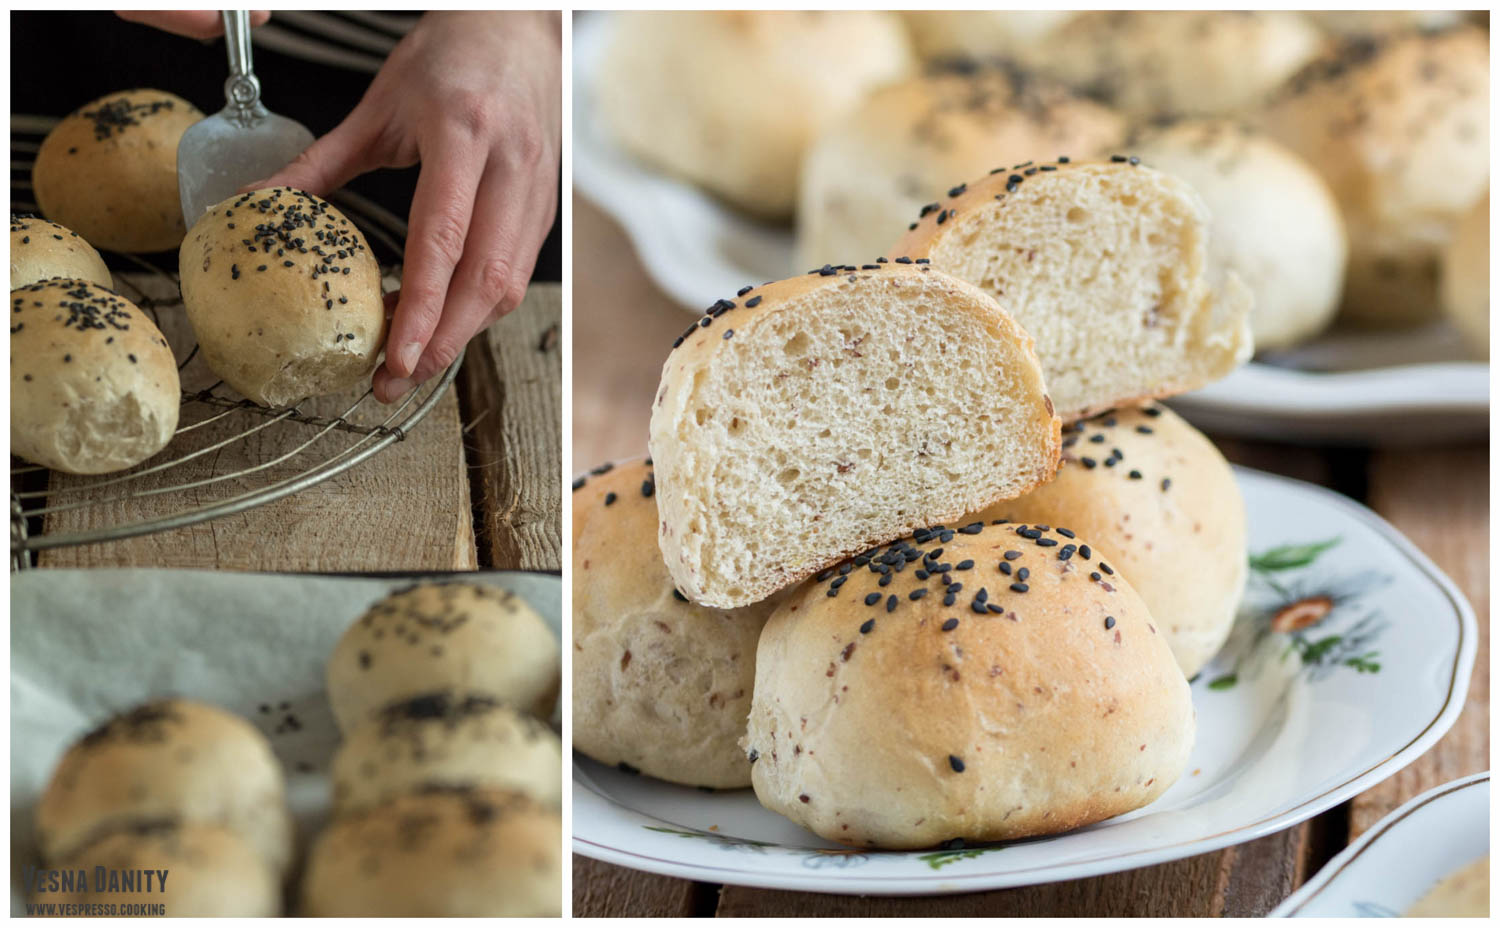
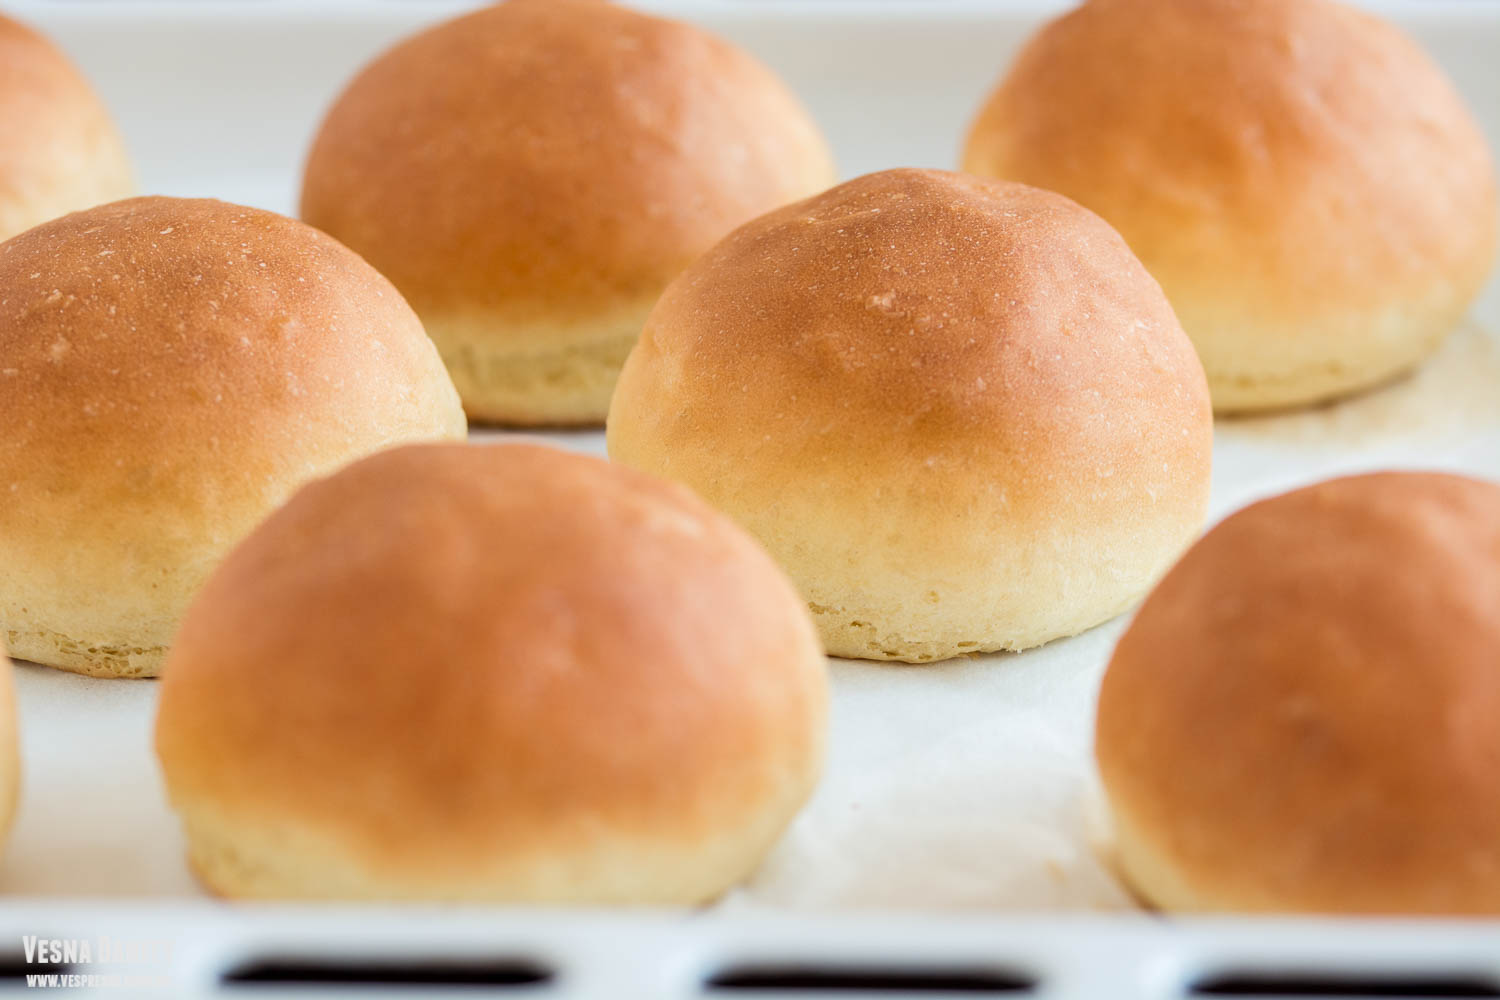
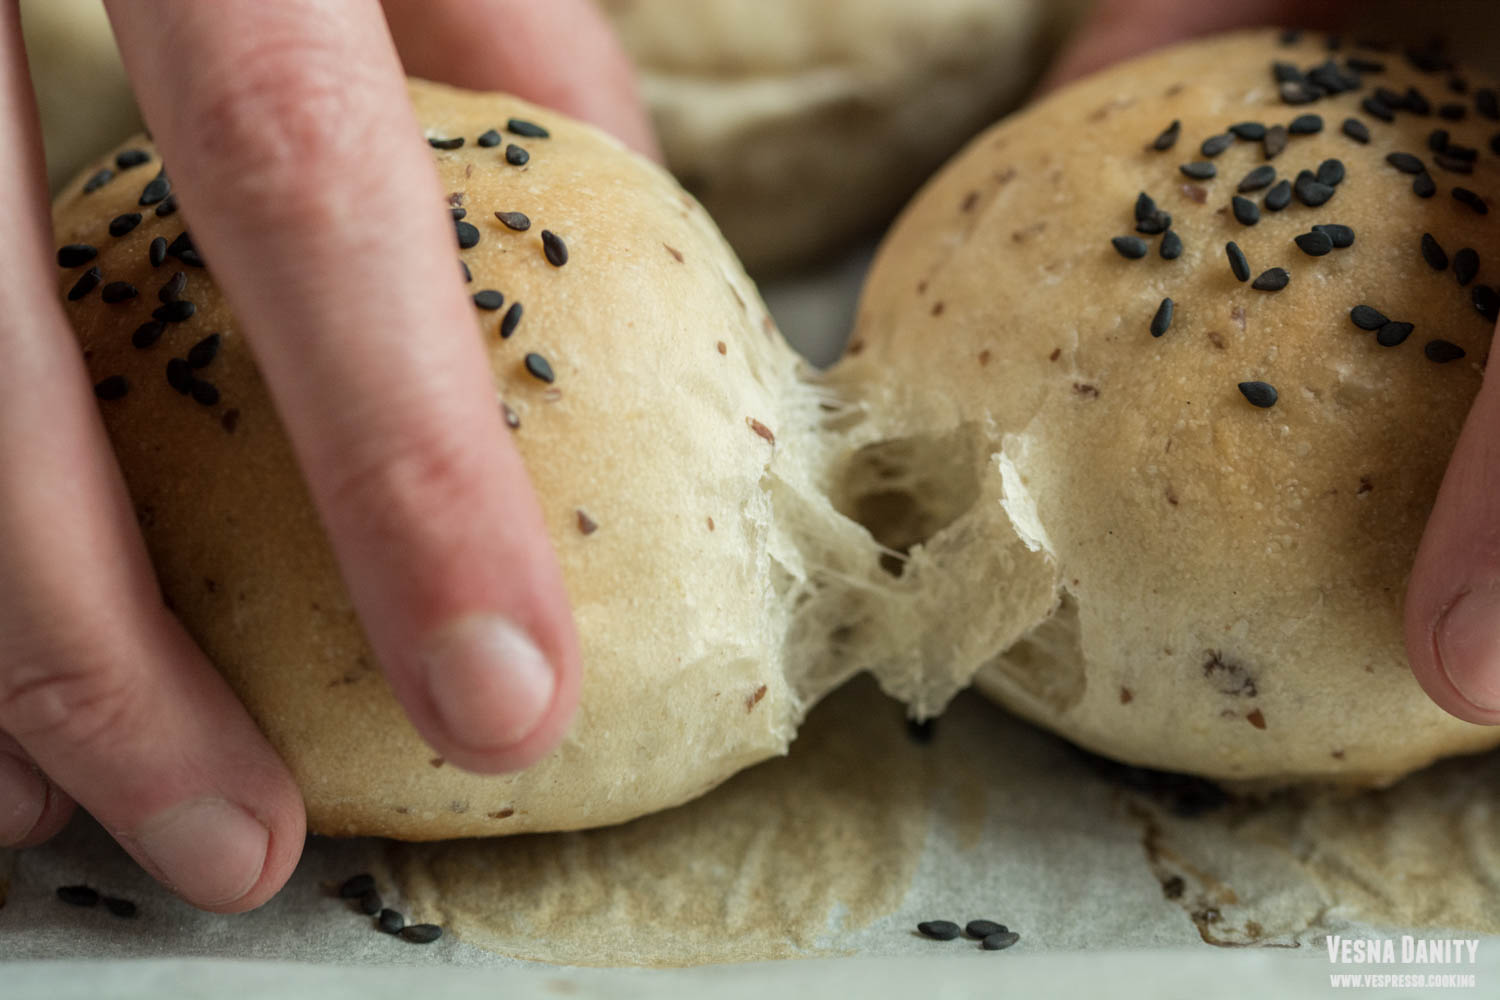
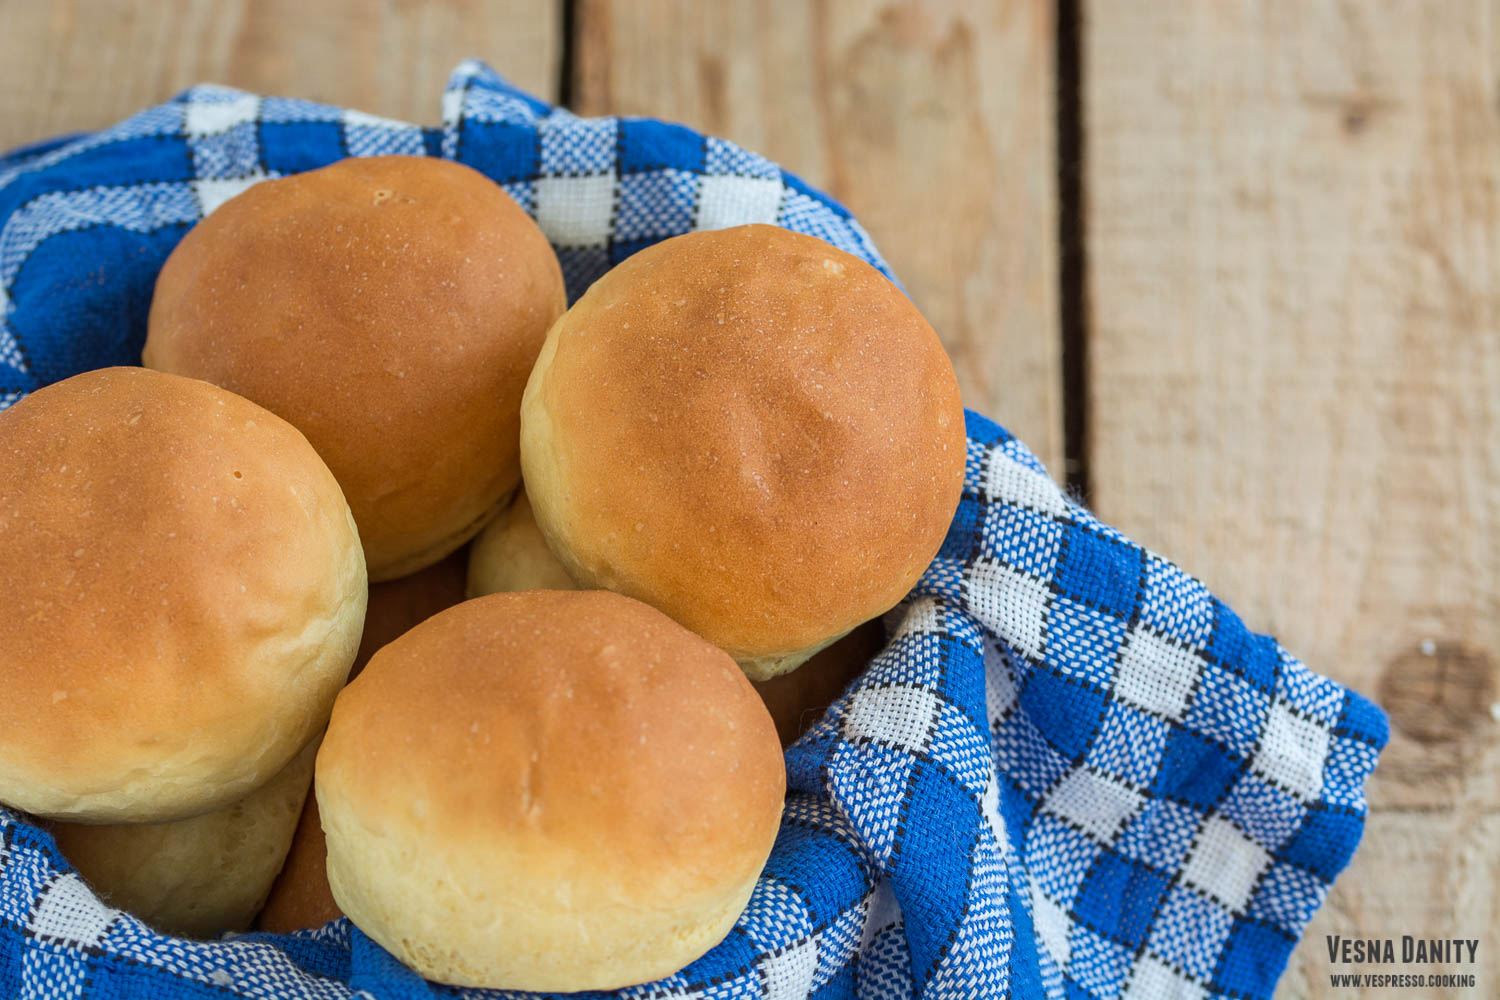
It would be impossible for me to even try to describe how delicious these homemade buns are. From my point of view, these are the perfect burger buns; they taste amazing and smell absolutely divine, they have a tender, flavorful crust and an elastic, pillowy center. Even though I’m not the typical ‘bread on every meal’ kind of person, I cannot stop at just one bun. These guys are so delicious that I cannot imagine a person who could stop after just one piece. They are simply exquisite. And I just have to tell you a tiny secret: they are vegan. Over and out.

Ingredients (for 20 buns):

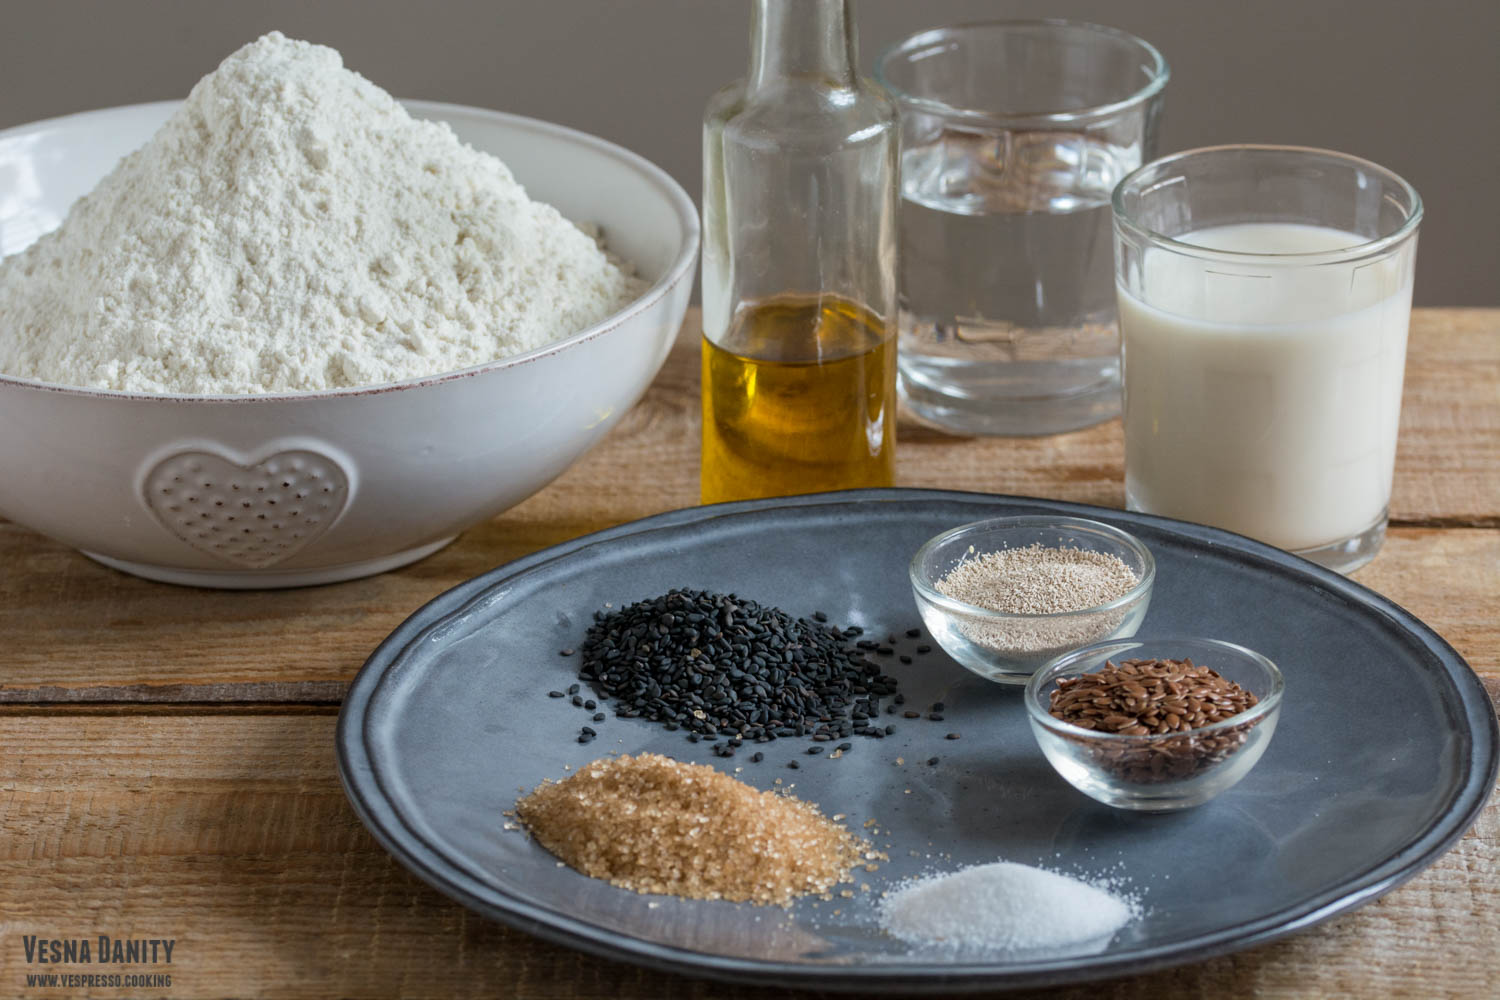
  • 450g all-purpose flour + extra 50g for kneading
  • 120ml water
  • 120ml vegan milk (I used almond milk)
  • 2 Tbsp brown sugar
  • 2 Tbsp olive oil
  • 1 satchel active dry yeast
  • egg substitute: 1 Tbsp ground flax seeds + 3 Tbsp water

for the garnish:

  • 2 Tbsp vegan milk
  • ½ brown sugar
  • 2 Tbsp sesame seeds

Method:

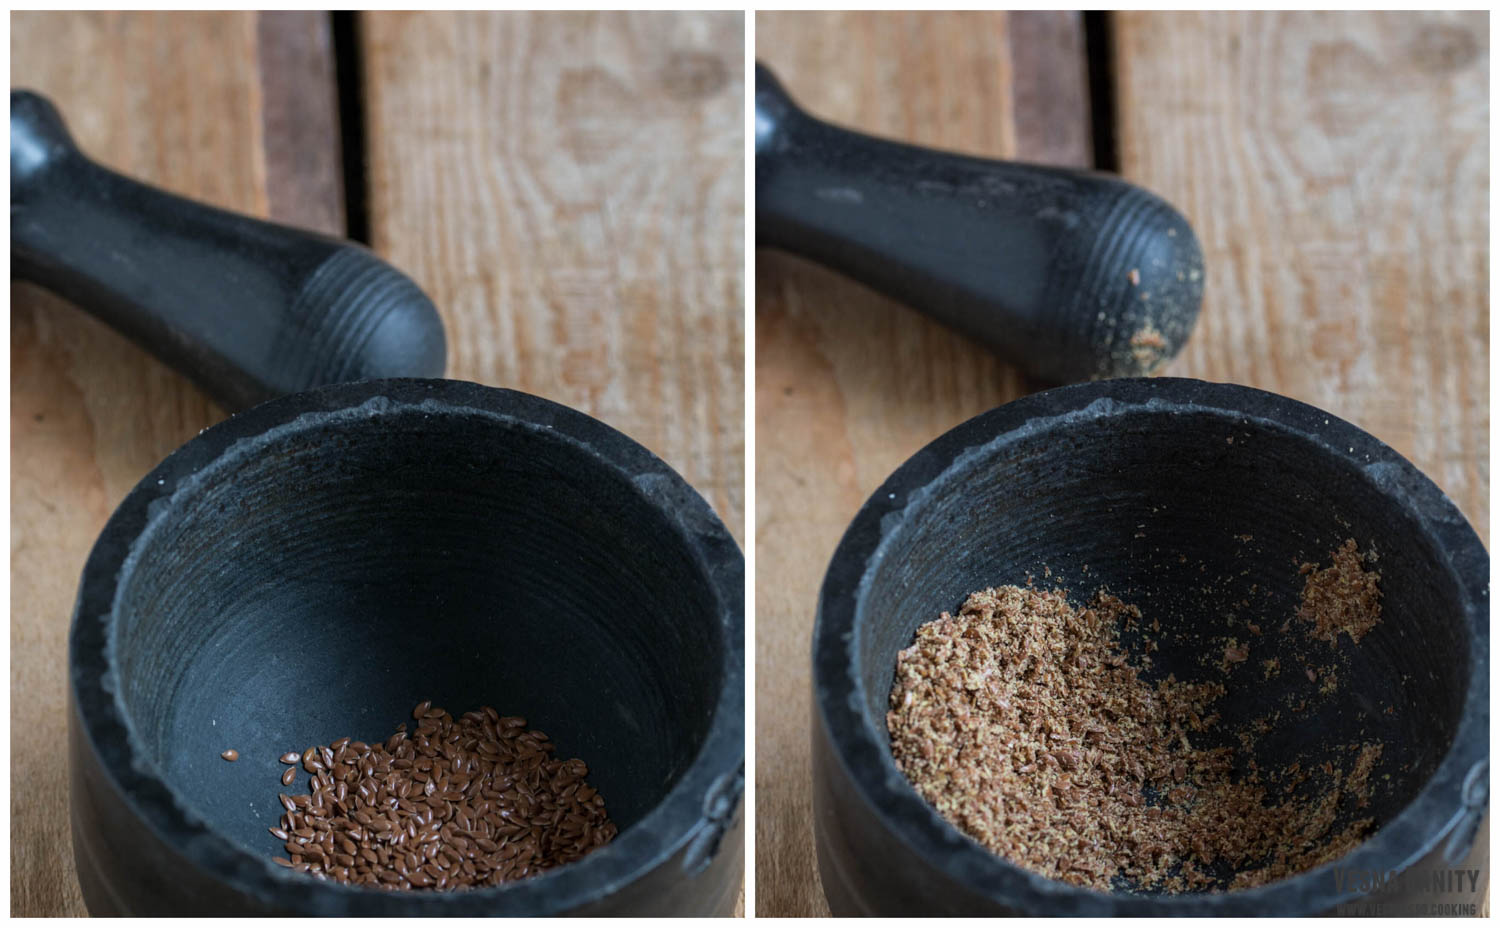
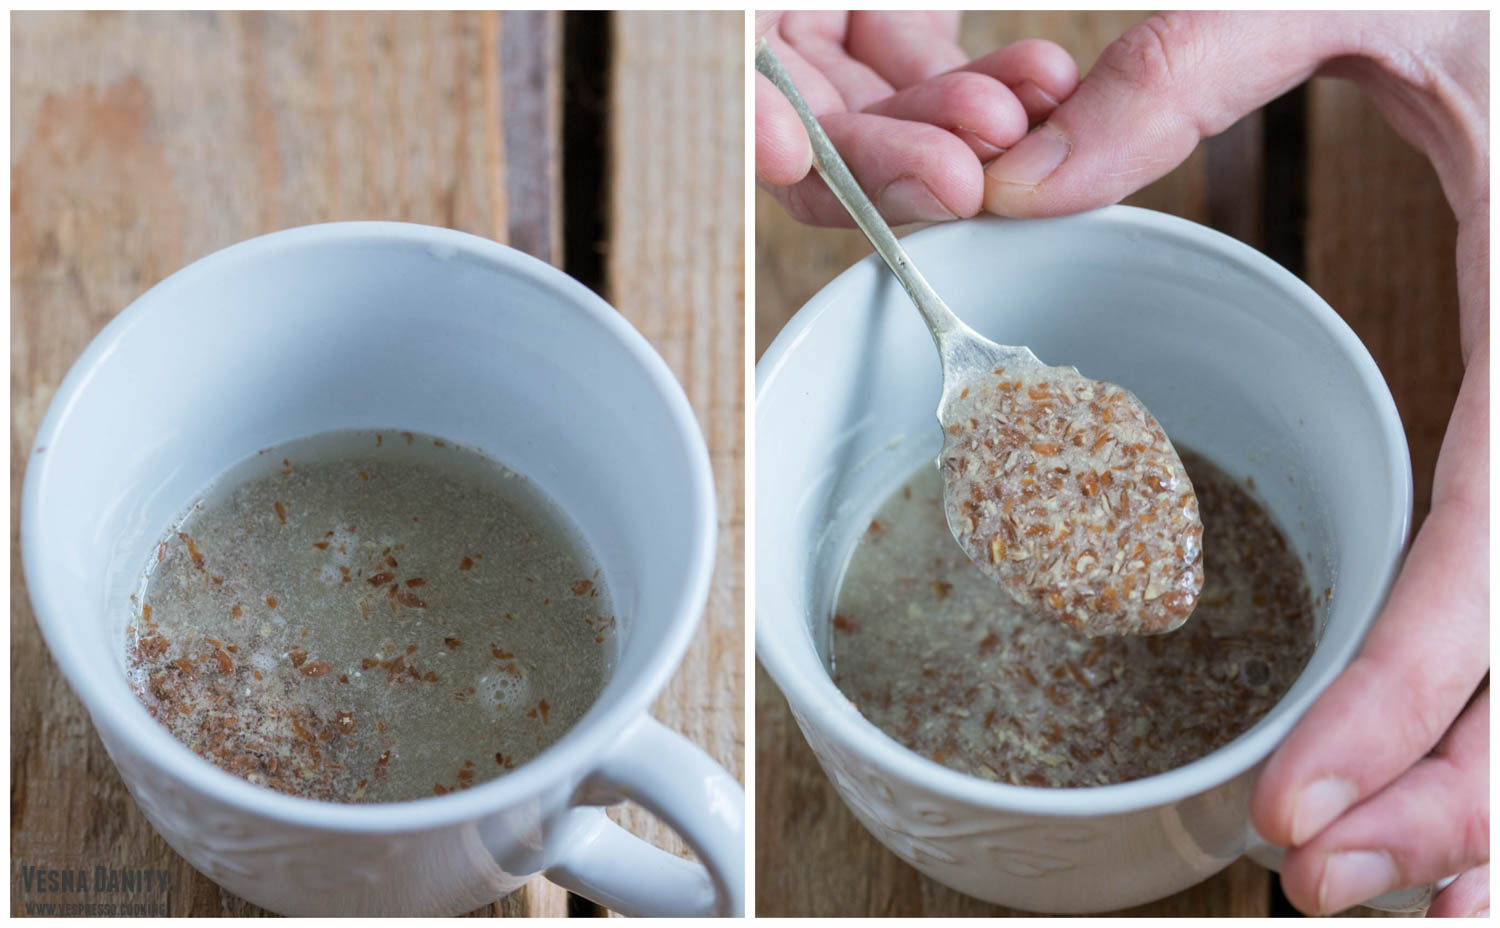
  1. Egg substitute. Grind the flax seeds using a mortar and pestle. Add 3 Tbsp of water and leave aside for 5 minutes.
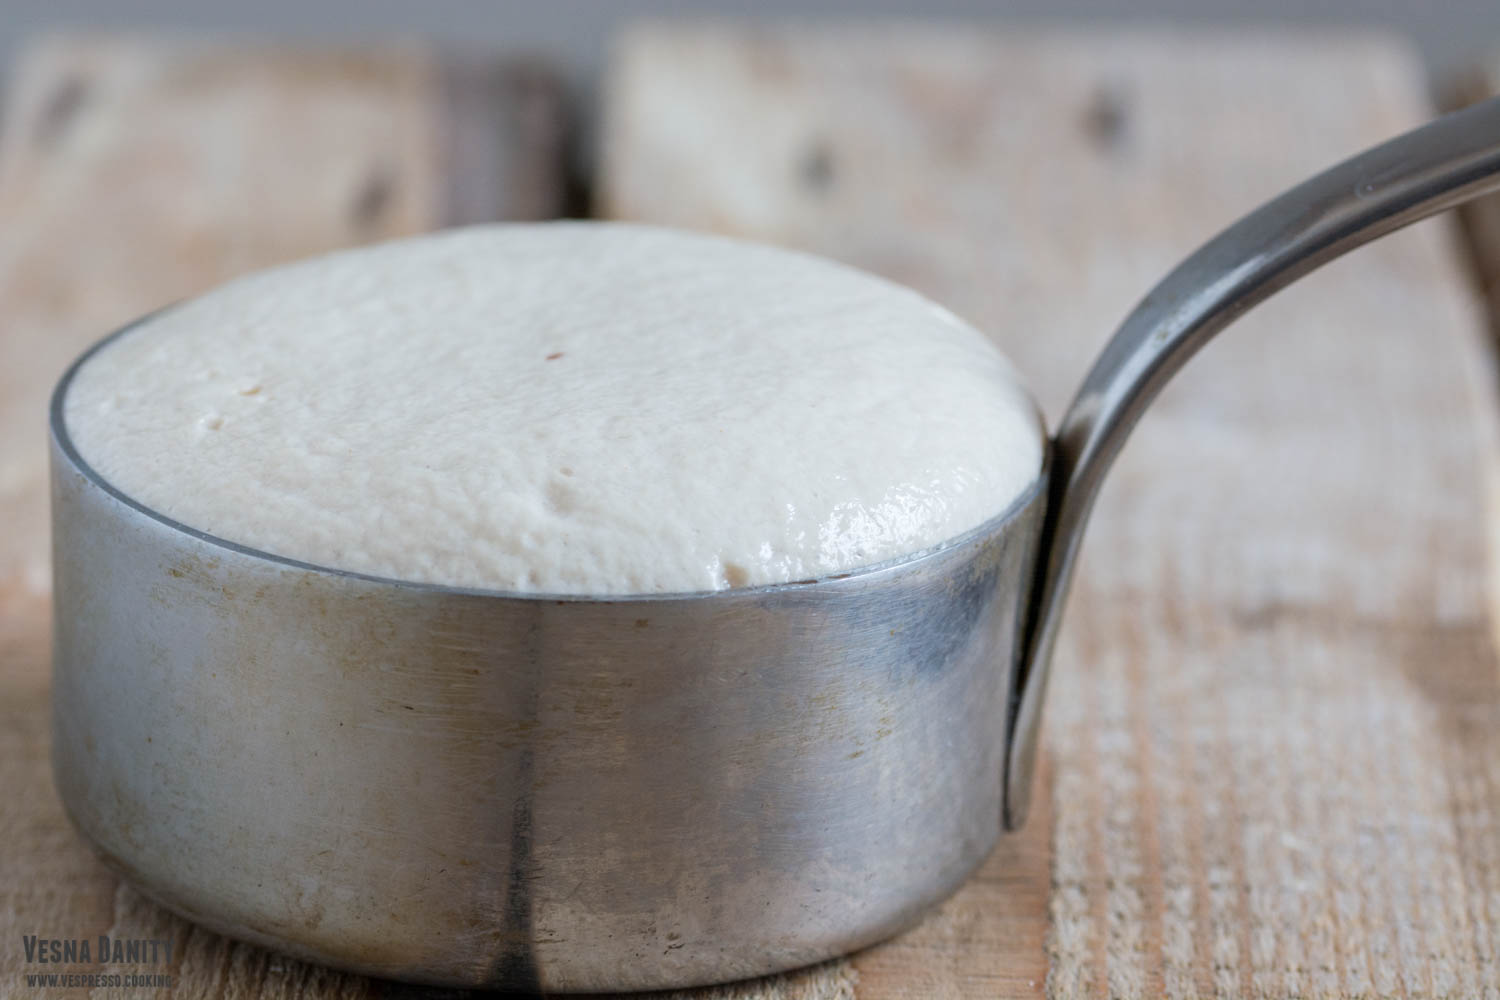
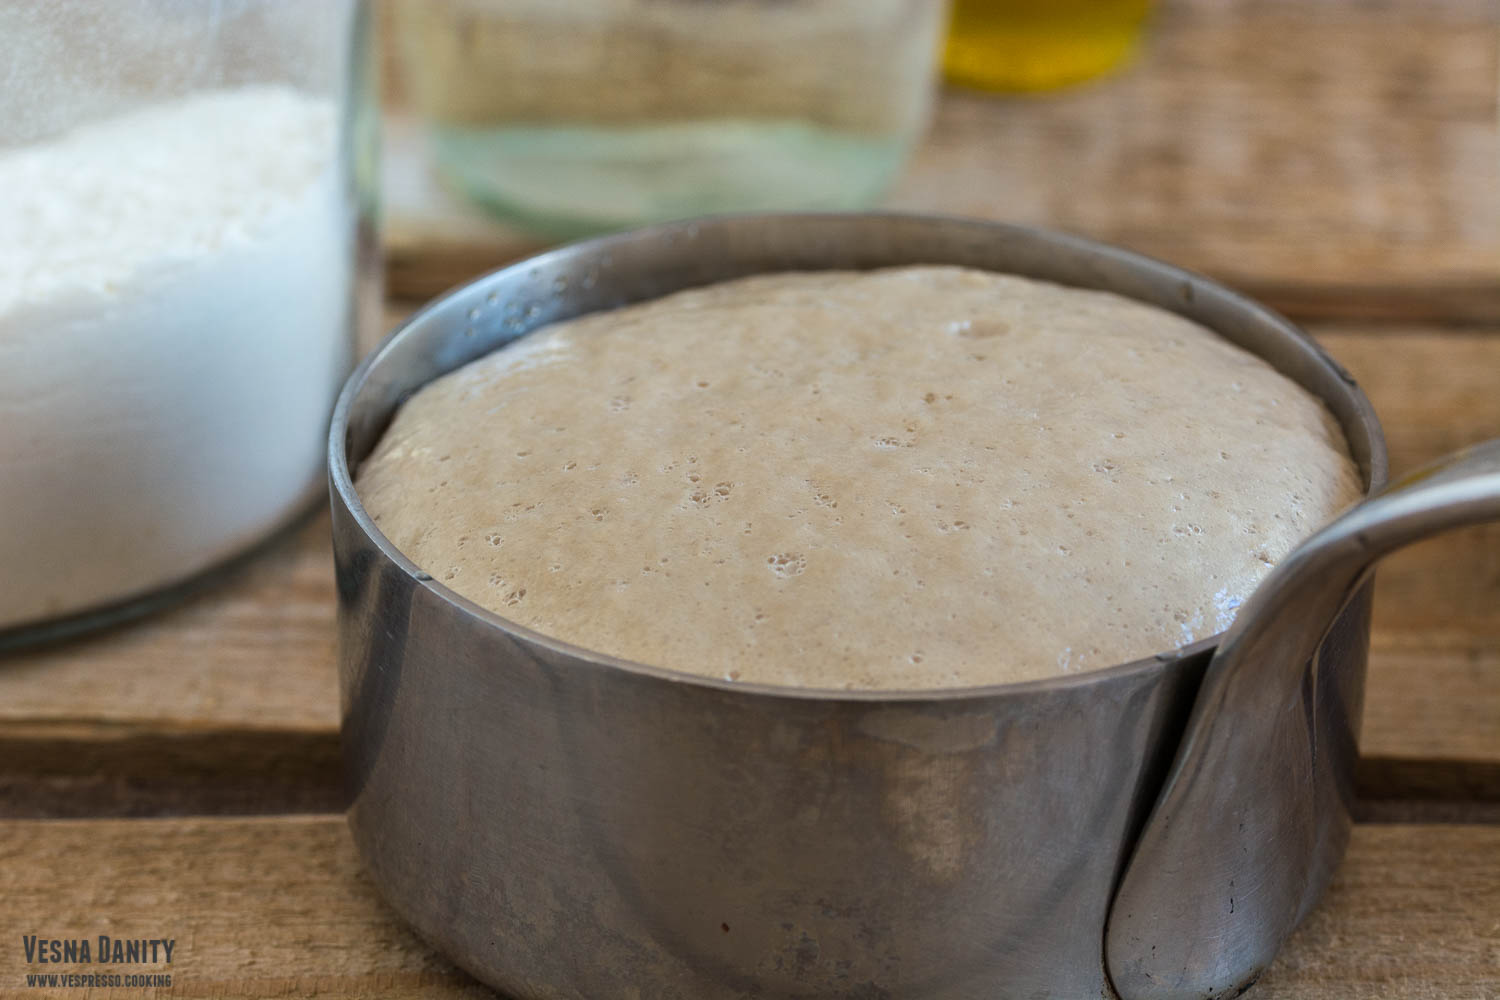
  2. Activate the yeast. Heat the water and the milk in a small saucepan until lukewarm (36 – 38°C). Add the sugar and the yeast and leave aside for 5 minutes. The mixture should be frothy.
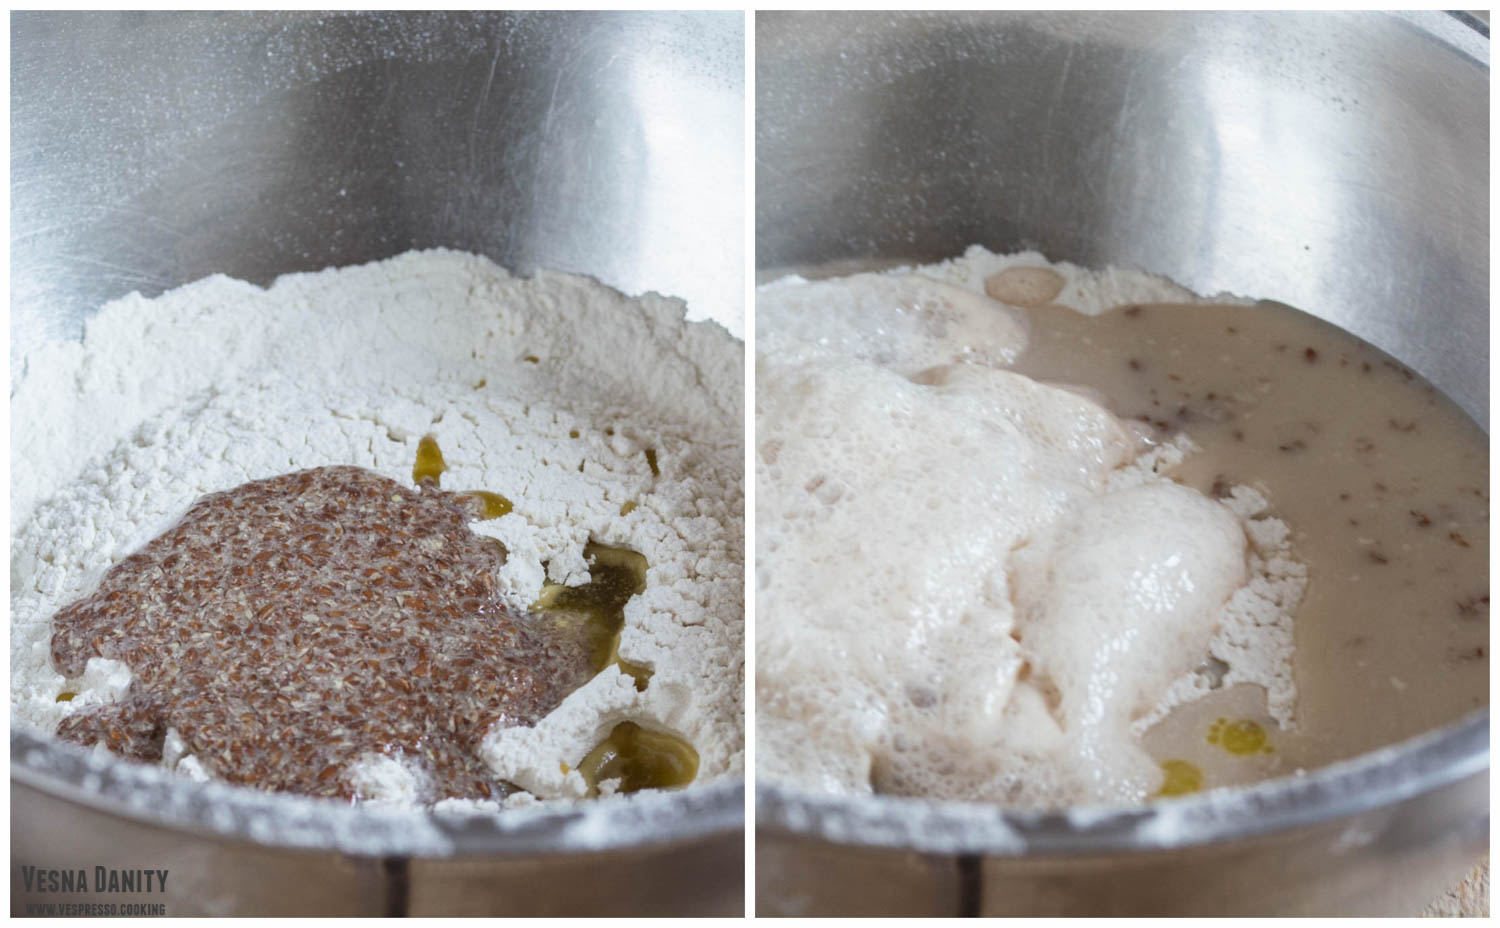
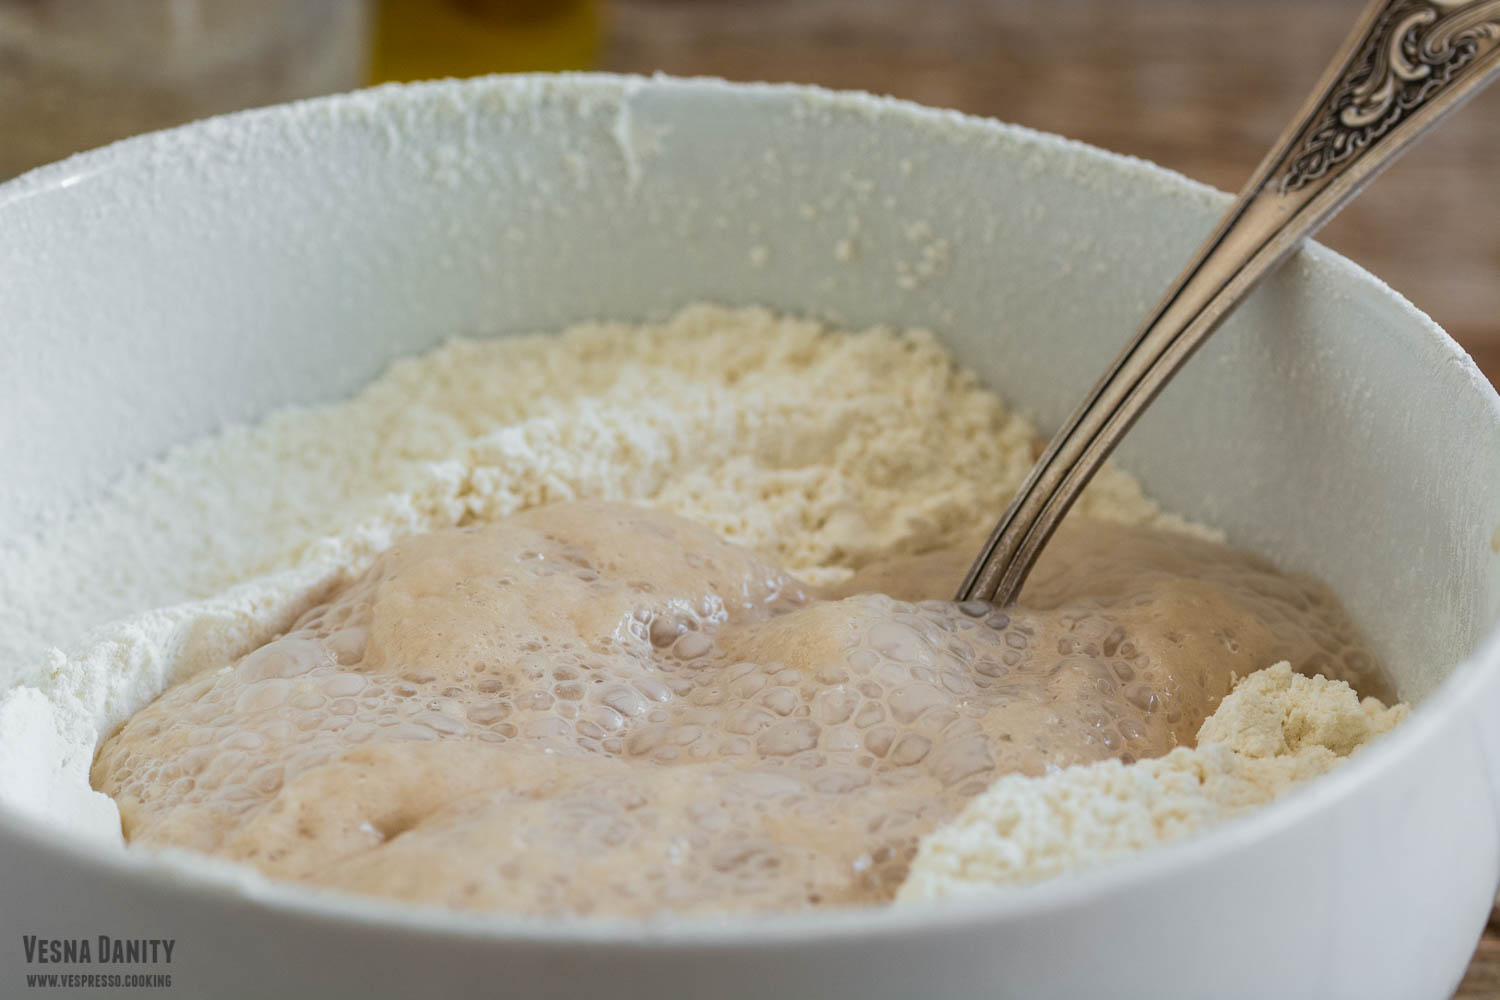
  3. Sift the flour. In a large bowl sift the flour and make a well in the center. Add the oil, flax seed mixture and yeast mixture and mix with a fork.
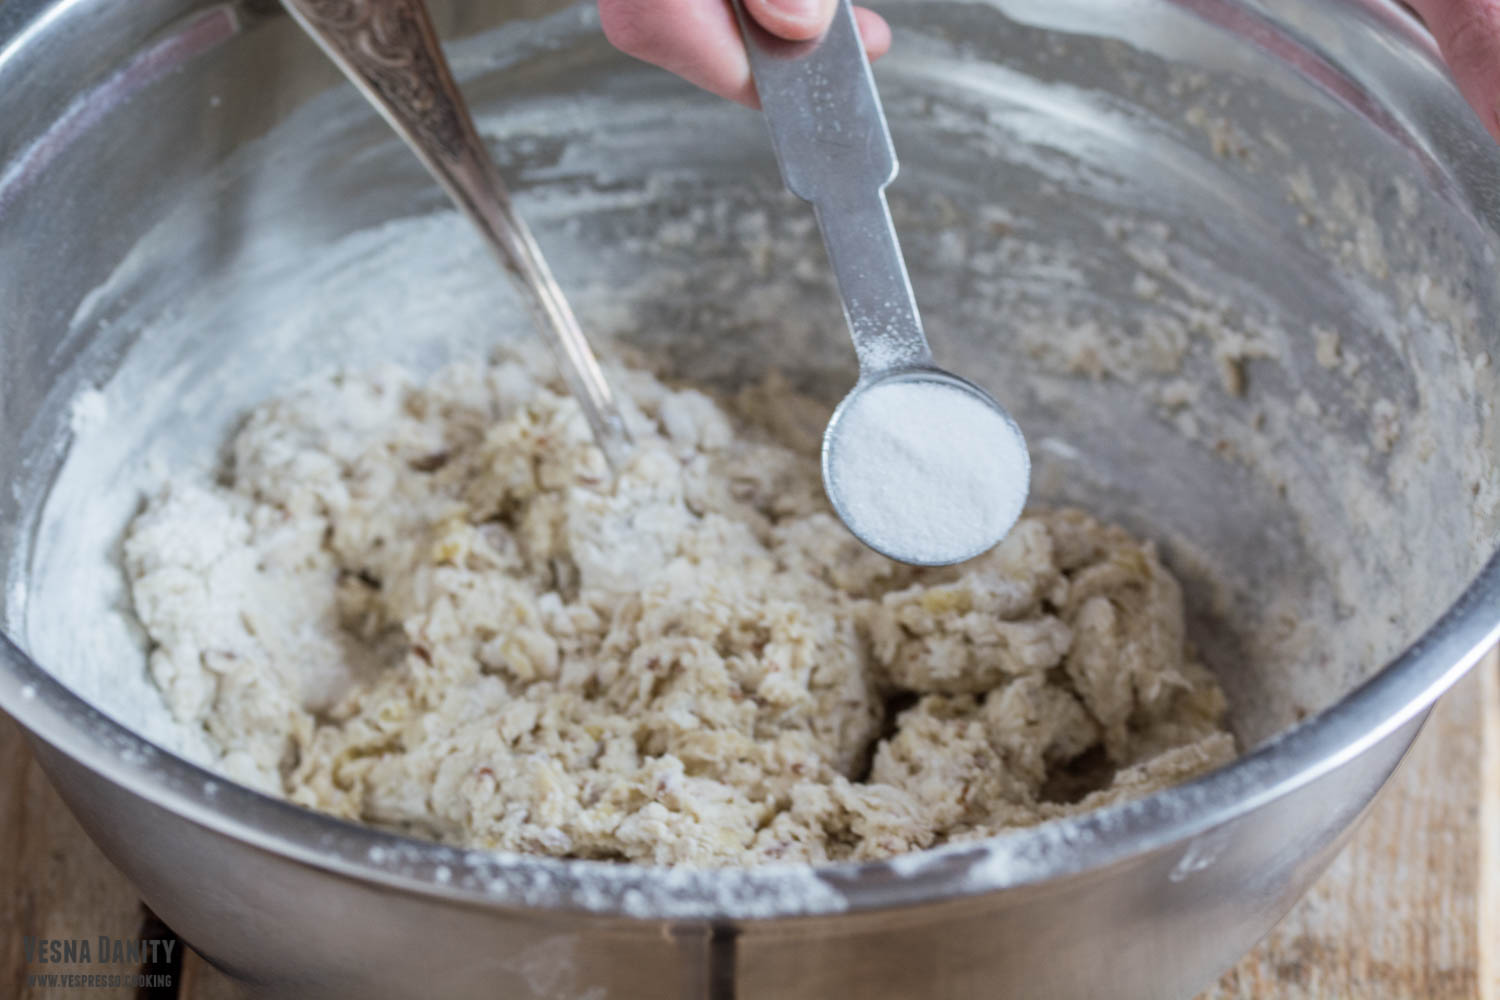
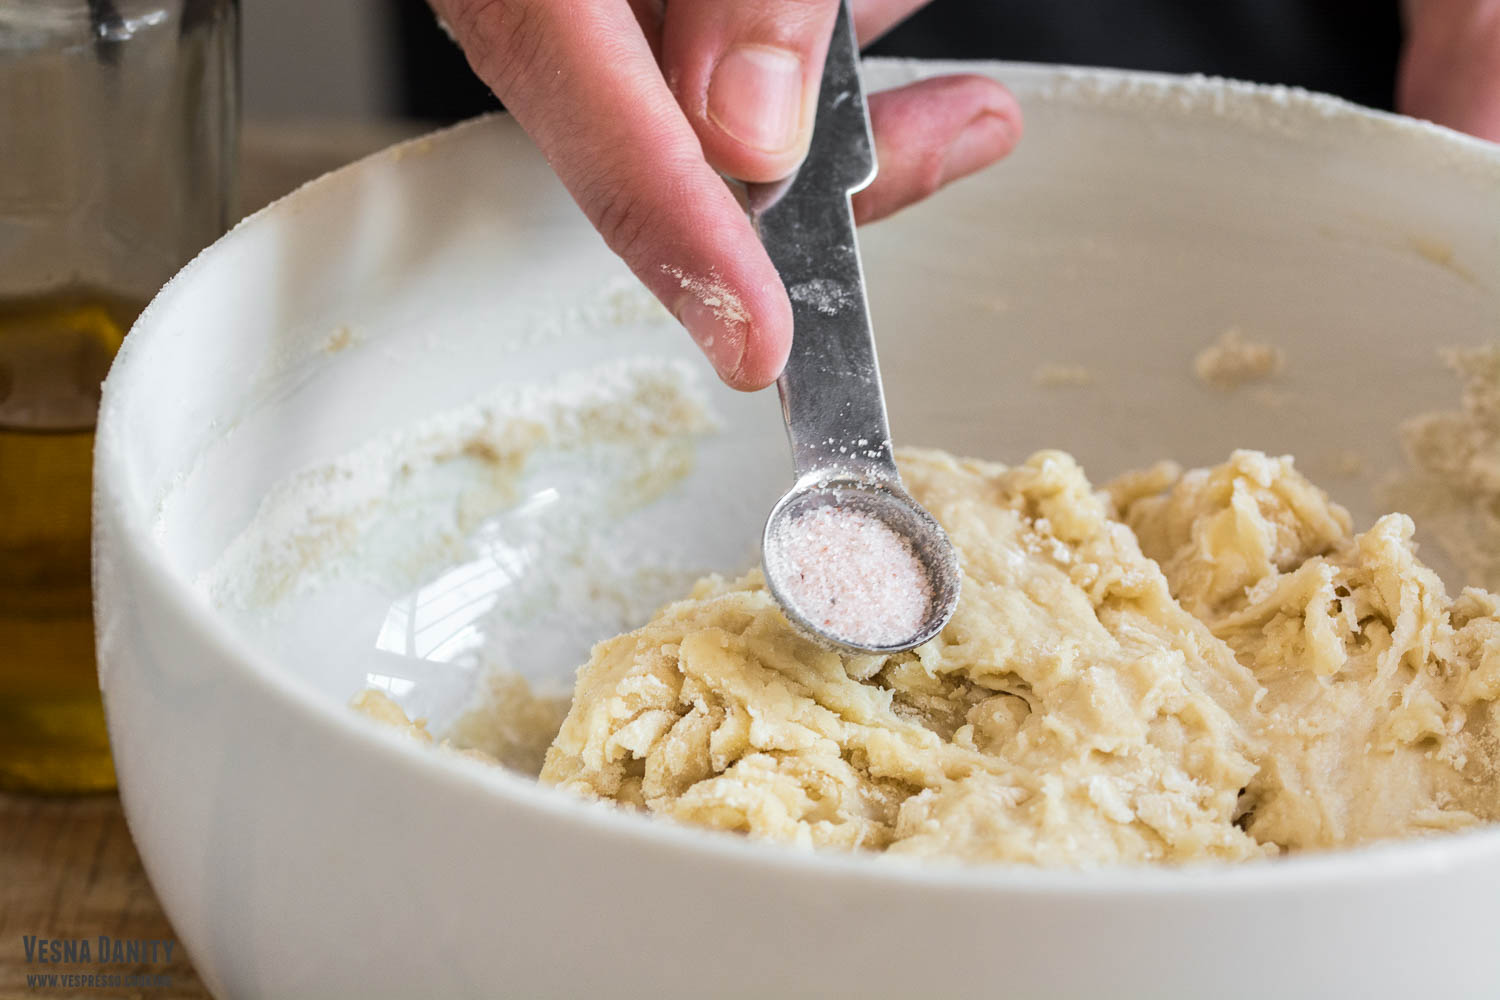
  4. Add the salt. Add the salt and continue mixing with your hands until you form a sticky ball.
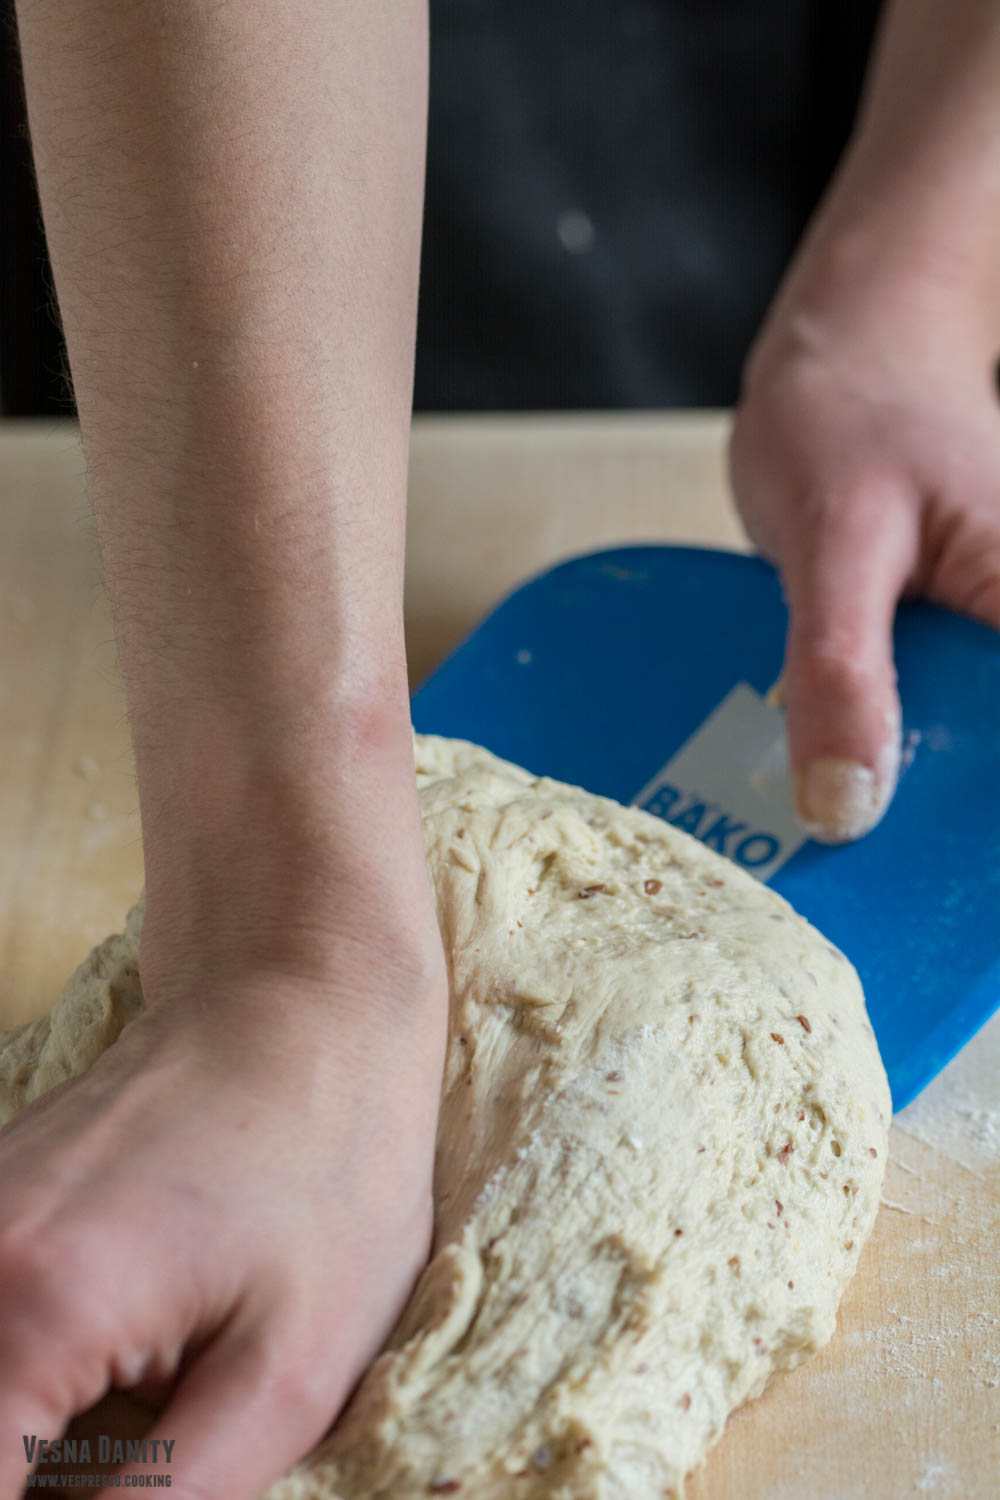
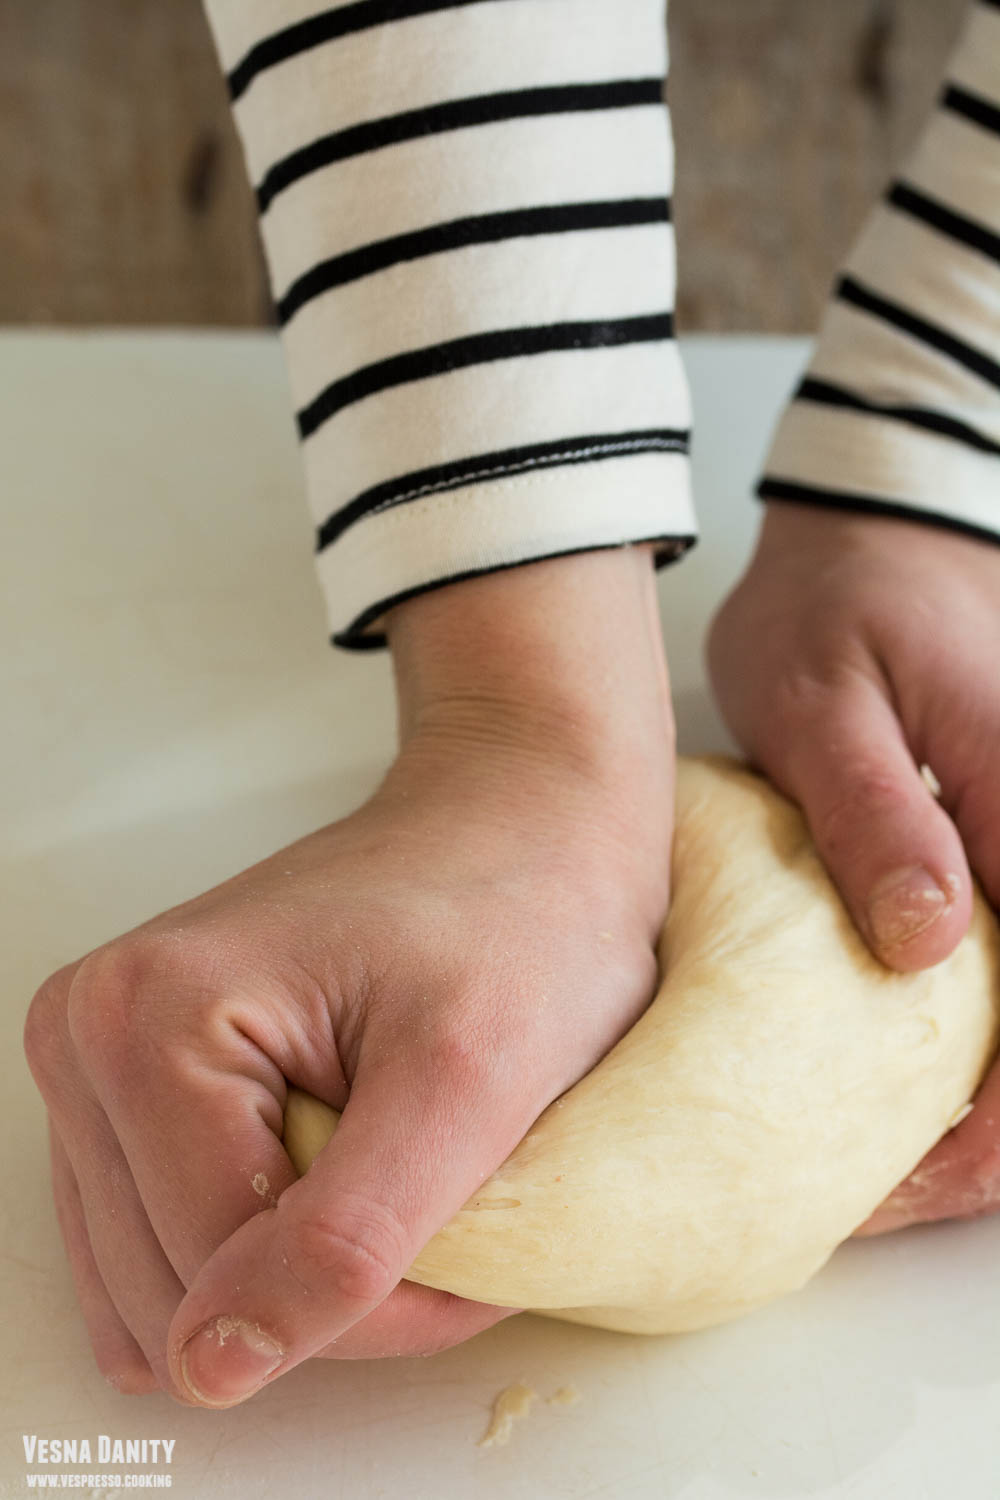
  5. Knead the dough. Bring the sticky dough on a floured working surface and knead it for 10 minutes. Use a dough scraper to knead the ball.
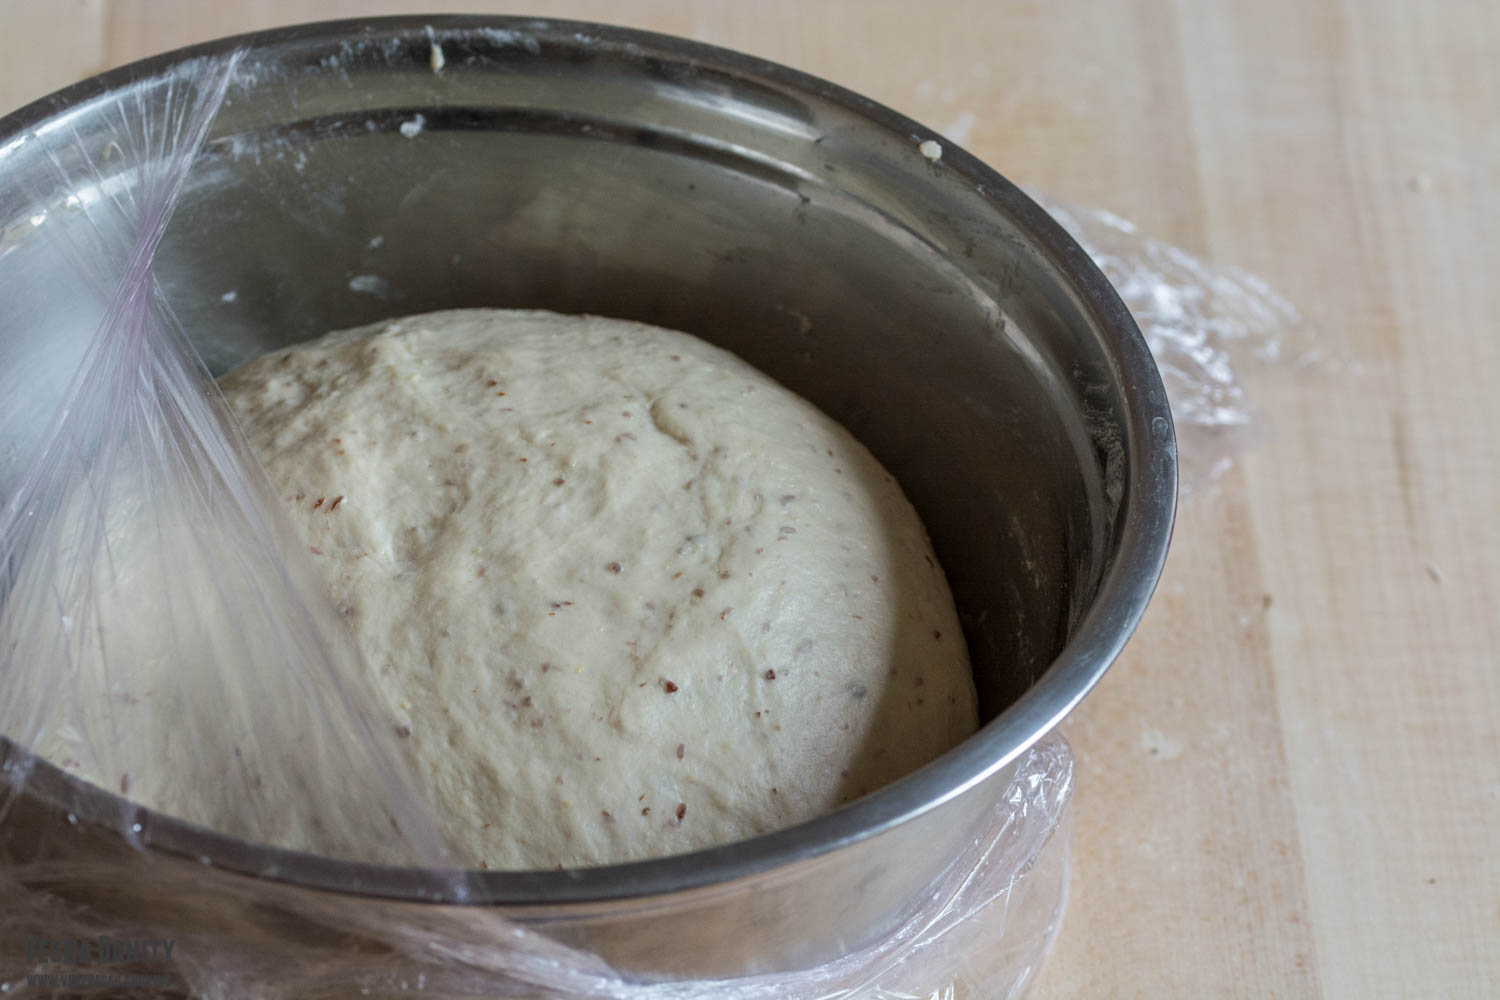
  6. Proof. Place the dough in the bowl, cover with cling film and let it rise in a warm place until doubled in size (about 1 hour).
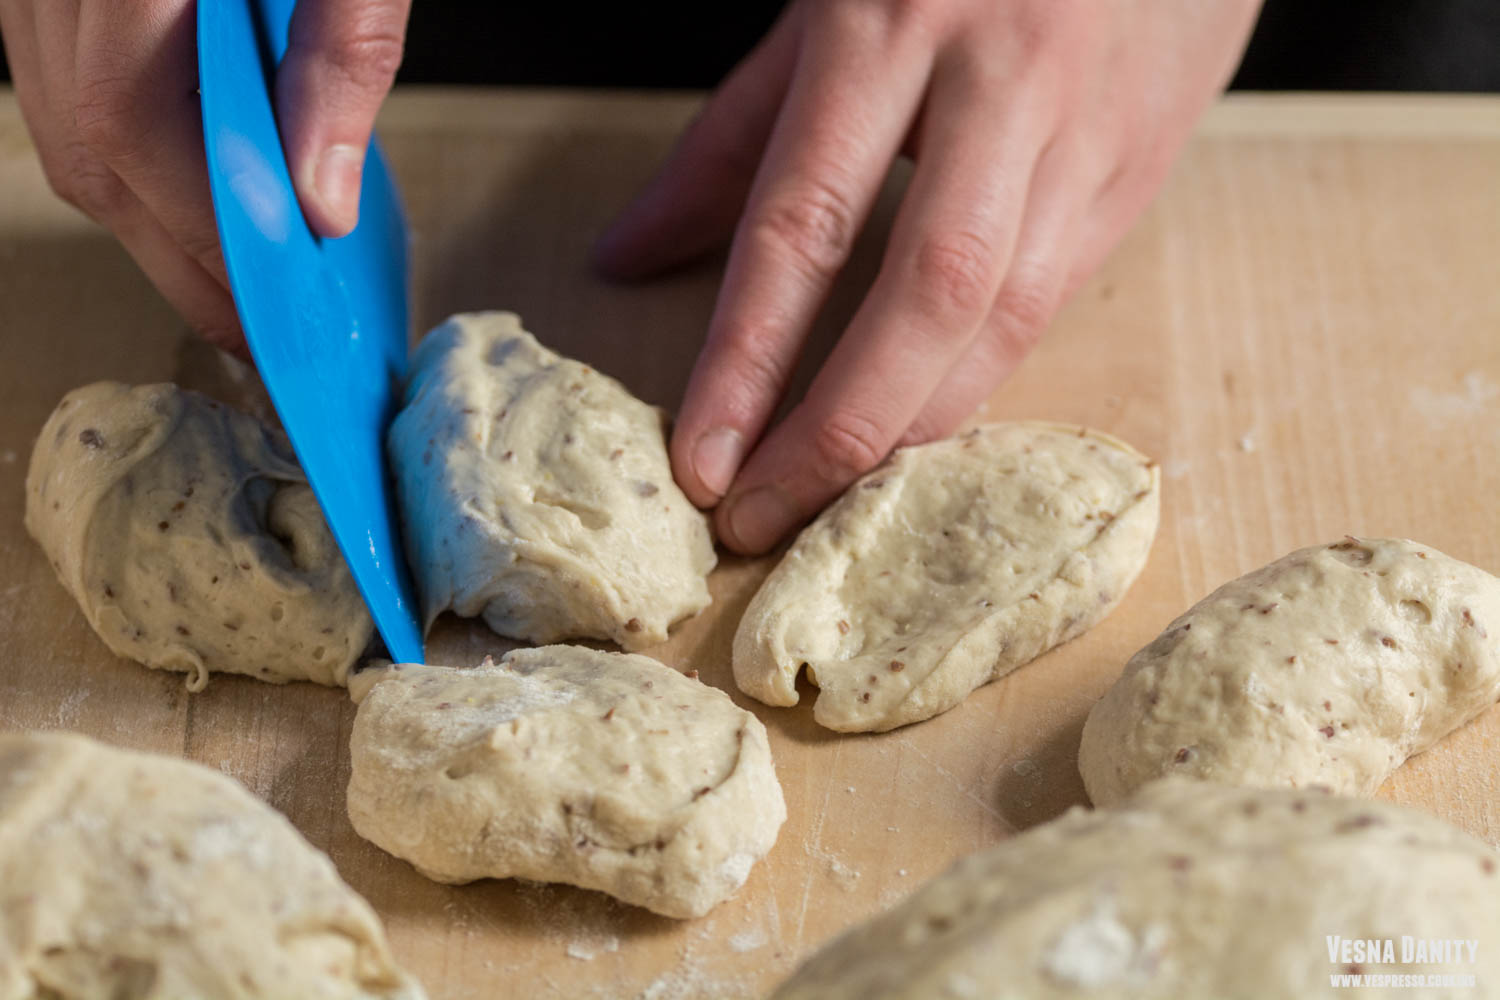
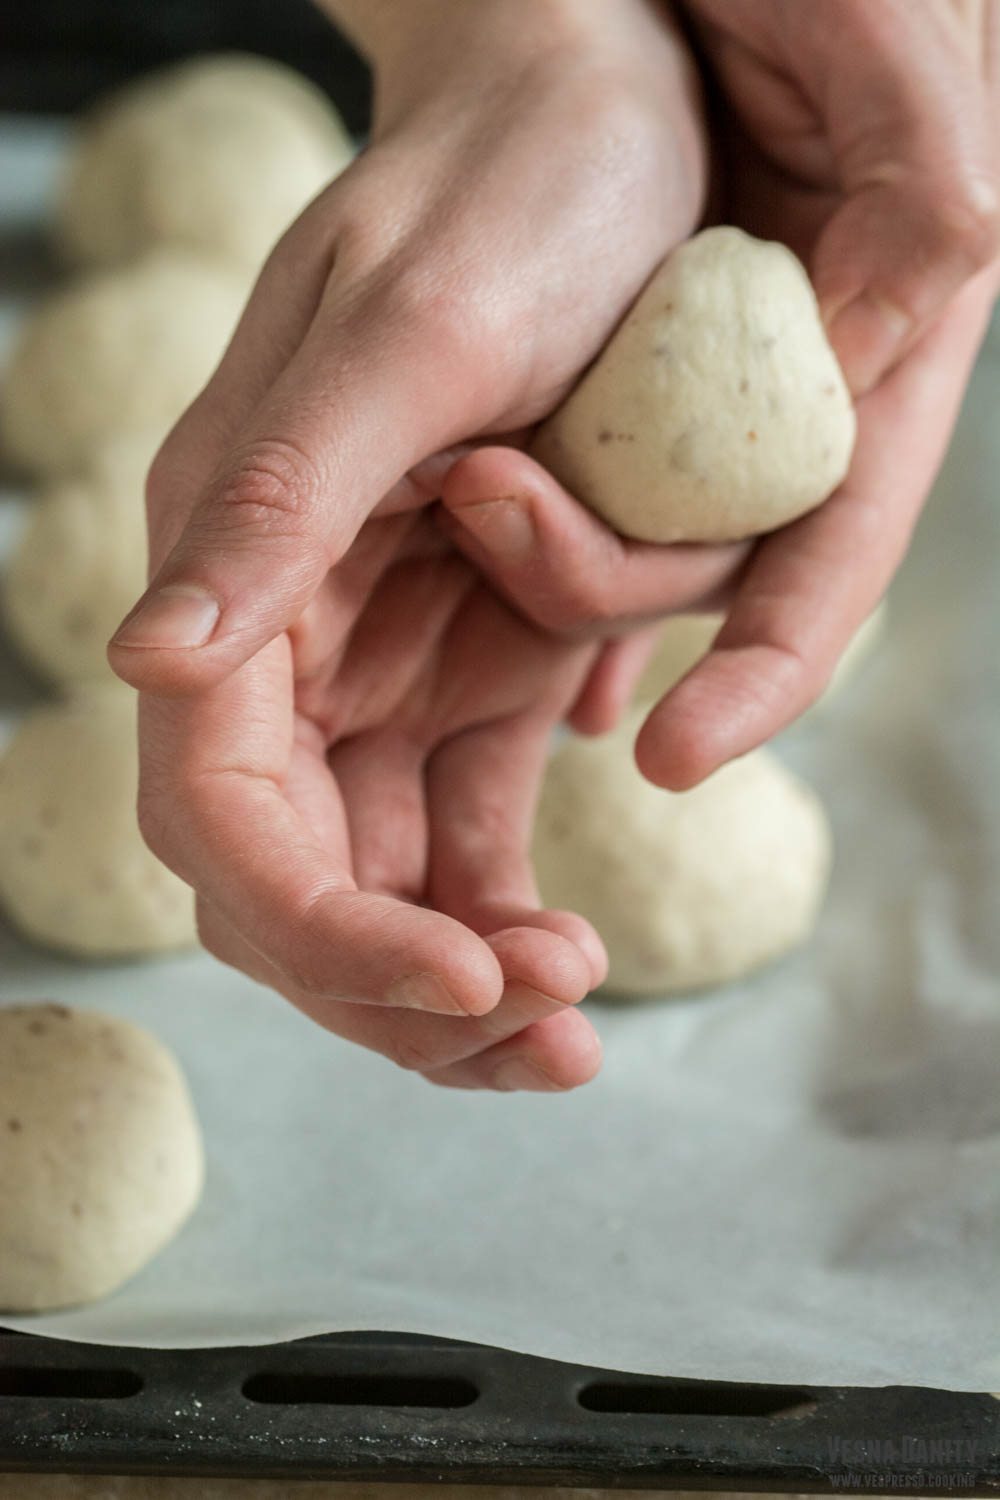
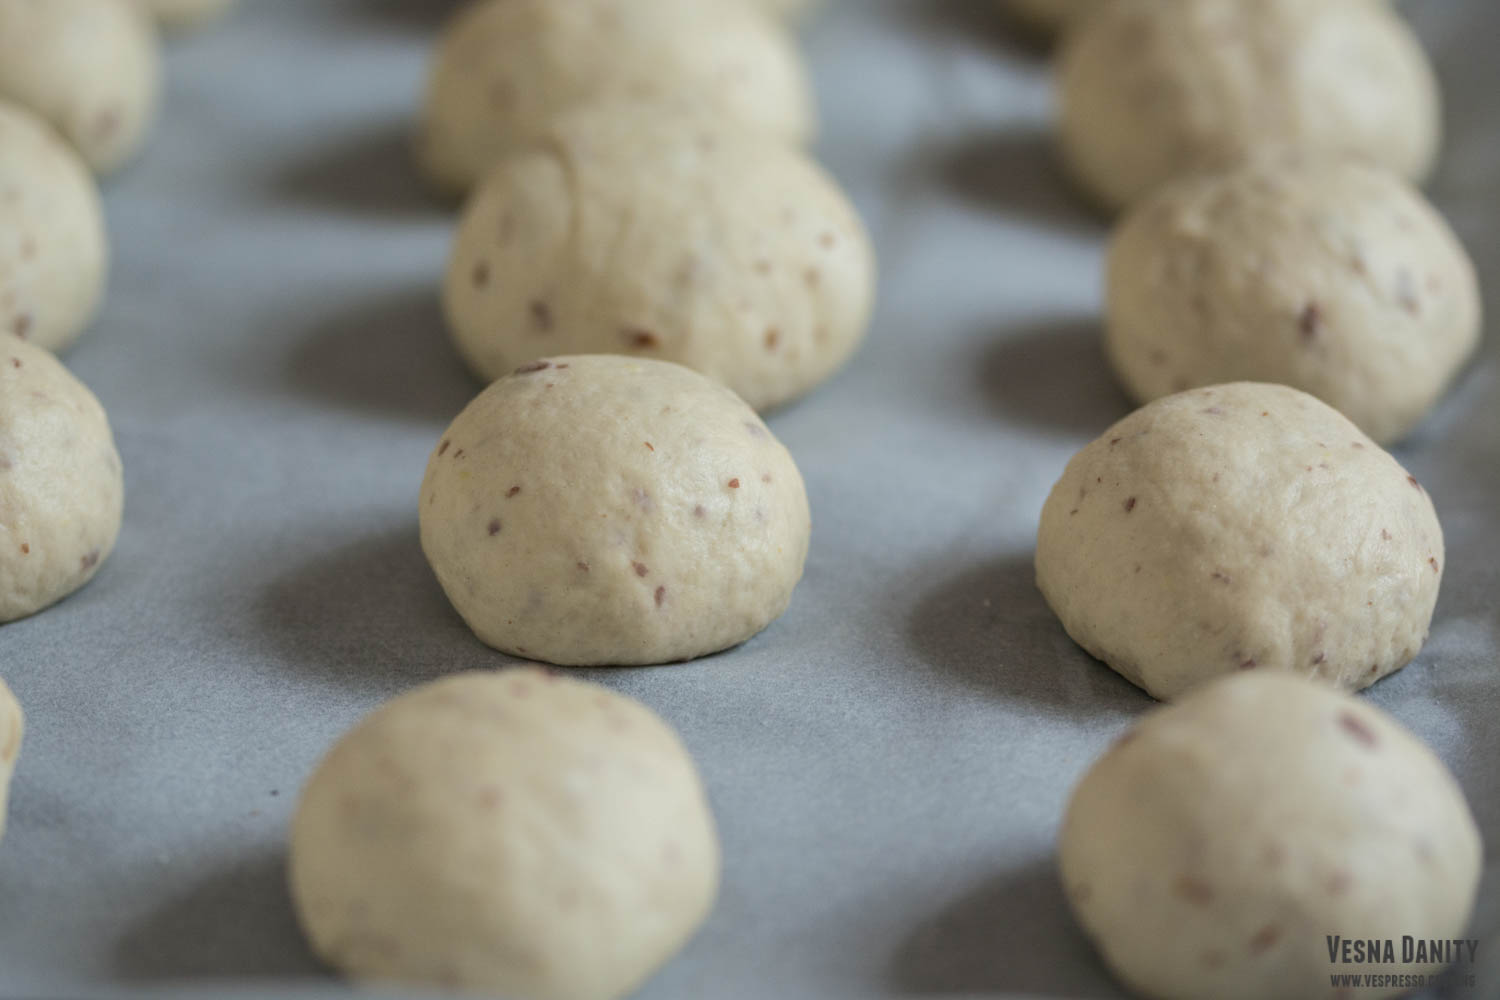
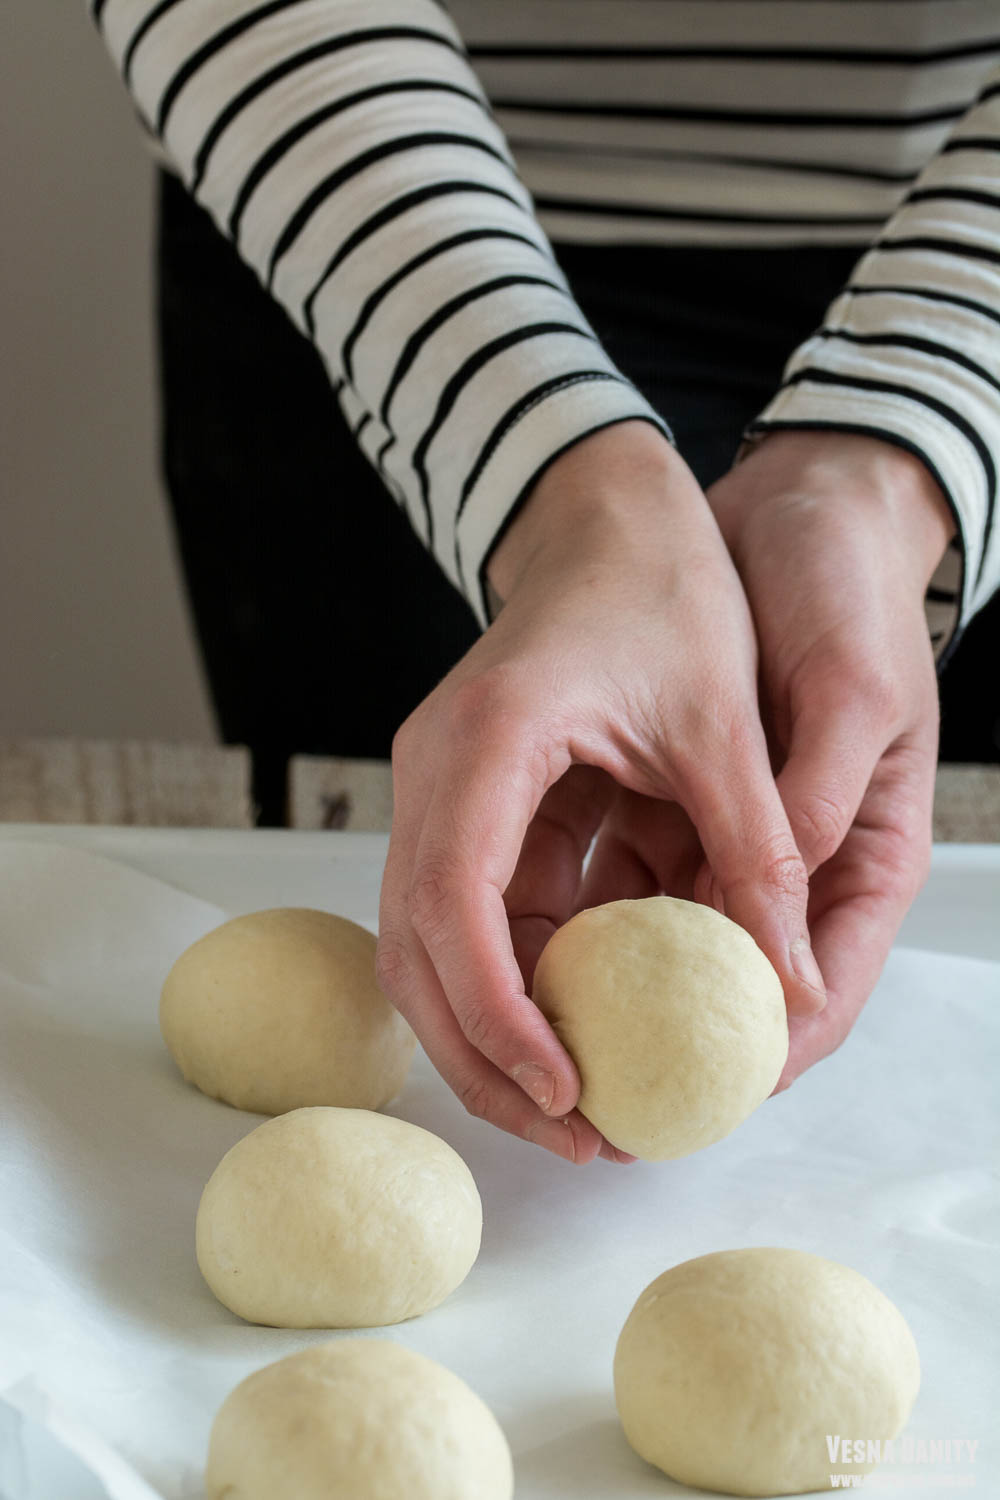
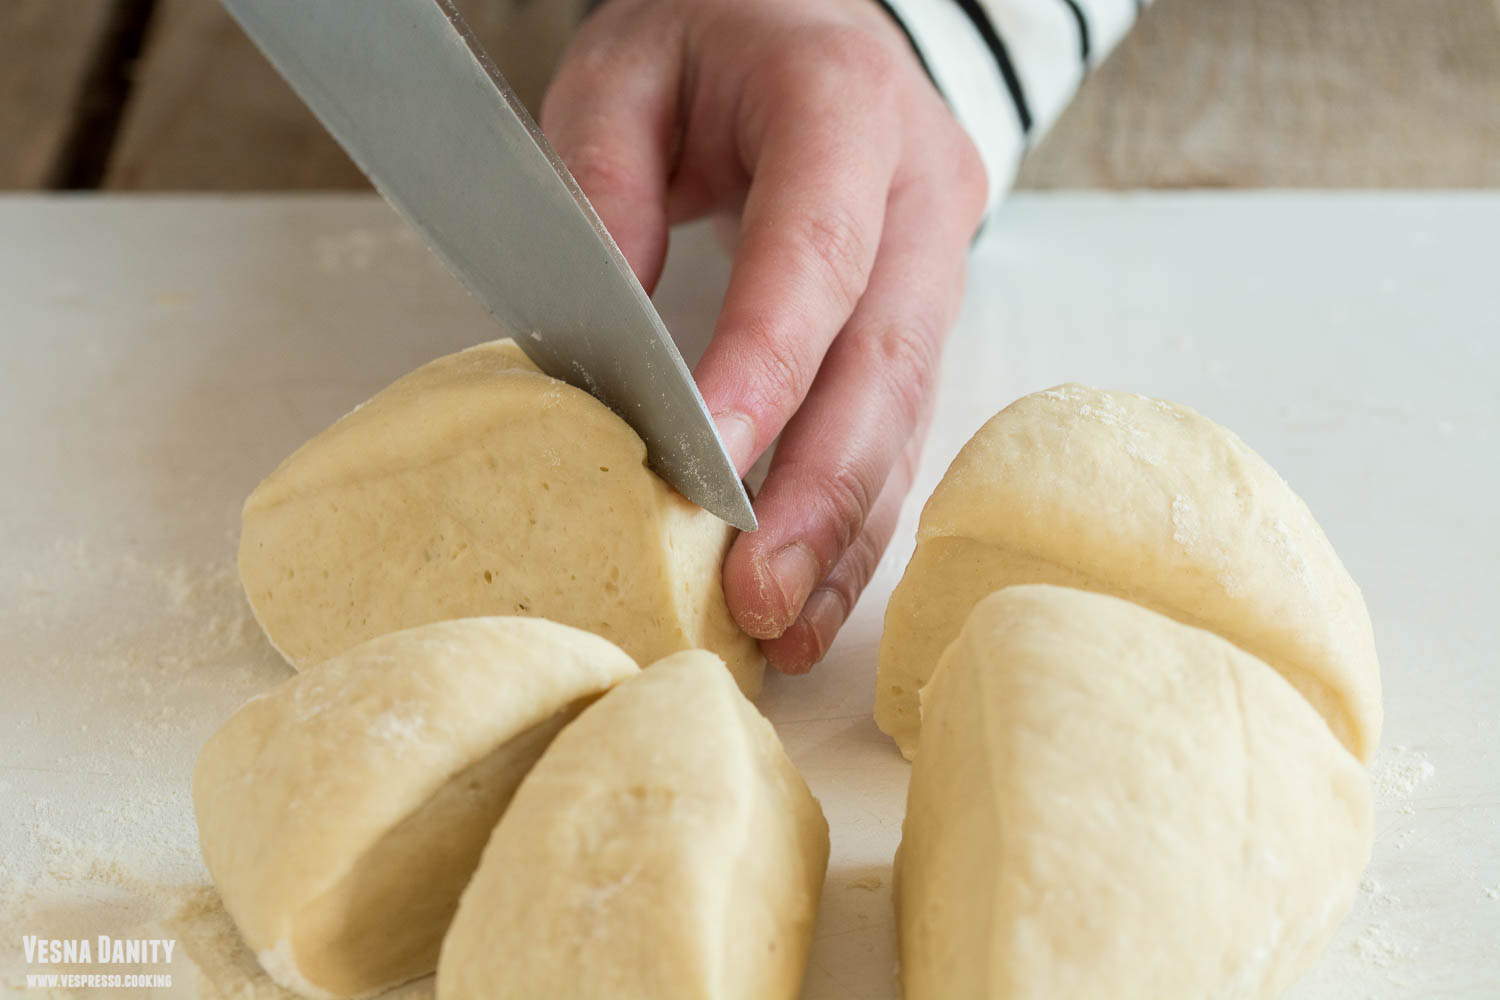
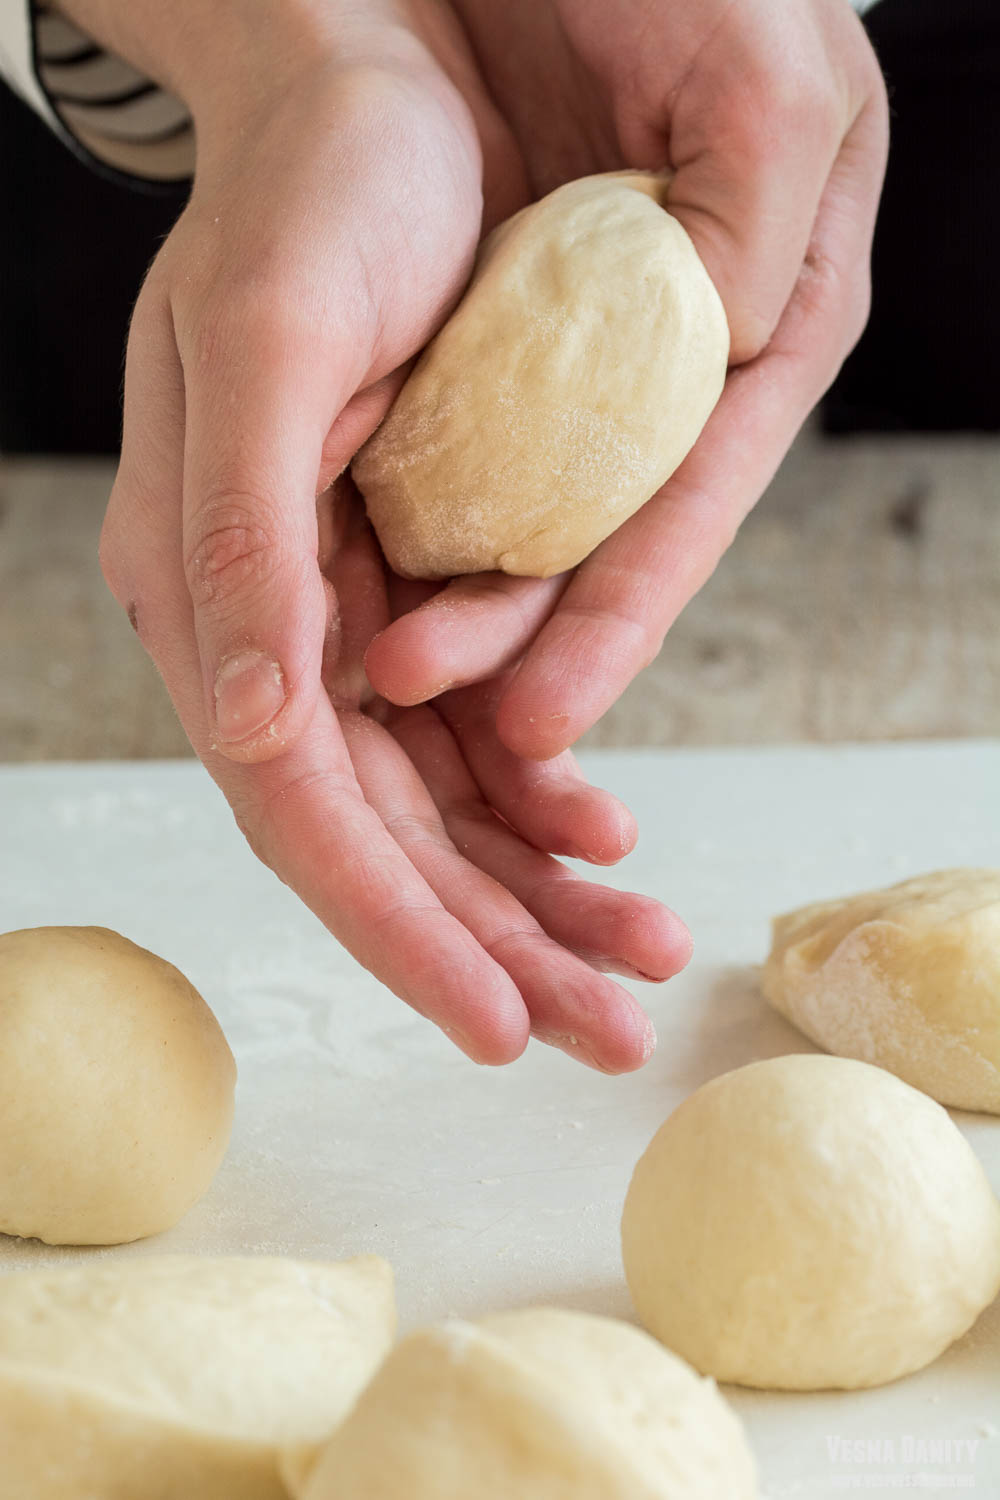
  7. Form the buns. Heat the oven at 400°F/204°C (gas mark 6). After 1 hour, place the dough back on the working surface and knead vigorously to knock out the air bubbles. Divide dough into 20 pieces and shape them into 20 balls (I had 20 balls x 40g).
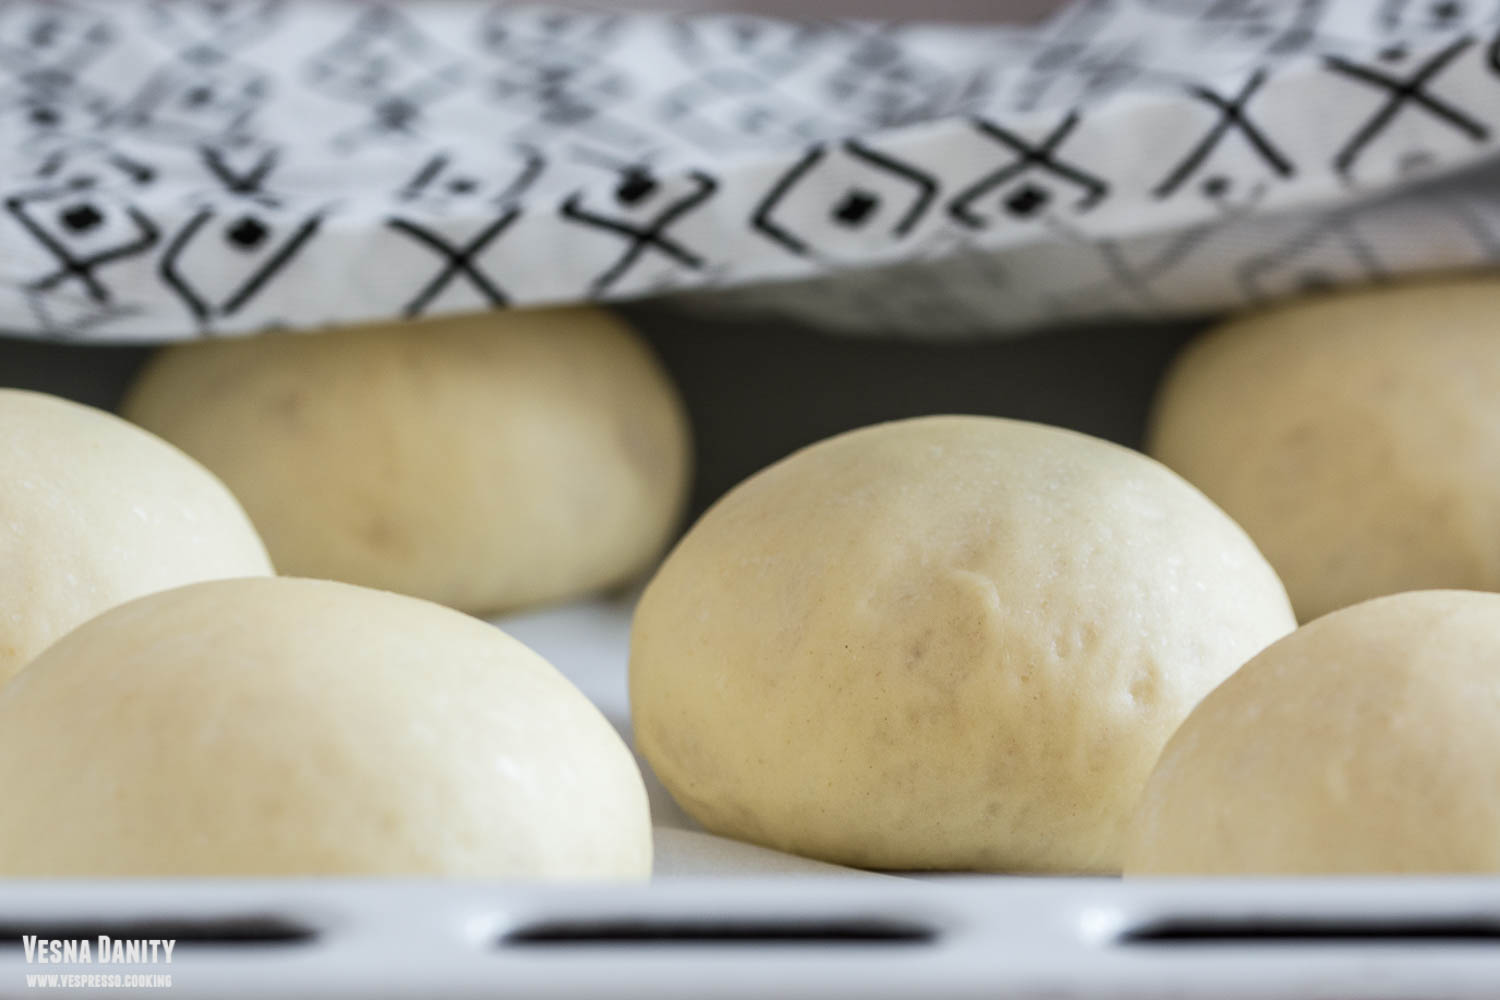
  8. Rise. Place them on a tray lined with parchment paper and let them rise for about 30 minutes.
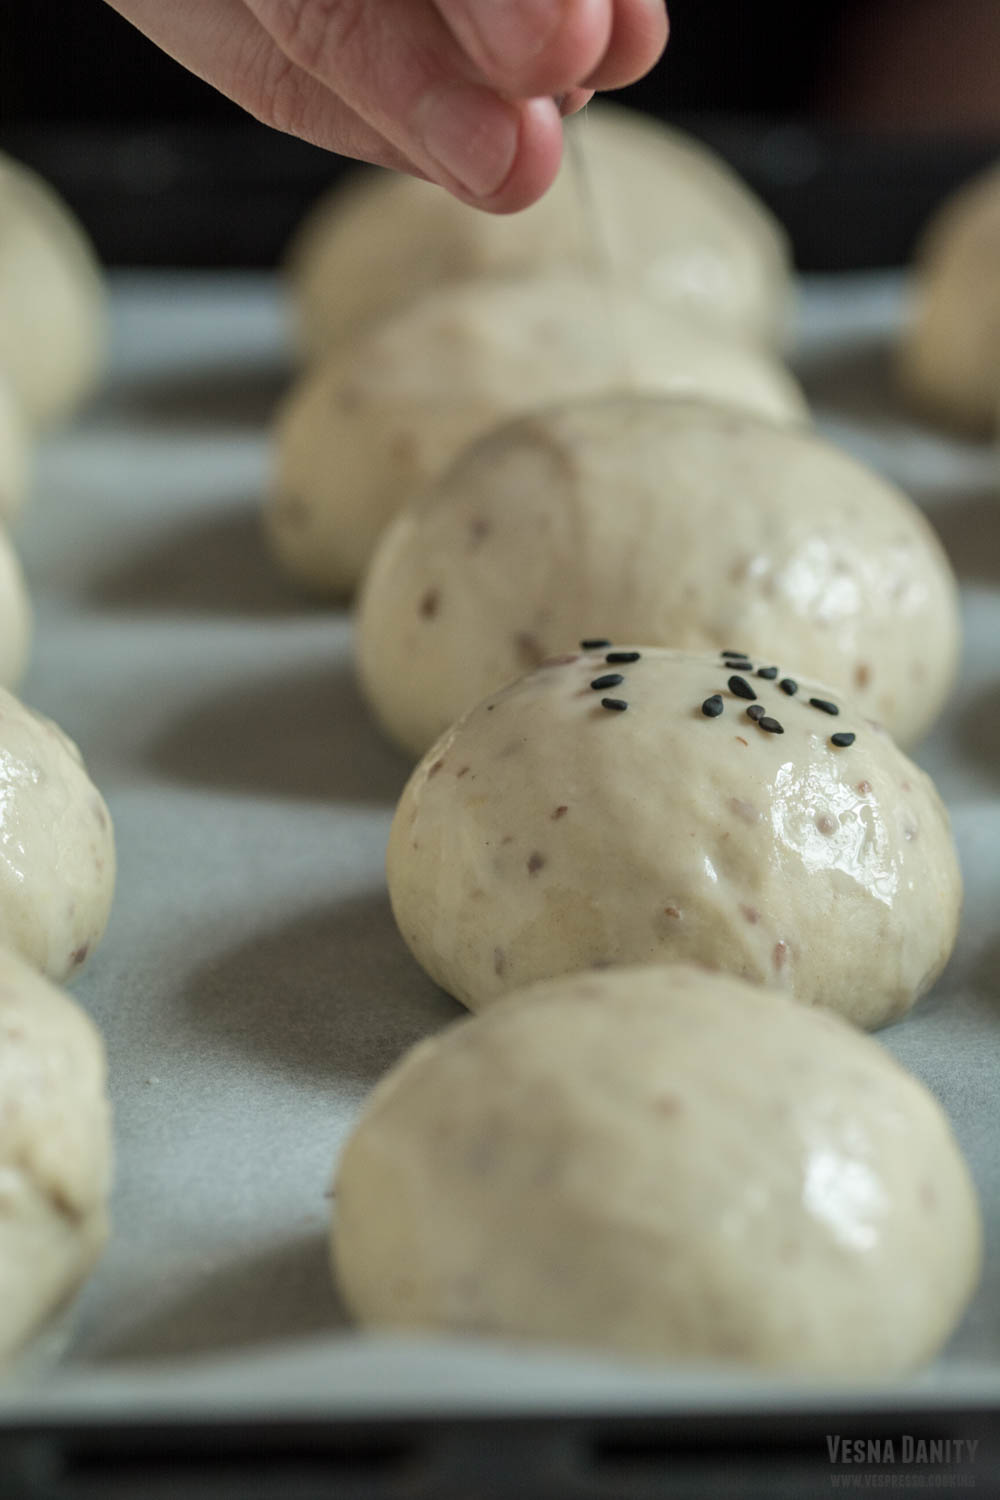
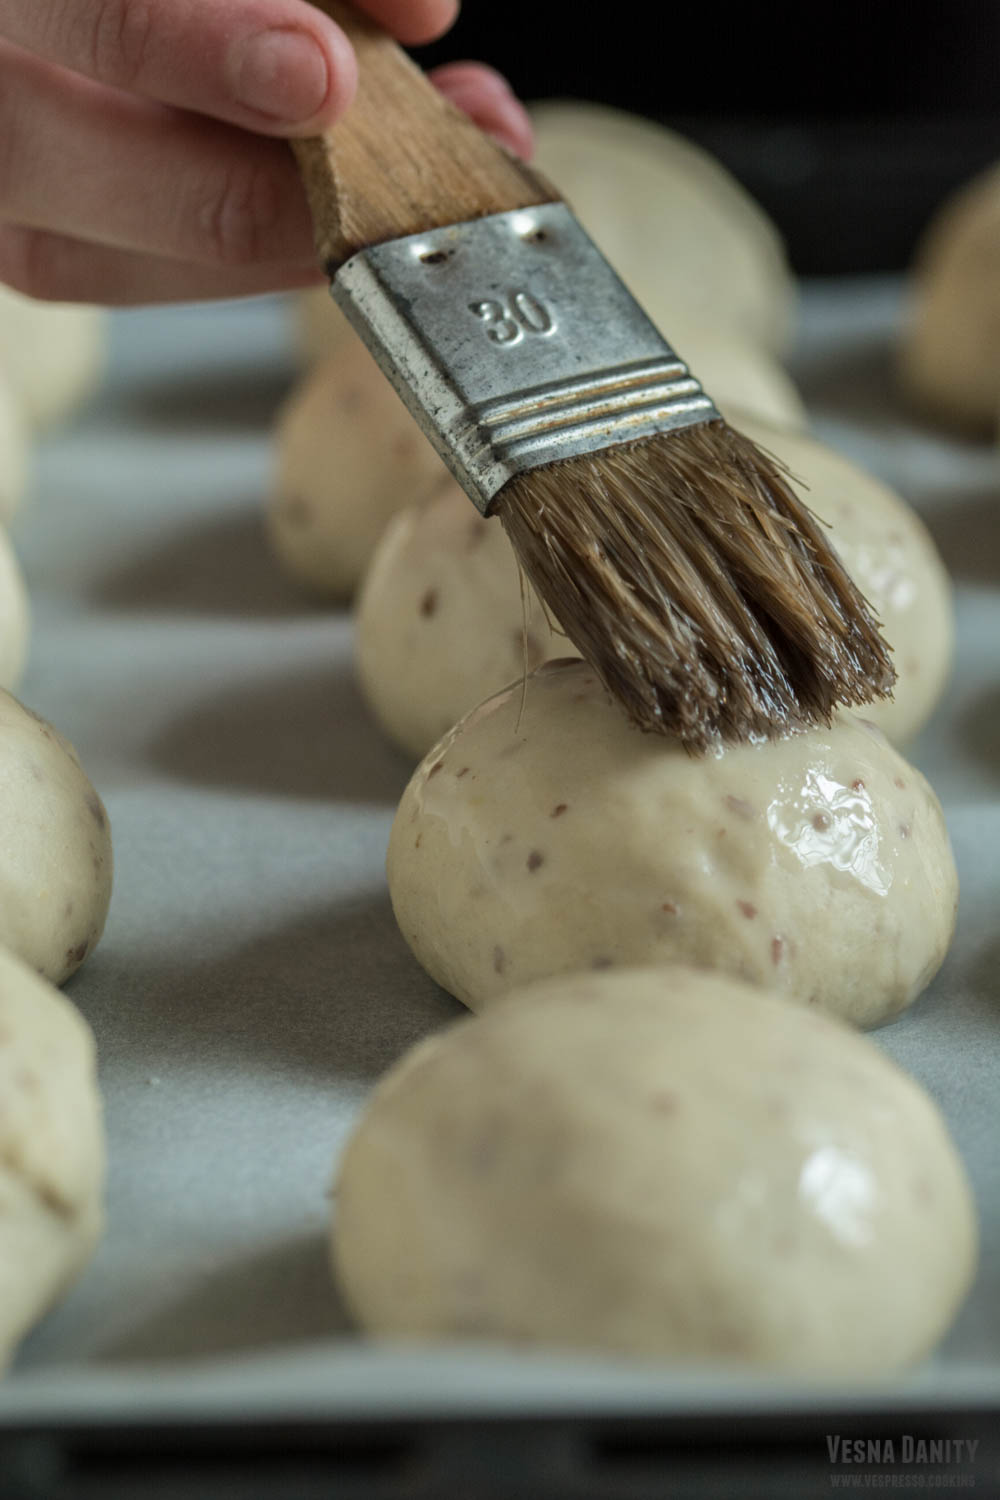
  9. Garnish. Mix the milk with the sugar, heat the liquid slightly and give them a quick wash. Sprinkle some black sesame seeds.
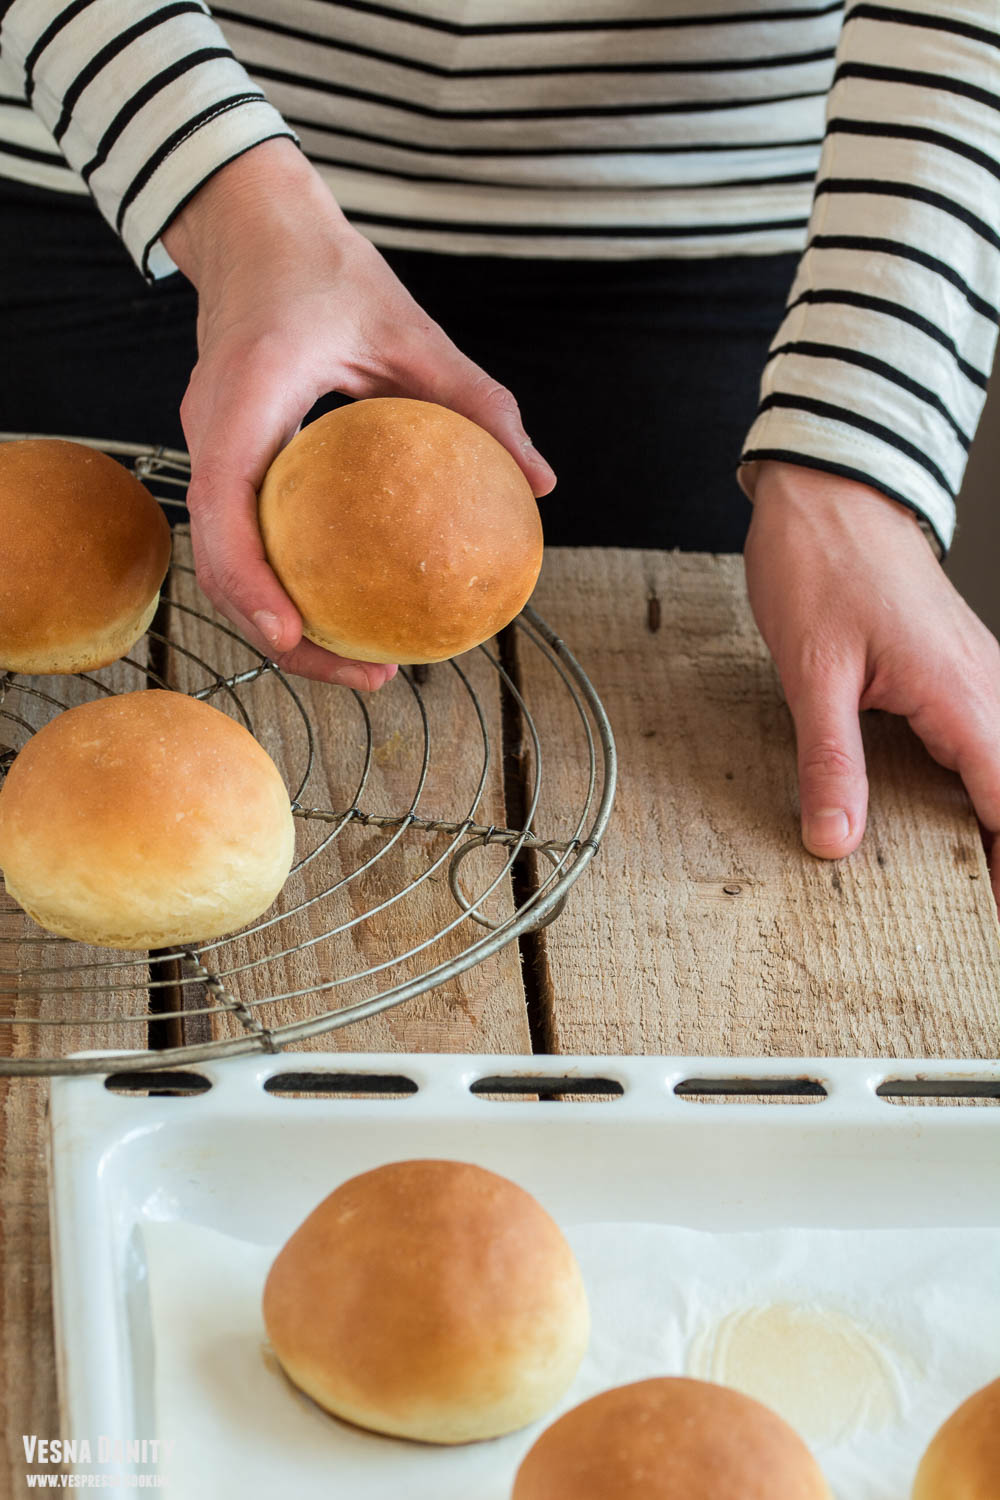
  10. Bake. Bake them in the preheated oven for 20 minutes or until golden. Let them cool for 30 minutes before serving.

Source: www.thehealthyfamilyandhome.com


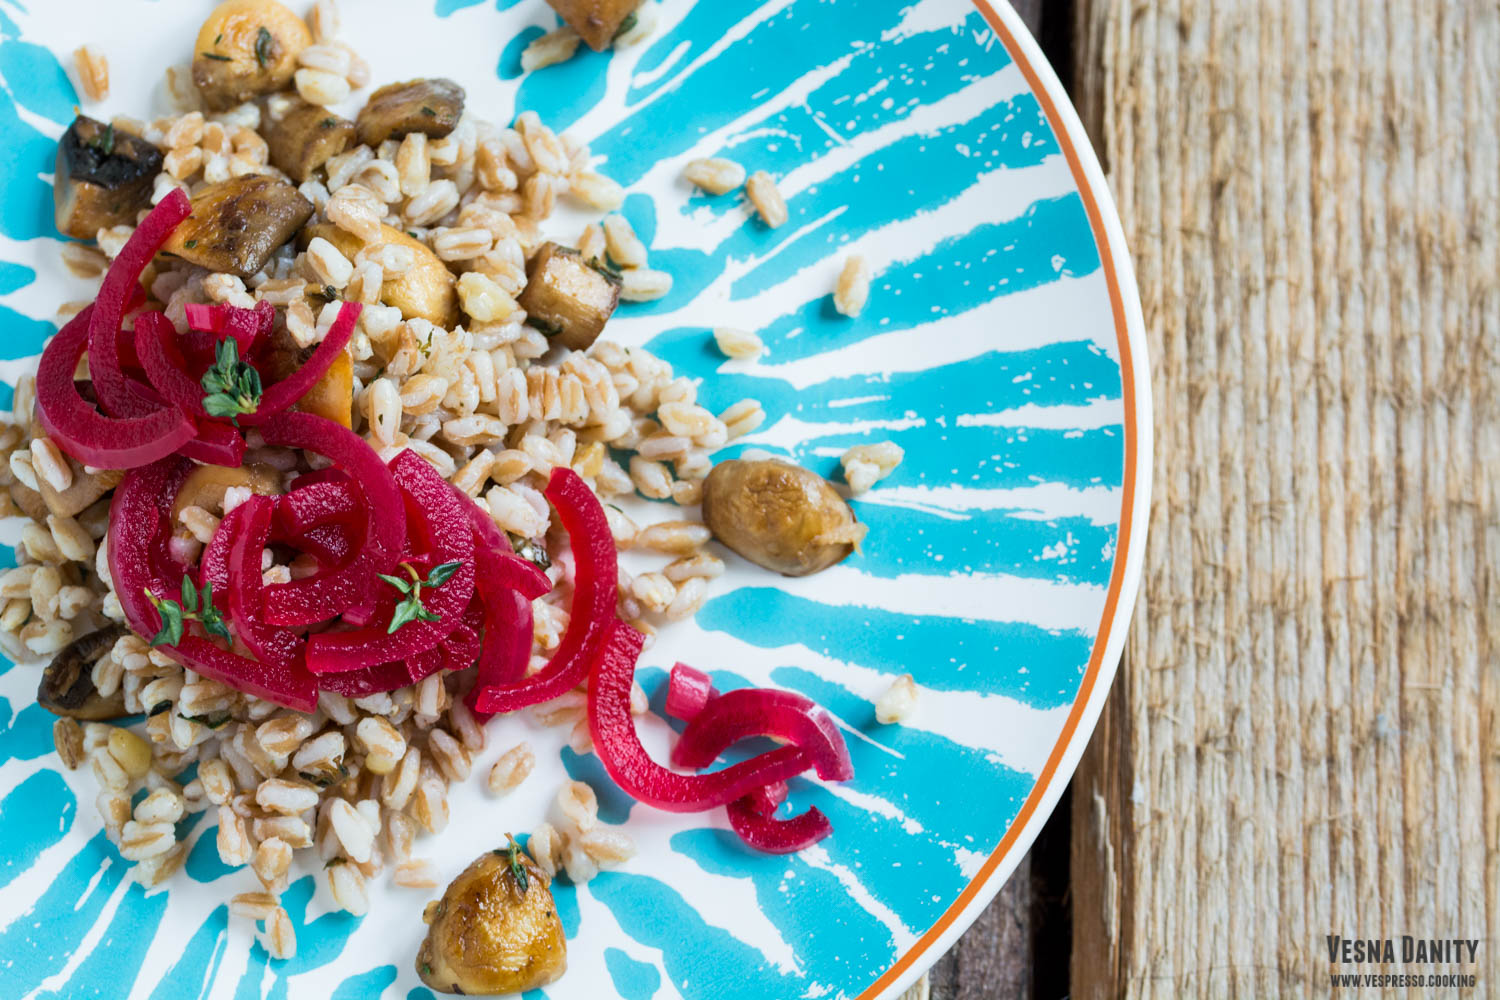
Farro Salad with Mushrooms and Pickled Onion

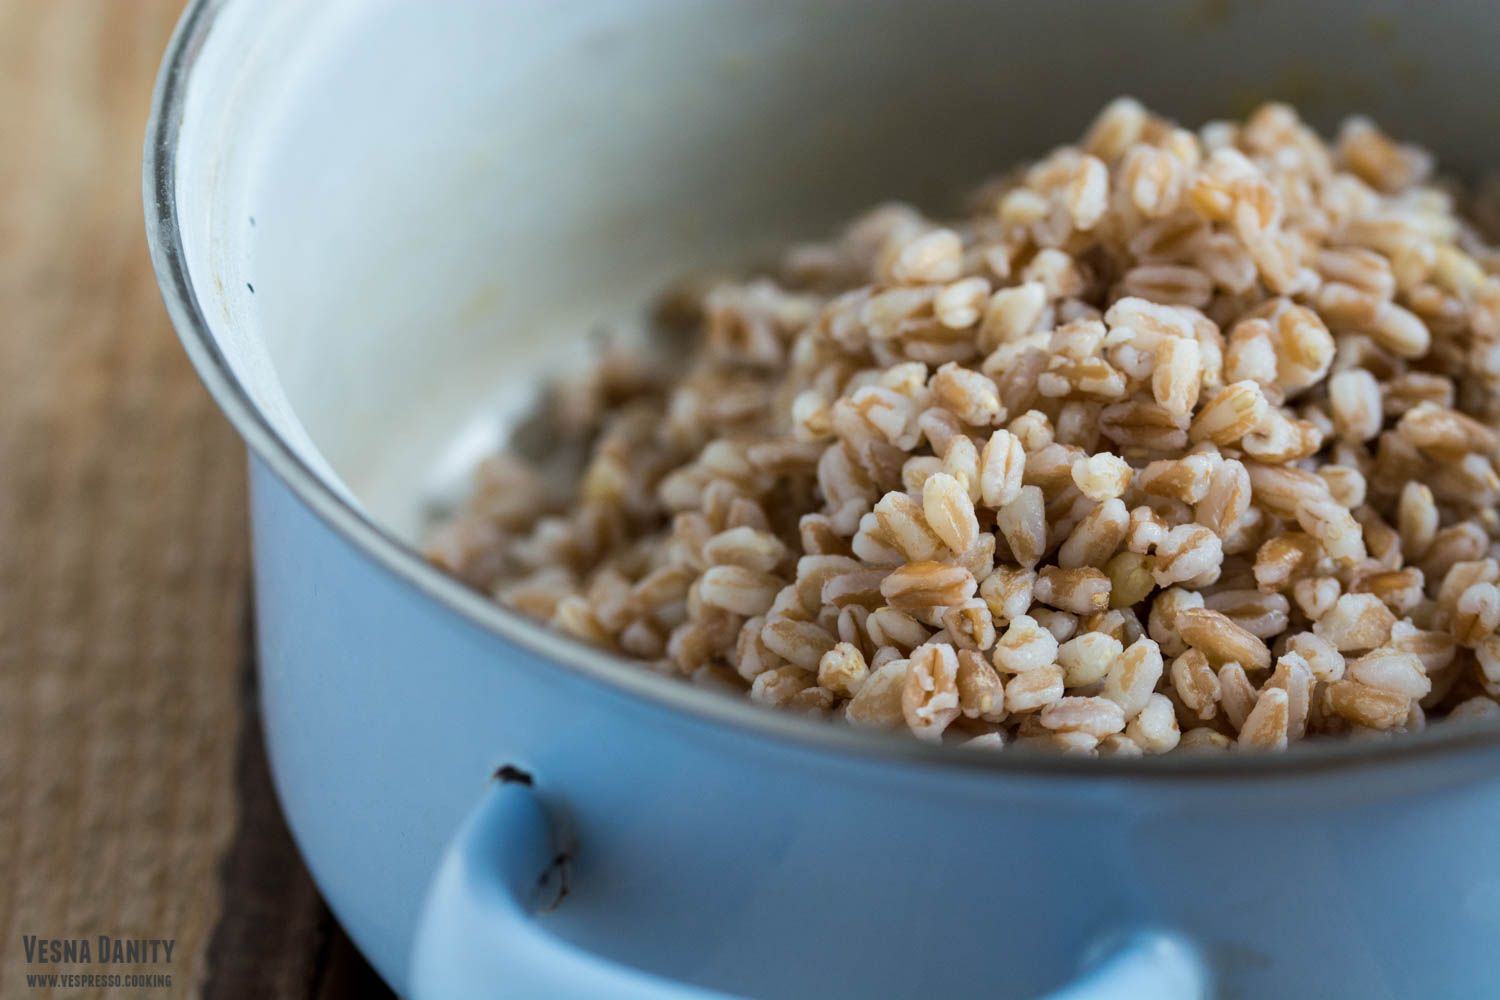
Farro (also known as emmer) is an ancient grain with a chewy texture and a subtle nutty flavor. Farro is an excellent source of fiber, protein, vitamin B complex and microelements (such as magnesium, iron and zinc).

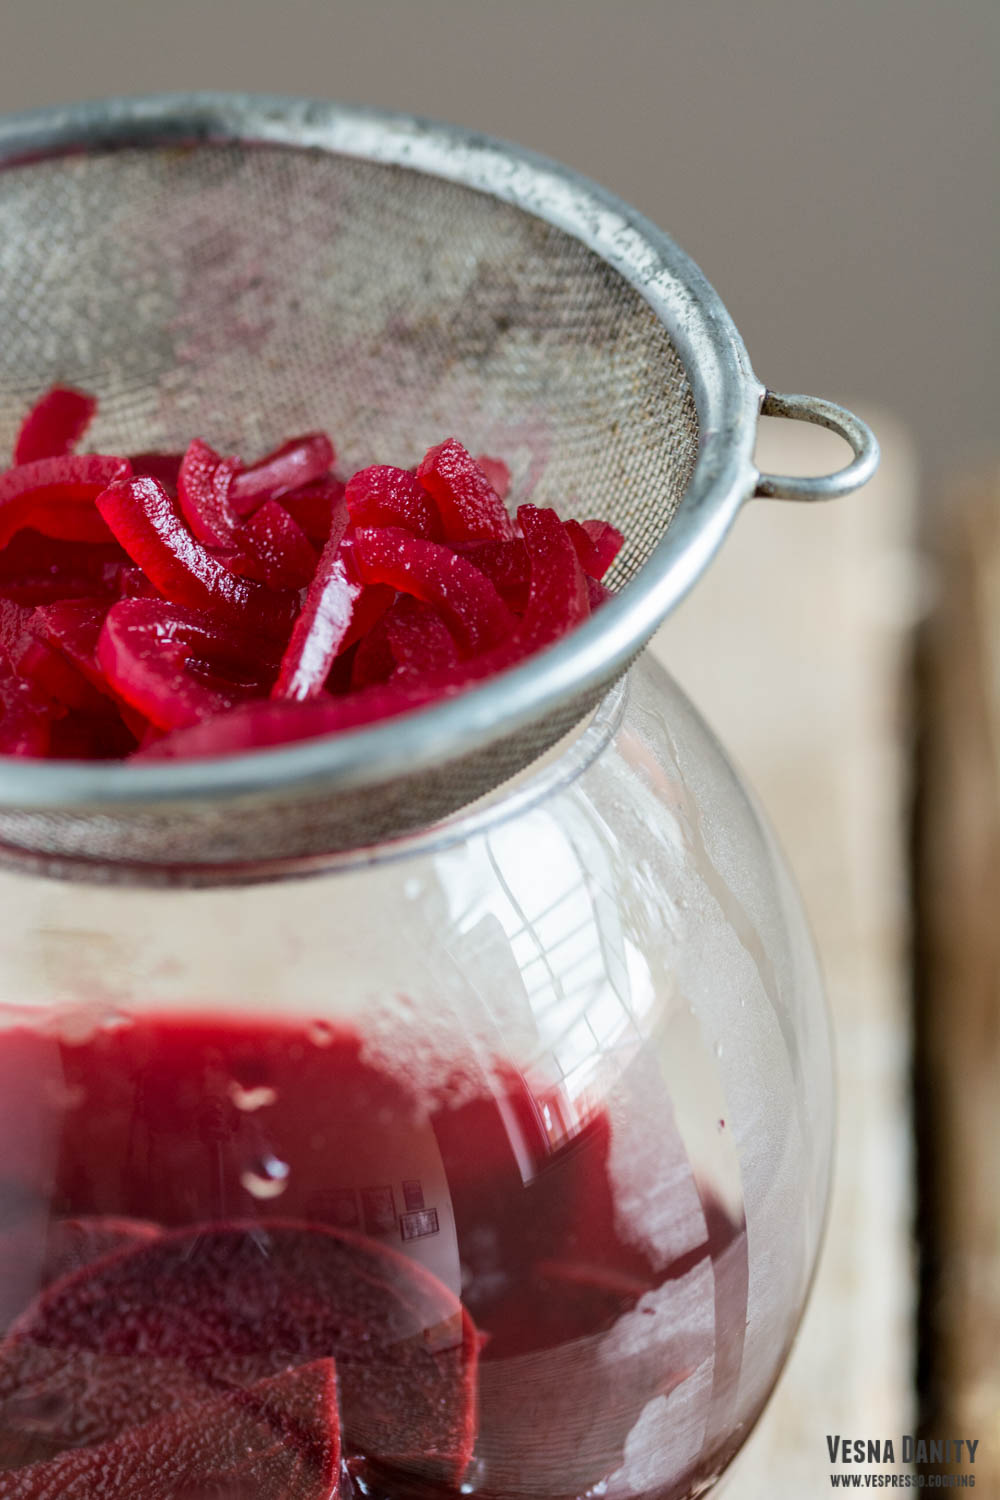
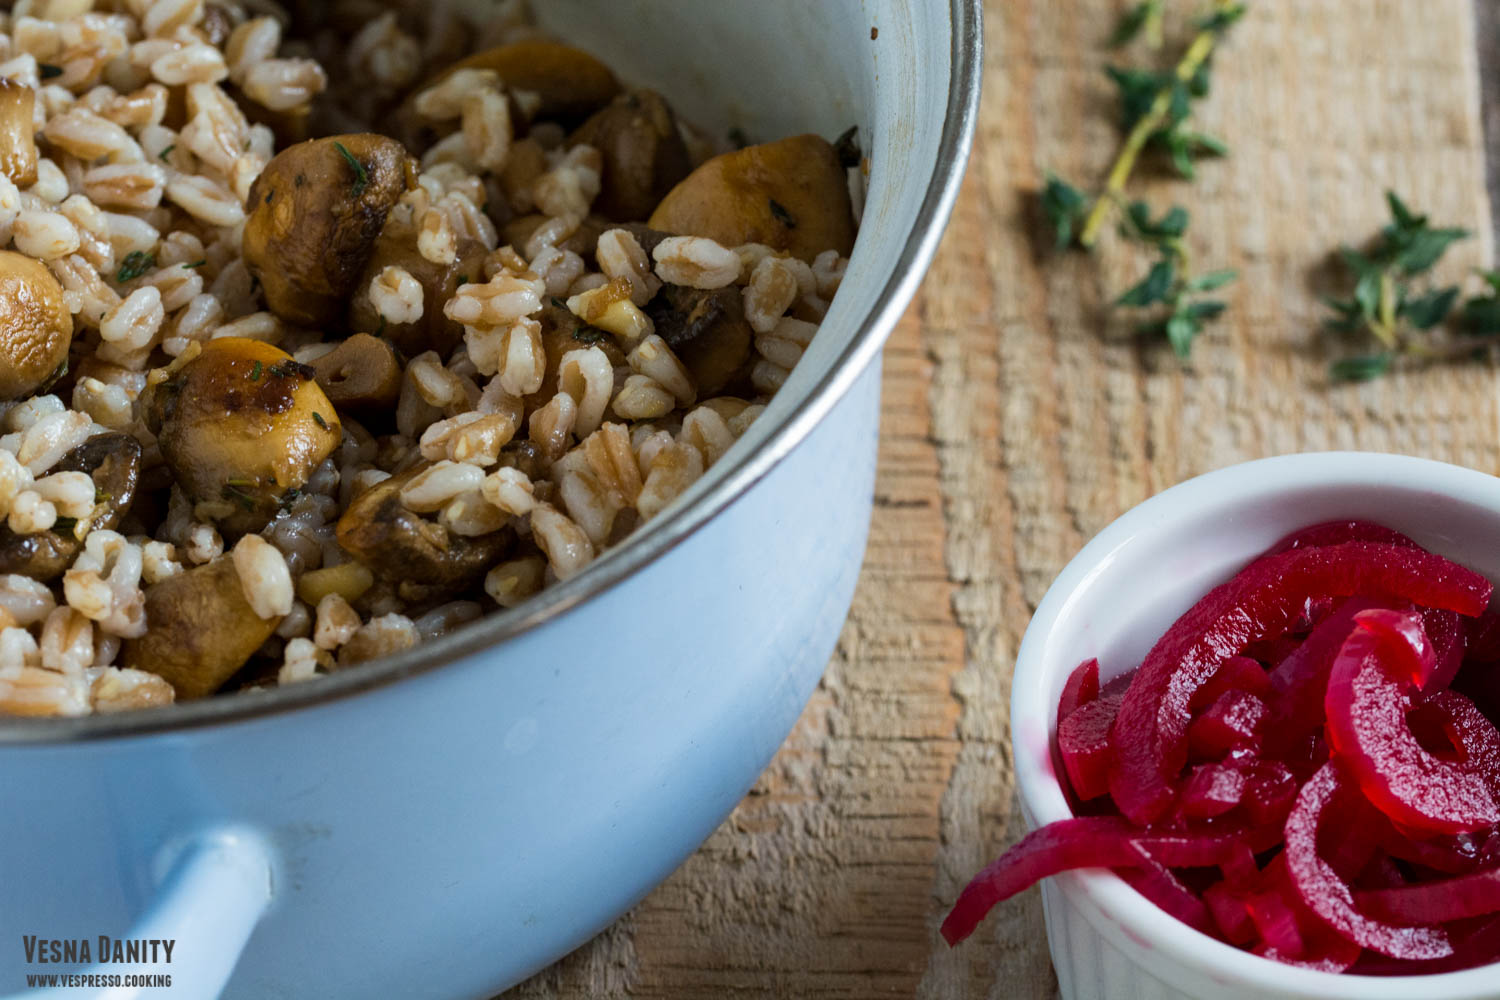
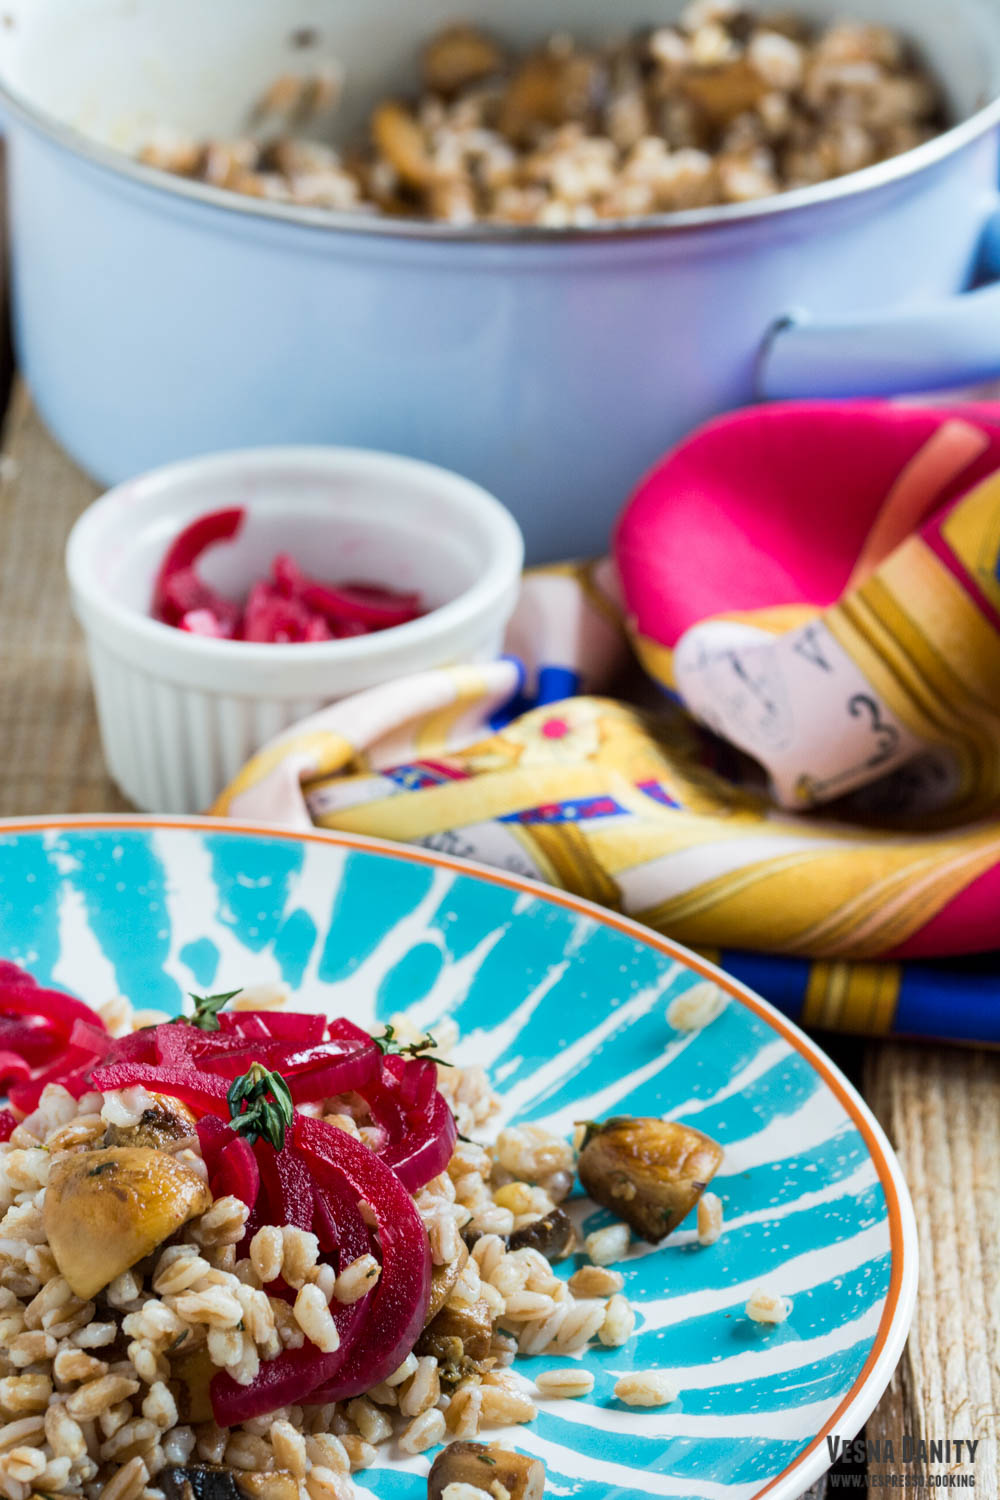
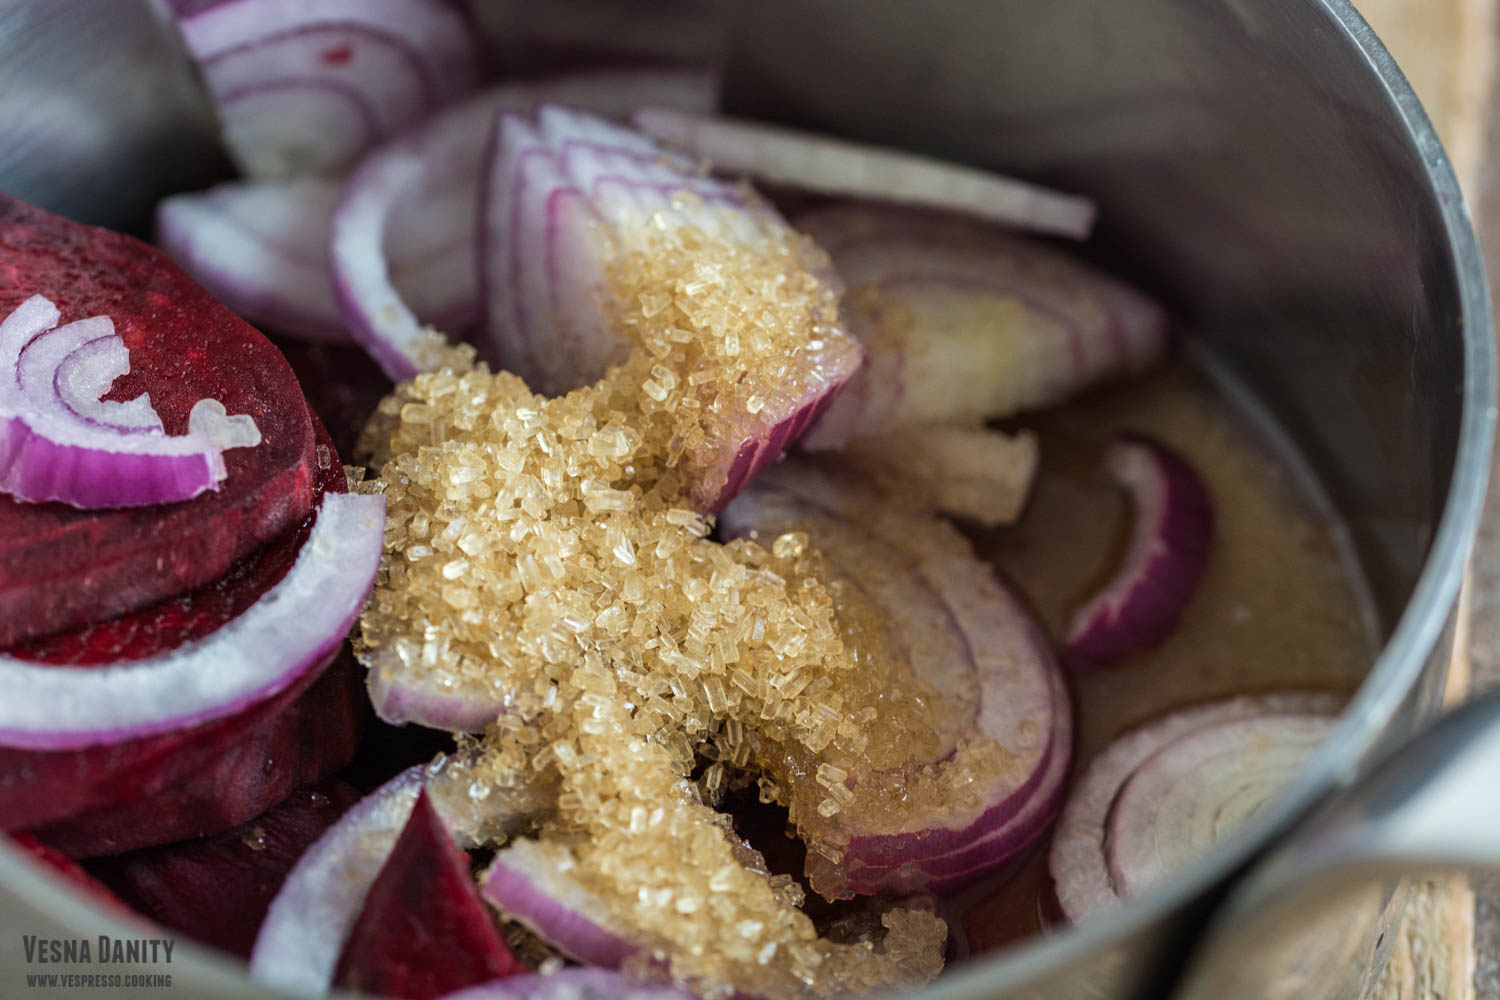
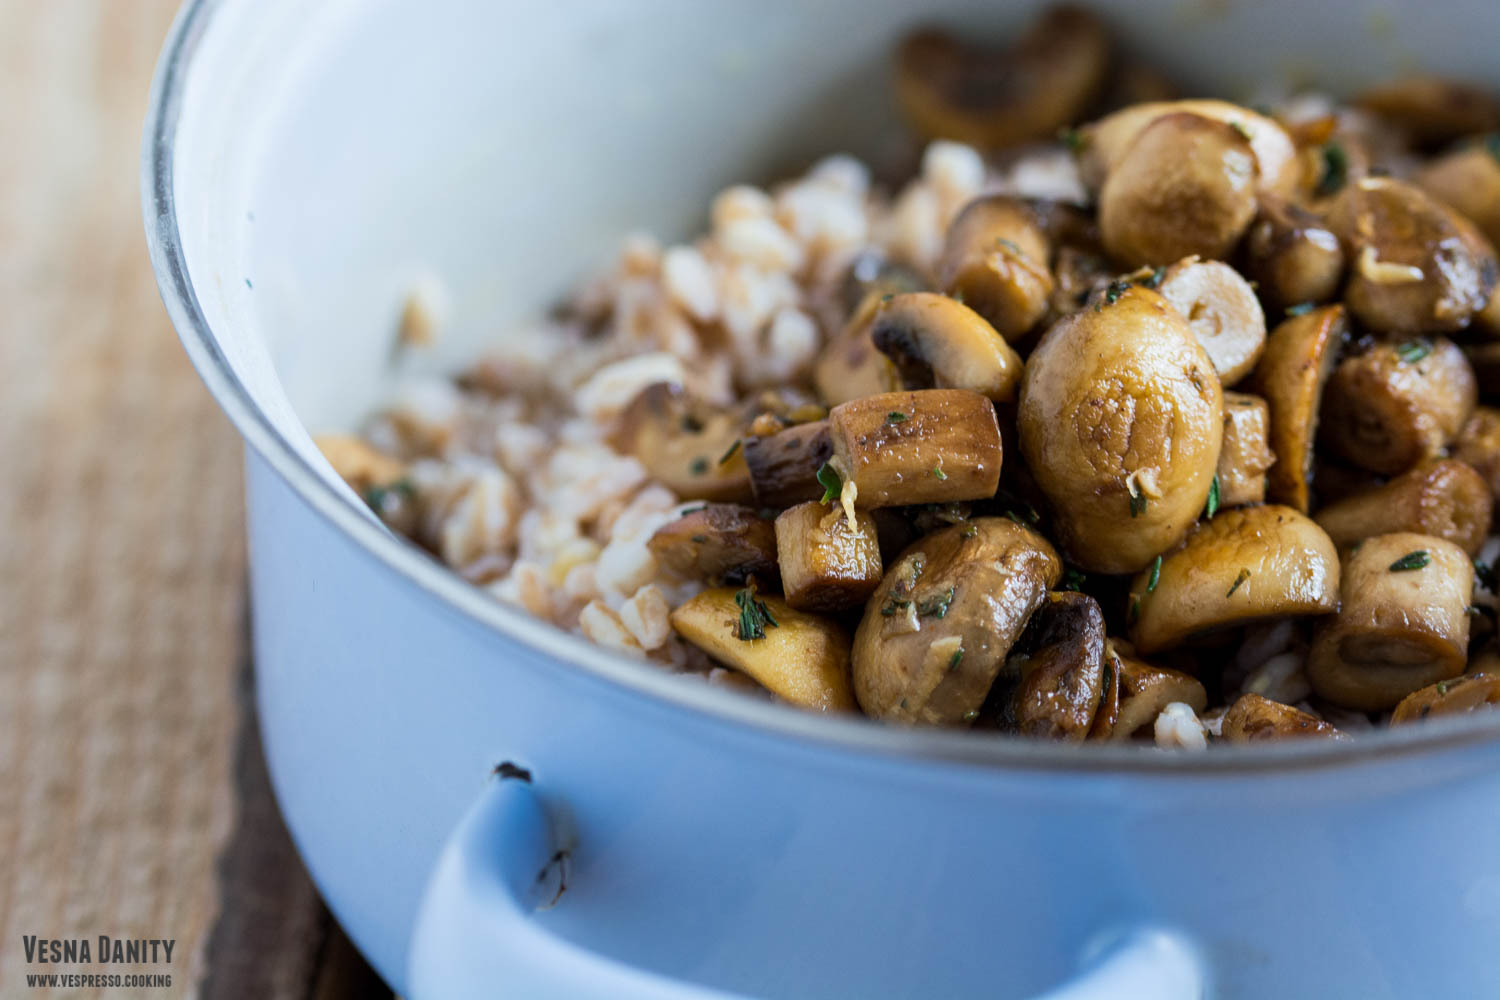
Farro is usually cooked like pasta, so it is practically boiled in salted water. The cooking time usually varies between 25 and 45 minutes, it is ready when it’s tender but still a little bit chewy. Today I served it in a divine salad, topped with sauteed mushrooms and pickled onion. This salad is simple yet elegant, light yet hearty, packed with nutrients and bold flavors. I started the salad by boiling the farro and while the farro was on the stove, I pickled the onion slices in a brine made with water, brown sugar and apple cider vinegar. To this brine I added a sliced beet which gave the onion ribbons a wonderful, almost hypnotic strawberry-red color. While my farro was simmering and my onion was pickling I sauteed some champignon mushrooms in some chili-flavored olive oil. And this is how my all-time favorite salad was born!

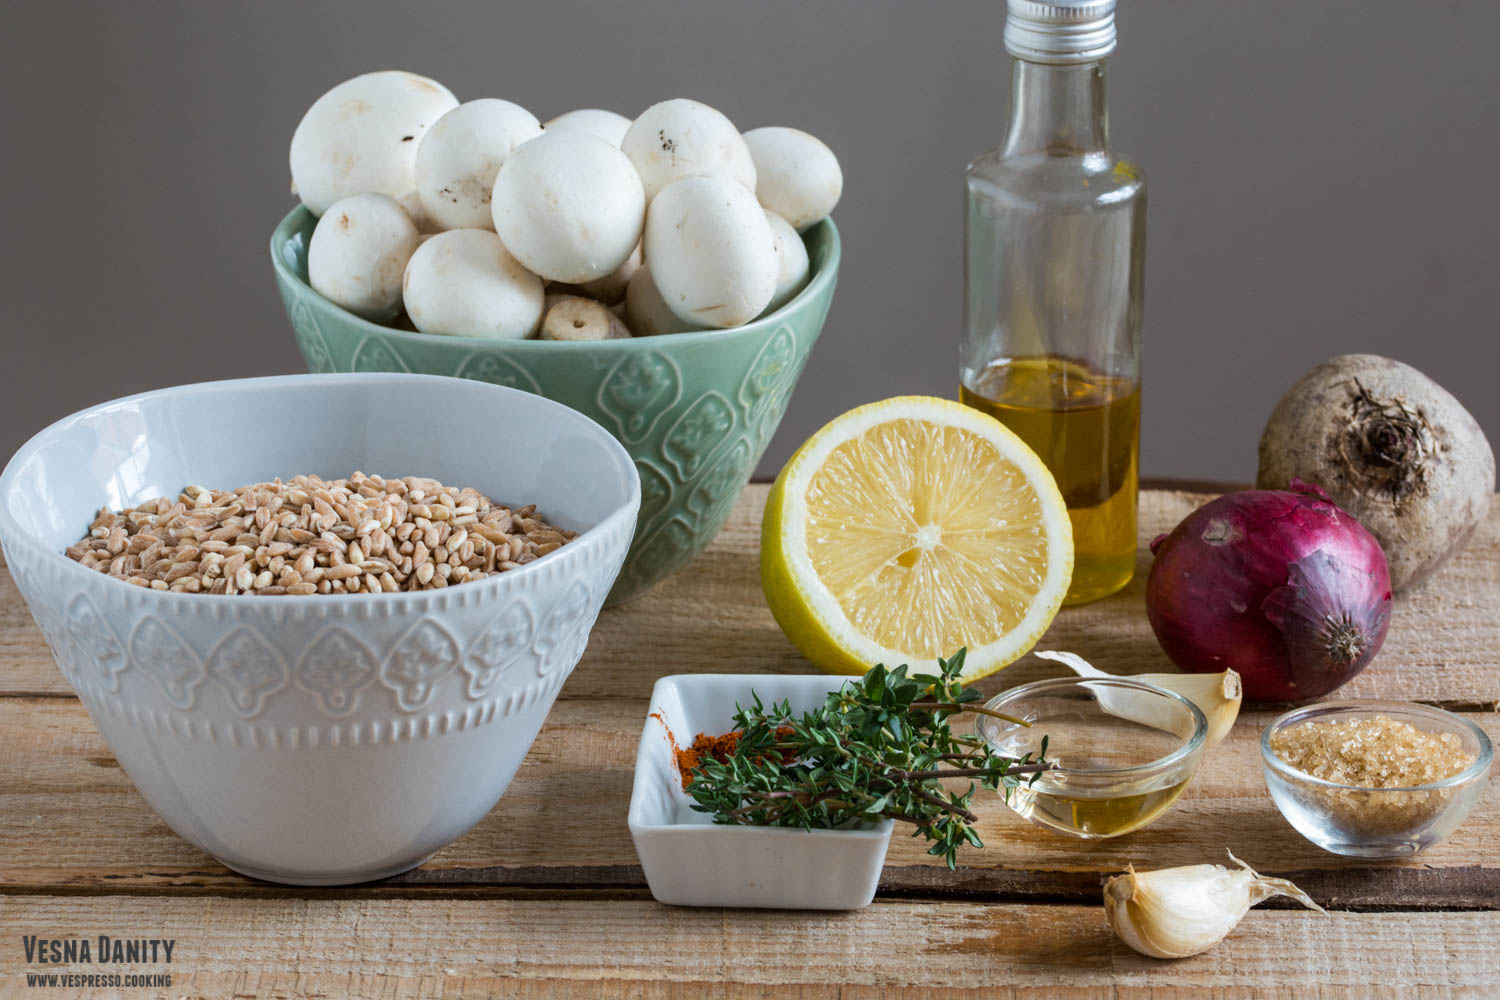
Ingredients (for 2 servings):

  • 150g uncooked farro
  • 250g champignon mushrooms
  • 2 Tbsp olive oil
  • 1 Tbsp lemon juice
  • 1/8 tsp chili powder
  • 2 garlic cloves
  • 1 small red onion
  • 1/2 cup water
  • 2 Tbsp brown sugar
  • 2 Tbsp apple cider vinegar
  • 1 small red beet

Method:

  1. Fill a large saucepan with water, add 1 Tbsp of salt, cover with a lid and bring to a boil. Add the farro, reduce the heat to minimum and simmer for 25 – 45 minutes (cook according to the instructions on the package; farro is cooked when it’s tender but still a little bit chewy).
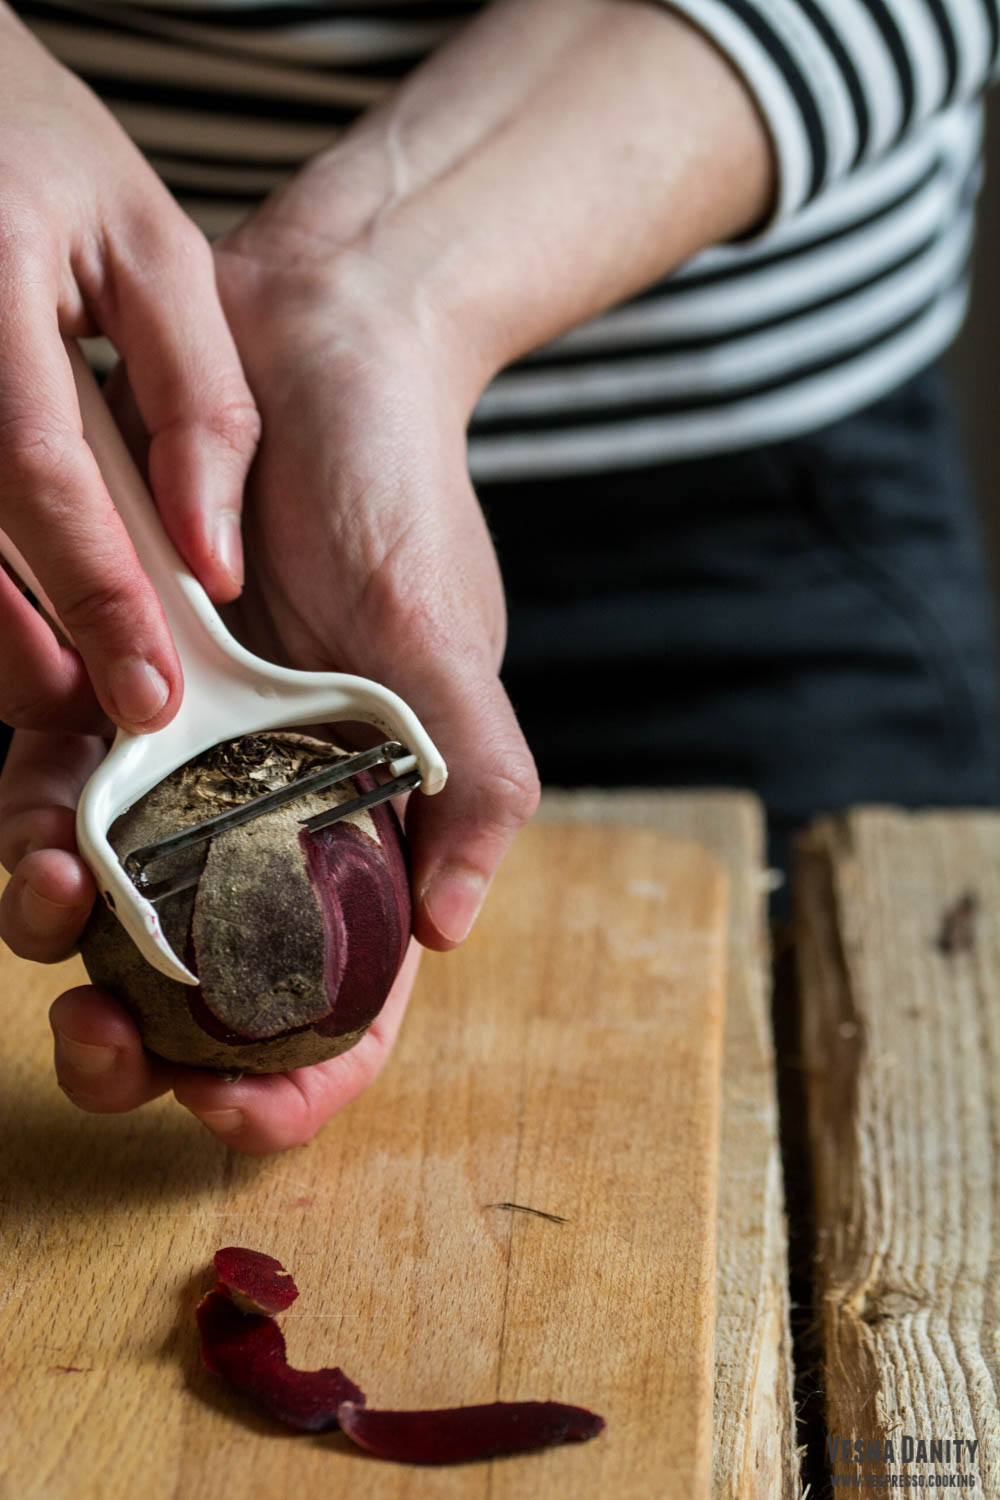
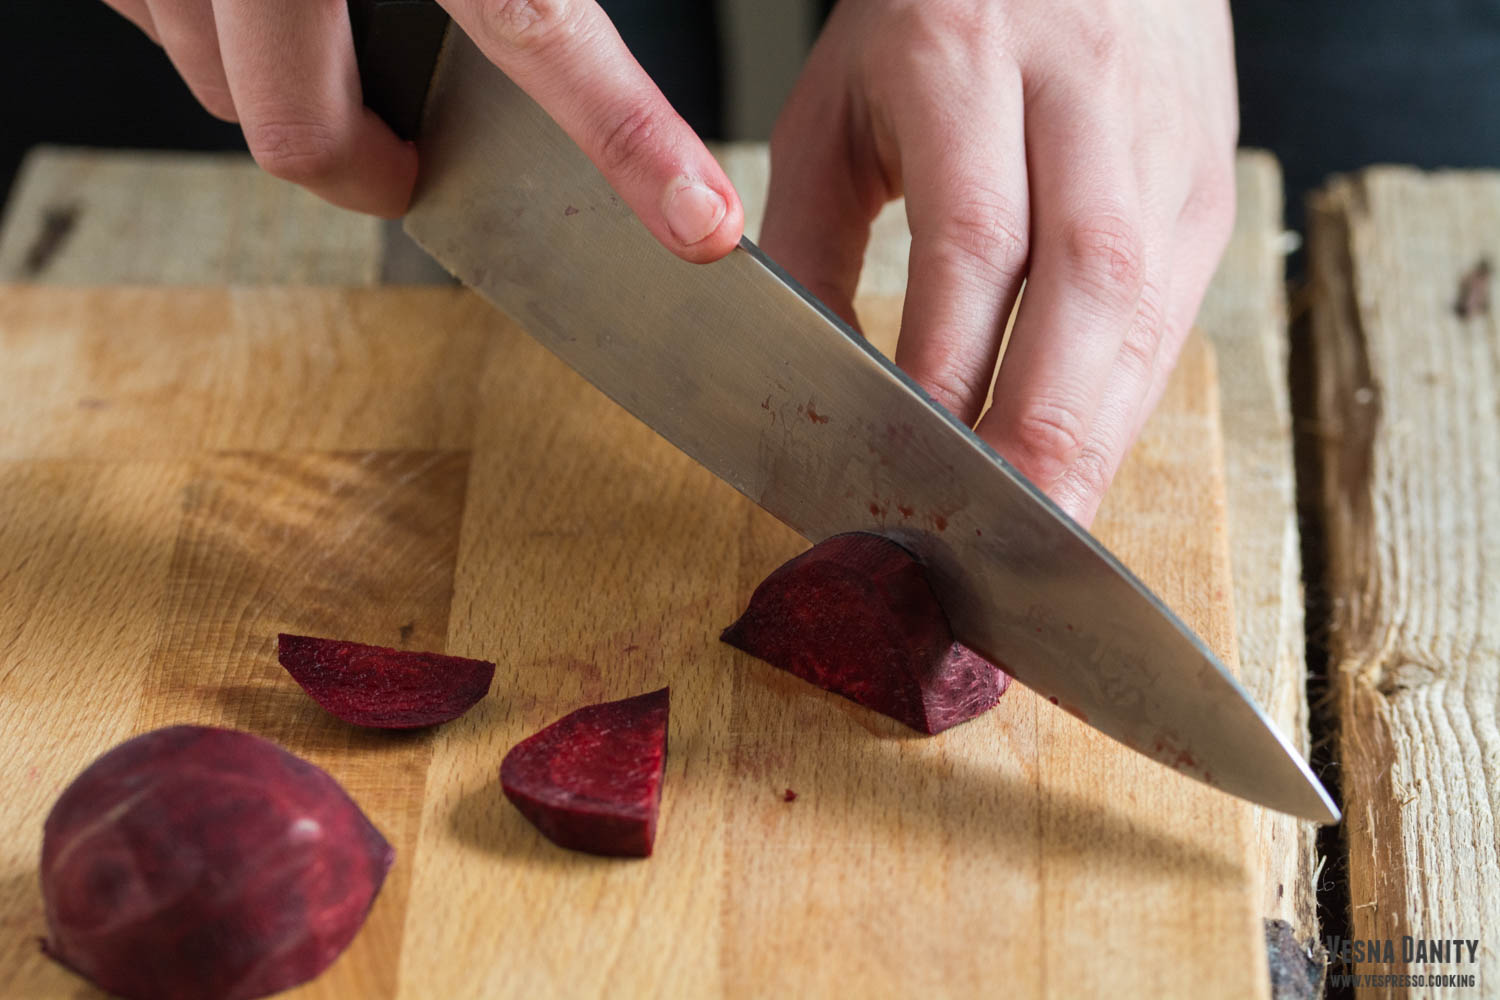
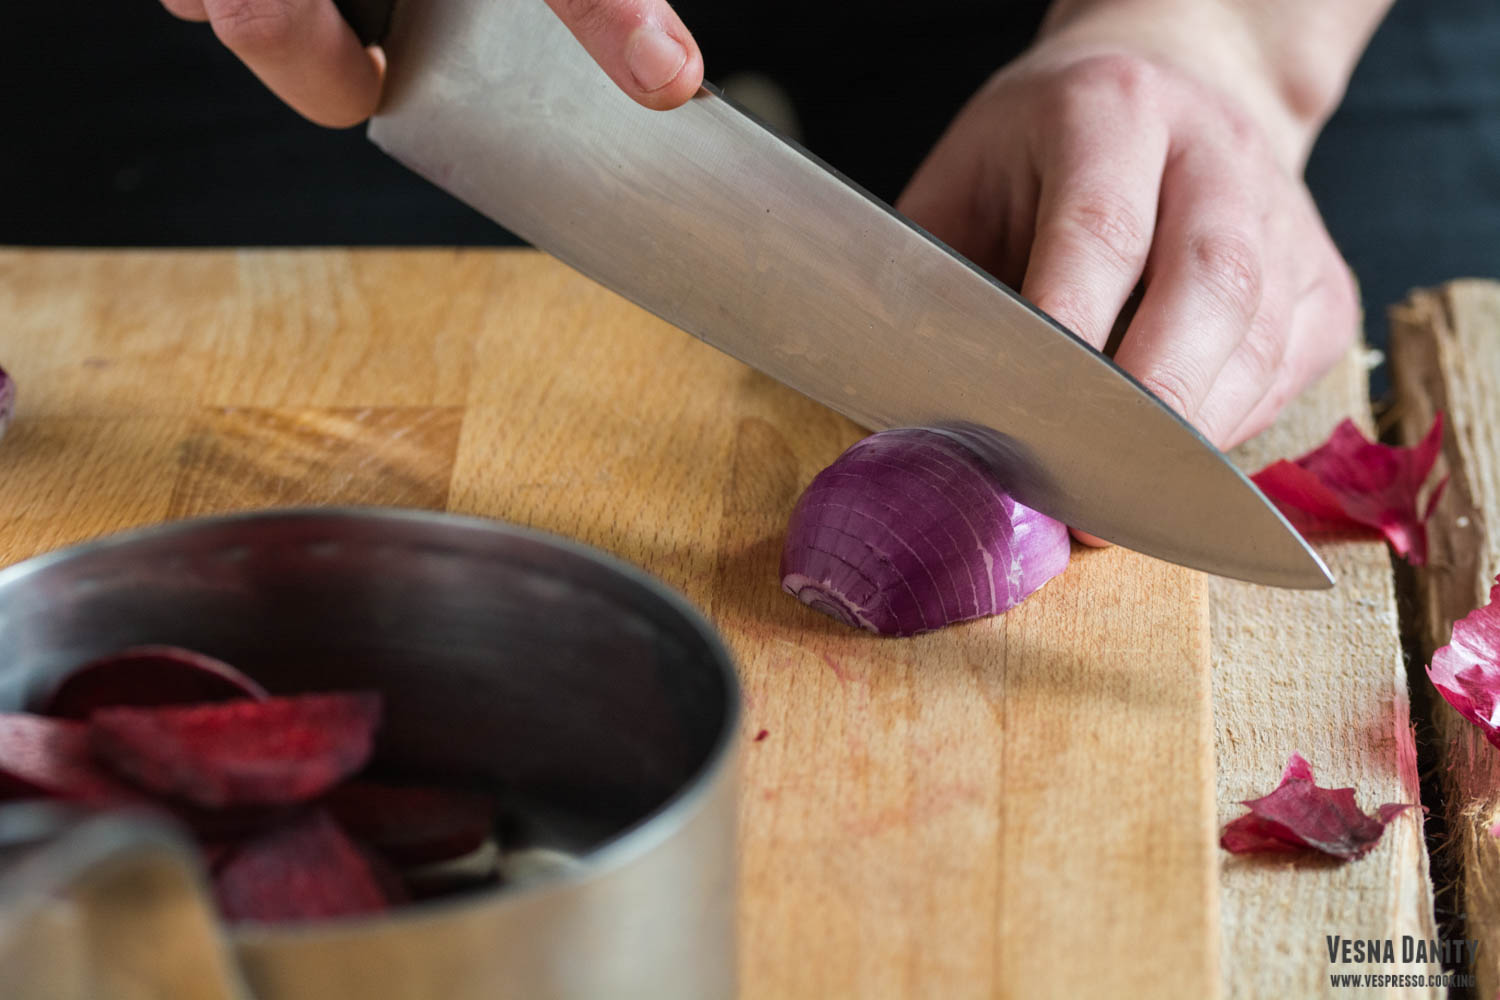
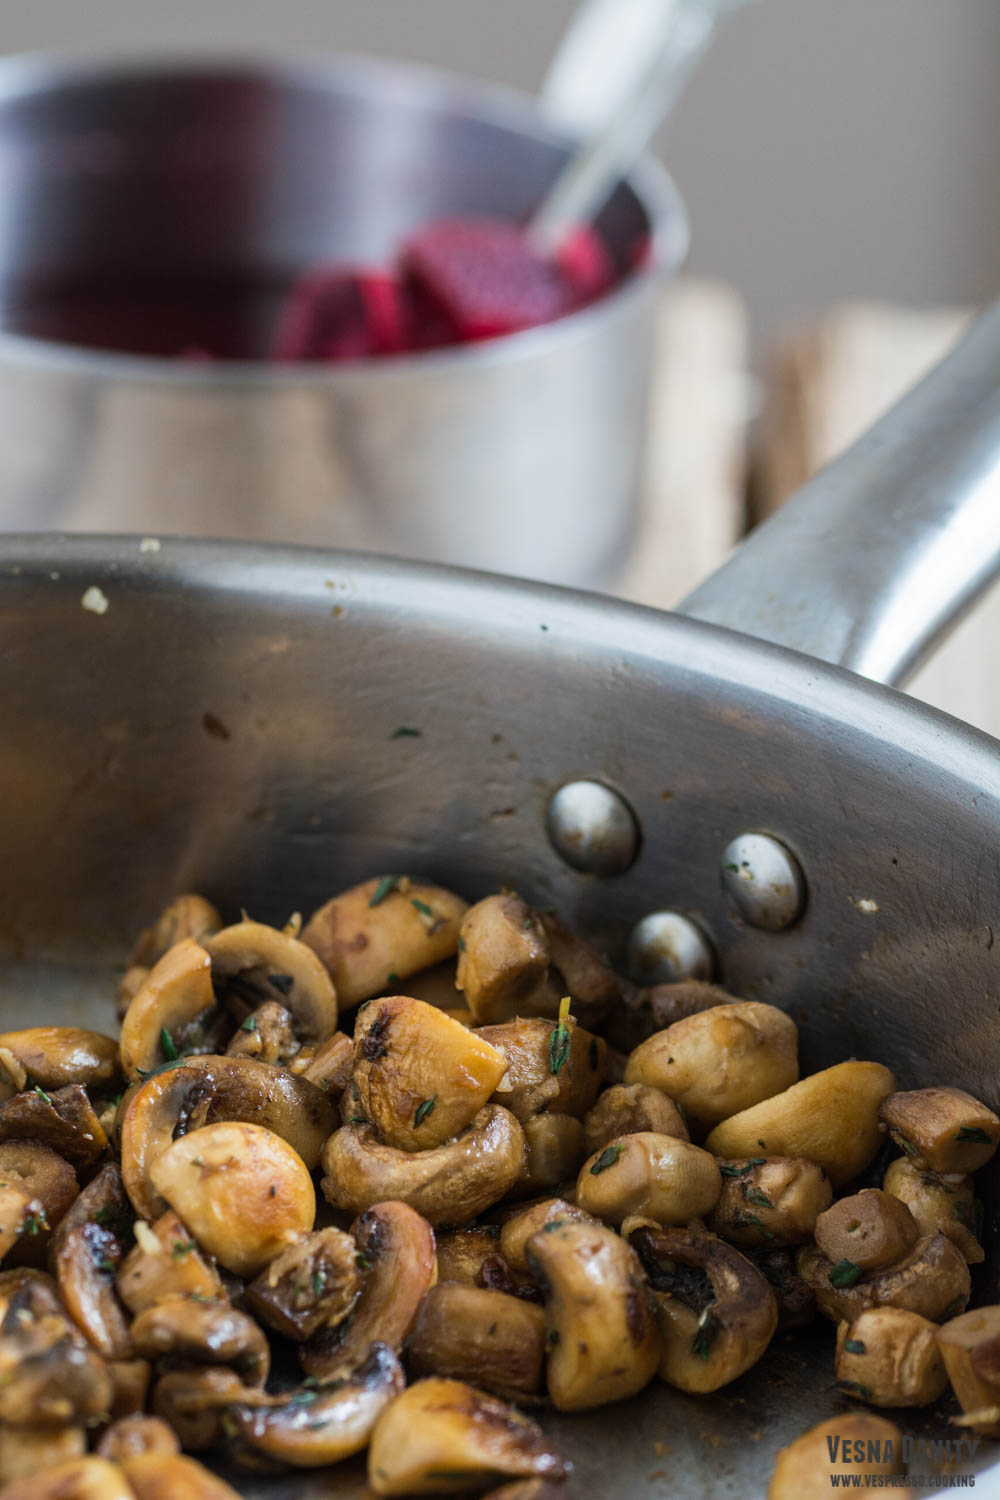
  2. Meanwhile peel the beet with a vegetable peeler, slice it and place it in a small saucepan. Peel the onion, halve it, slice it finely and add it to the saucepan. Add 1/2 cup of water, 2 Tbsp of sugar and 2 Tbsp of vinegar. Place it on the stove over medium heat and bring it to a simmer. Lower the heat to medium and simmer it for 1 minute. Leave it aside to marinade.
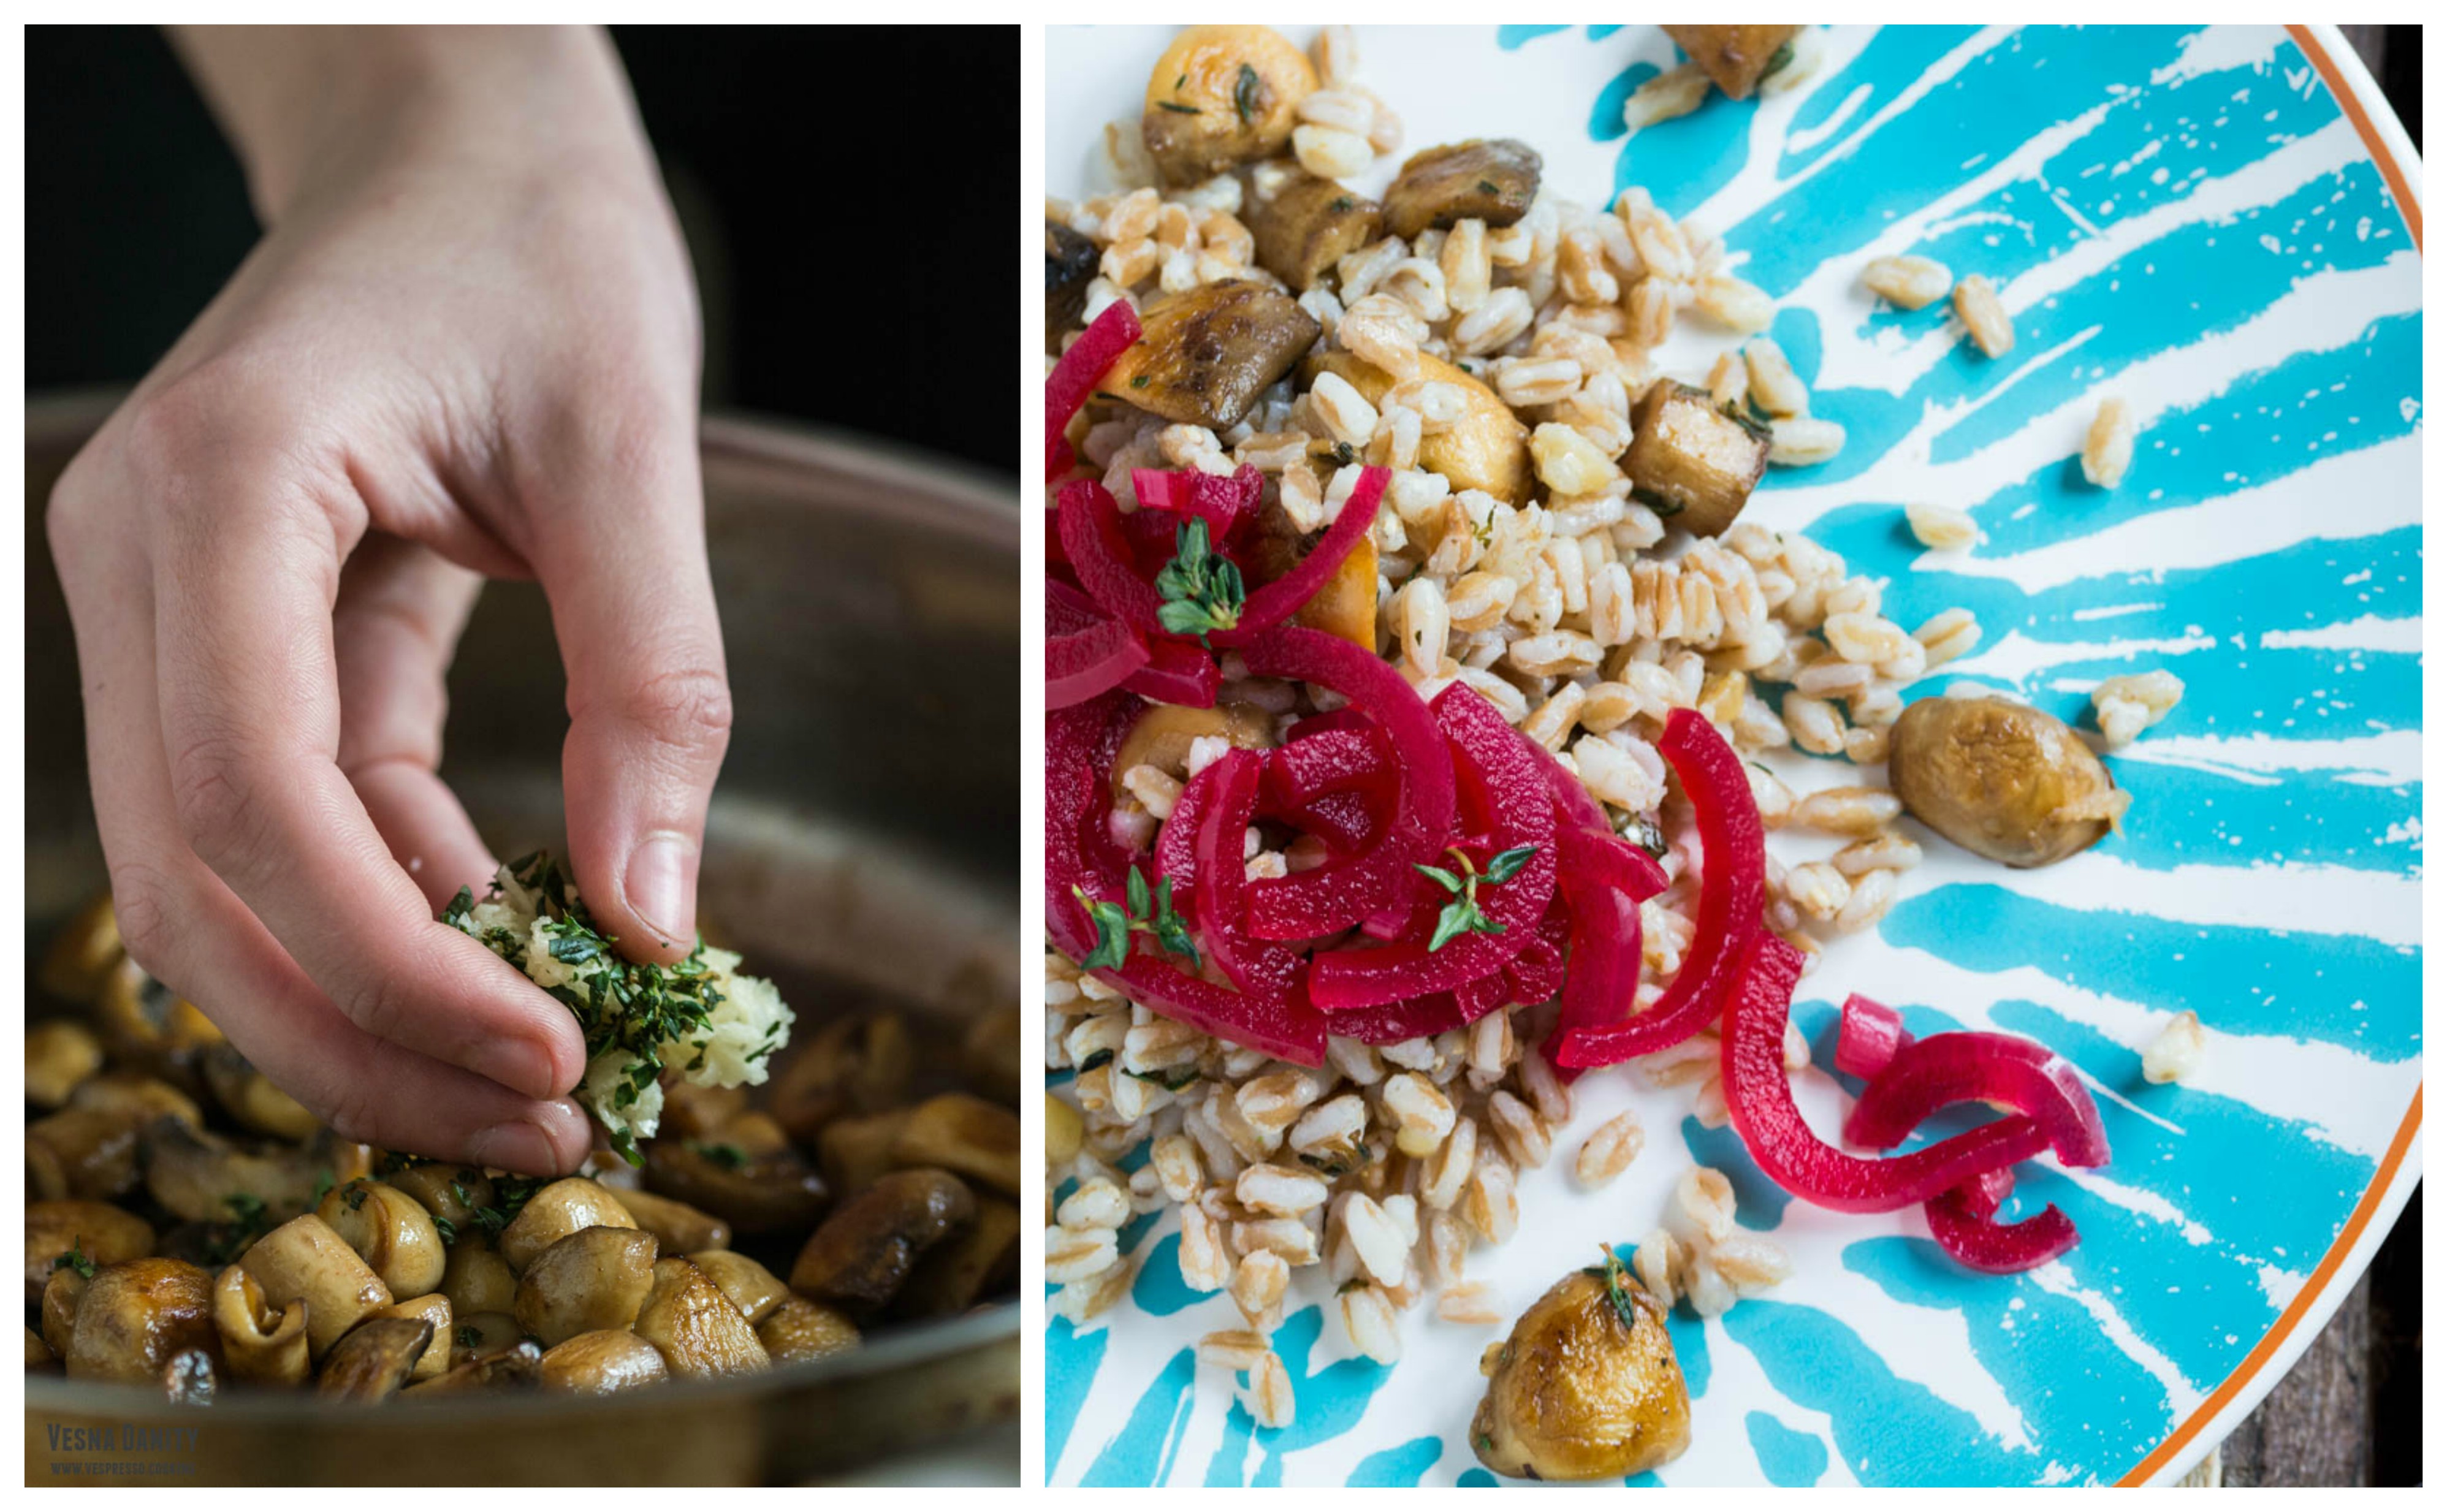
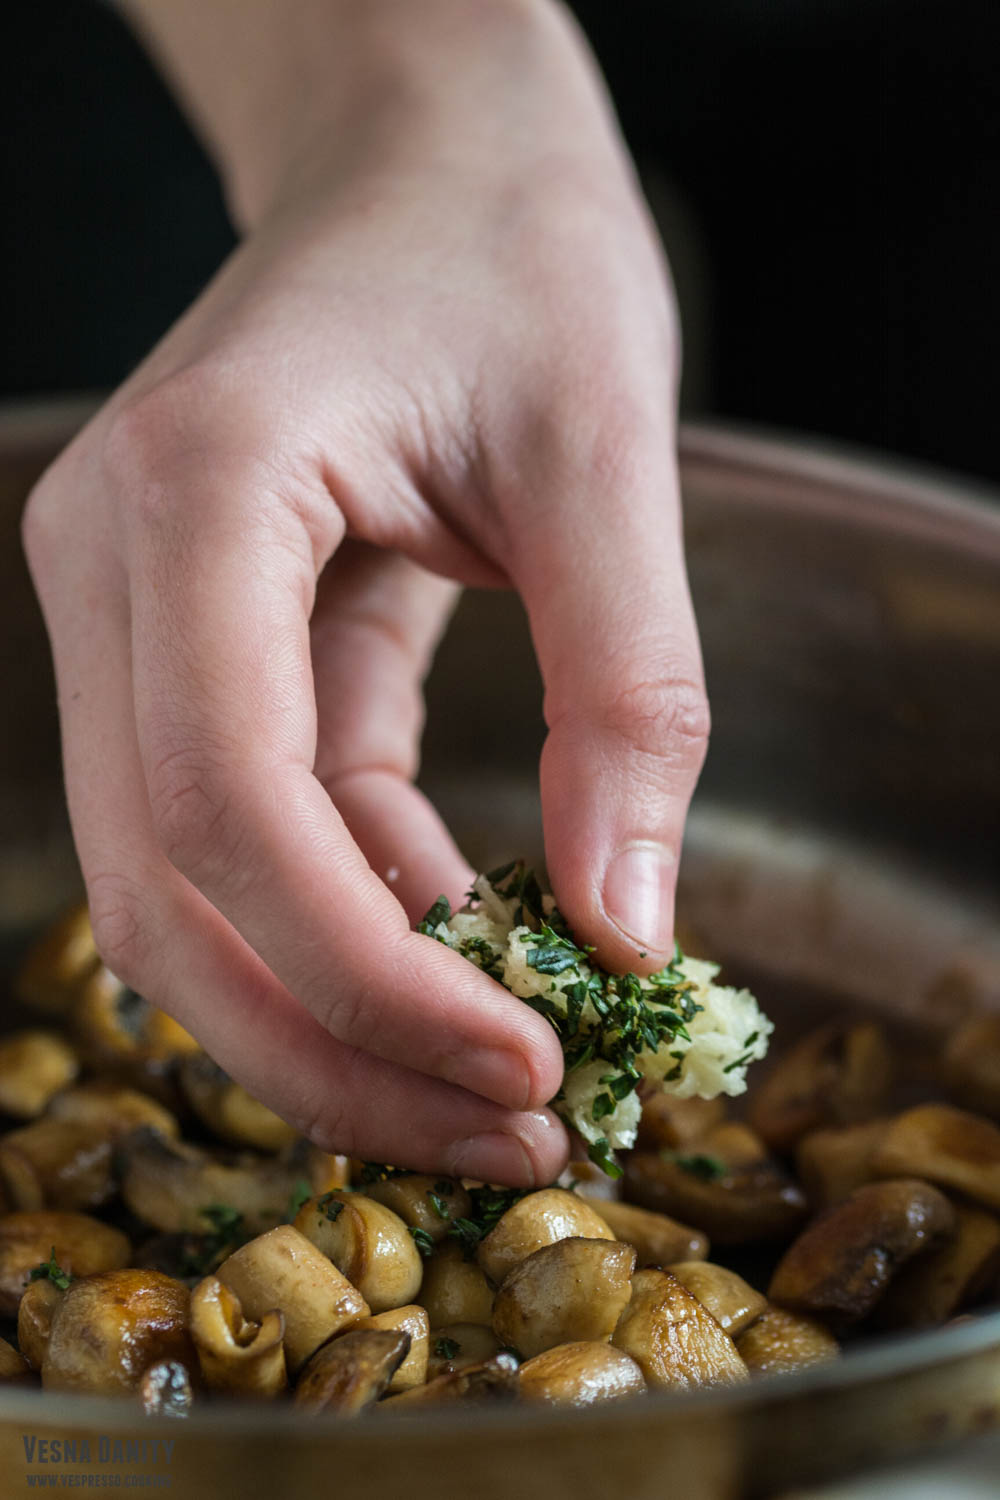
  3. Clean the mushrooms with a clean sponge. Remove the stems and halve the caps. In a large skillet heat 1 Tbsp of olive oil over medium-high heat. Season it with chili and add the mushrooms (caps + stems). Sautee until the mushrooms become golden brown and the liquid has evaporated. Add the minced garlic and chopped thyme and cook for further 60 seconds, stirring continuously. Deglaze the pan with 1 Tbsp lemon juice and leave aside to cool down.
  4. When the farro is cooked, drain the excess water, rinse under cold water and drain well using a colander.
  5. Remove the excess liquid from the pickled onions and discard the beet slices.
  6. To assemble the salad mix together the farro with the sauteed mushrooms. Add 1 Tbsp of olive oil and season with salt. Divide the salad between two plates and garnish with pickled onion ribbons.
  7. Place the leftovers (if any) in a bowl, cover with cling film and refrigerate for up to 2 days.


Source: www.cookieandkate.com
Fast One-Hour Buns


I love everything that remotely resembles to bread, but if I’d have to choose between a slice of bread and a bun I’d choose the latter. And I have 2 main reasons:

  1. I’m the “crust” type of person, the crunchier, the better.
  2. I’m incapable of evenly slicing a bread. And I’ve tried. A lot. And don’t get me started on the cake-slicing topic.

These being said, I think I found the perfect buns. They are dense without being tough and they have a wonderful crunchy crust. Oh, I almost forgot the best part. These buns are made in 40 minutes.

Ingredients (for 10 Buns):

  • 250g strong white flour (+ extra 10g for kneading)
  • 25g beaten egg (1/2 egg)
  • ¼ tsp salt
  • 120ml lukewarm water (36-38°C)
  • 35ml Tbsp olive oil
  • 15g granulated sugar (I used packed brown sugar)
  • 1 envelope active dry yeast (7g)
  • Method:

    1. Preheat the oven at 400°F/204°C (gas mark 6).
    2. In a small bowl combine water, oil, sugar and yeast and let aside for 10 minutes. After 10 minutes, the mixture should be really foamy (picture).
    3. In a large bowl combine white flour, oat flour and salt and make a well in the center.
    4. Add the yeast mixture and ½ an egg and mix with a wooden spatula until you form a ball.
    5. Bring the sticky dough on a floured working surface and knead it for 2 minutes.
    6. Place dough in the bowl, cover and let it rise in a warm place for 10 minutes.
    7. After 10 minutes, place the dough back on the working surface and knead vigorously to knock out the air bubbles.
    8. Divide dough into 10 pieces and shape them into 10 balls (I had 10 balls x 53g).
    9. Place them on a tray lined with parchment paper, give them a quick egg wash, sprinkle some cumin seeds and bake them for 12 minutes or until golden.


    Source: www.kitchemeetsgirl.com
Cherry and Almond Crumble

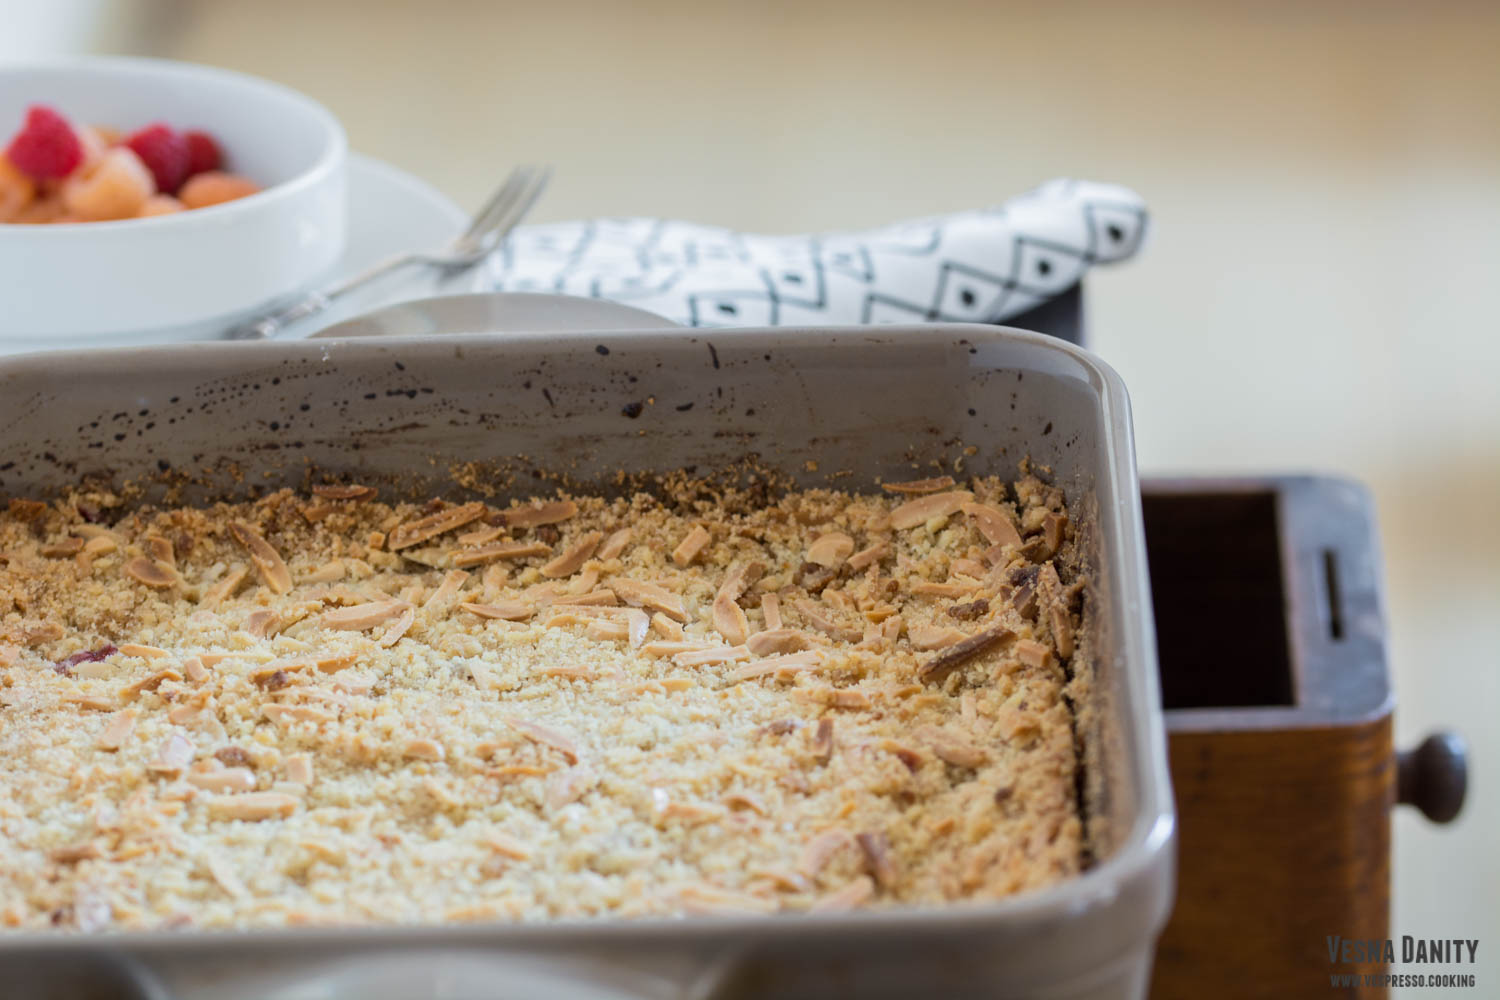
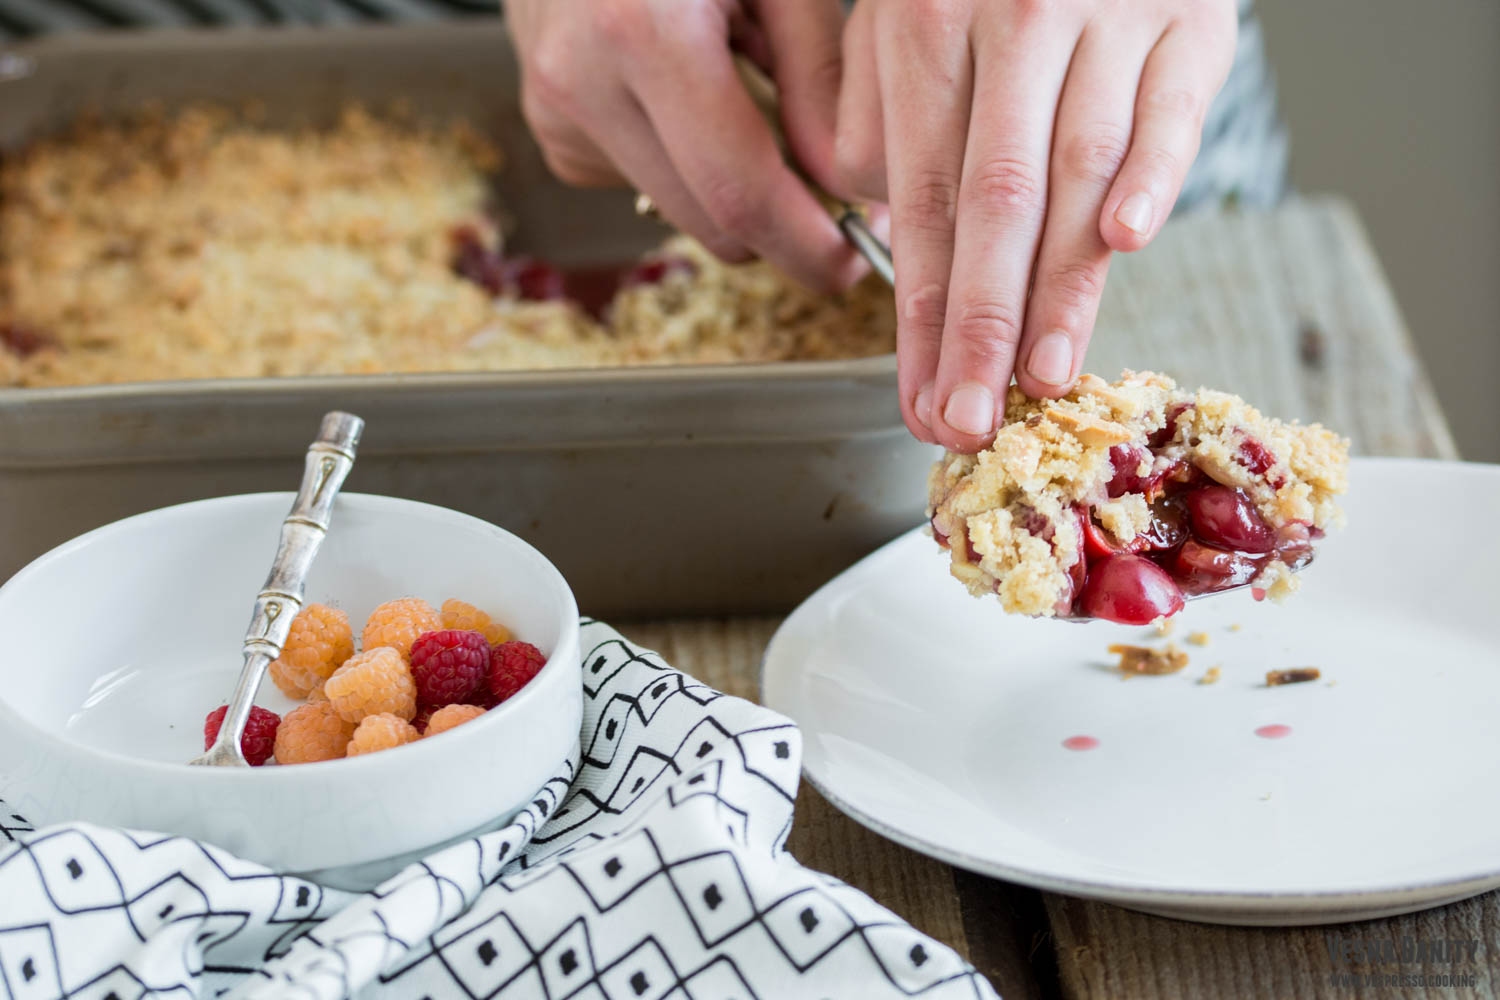
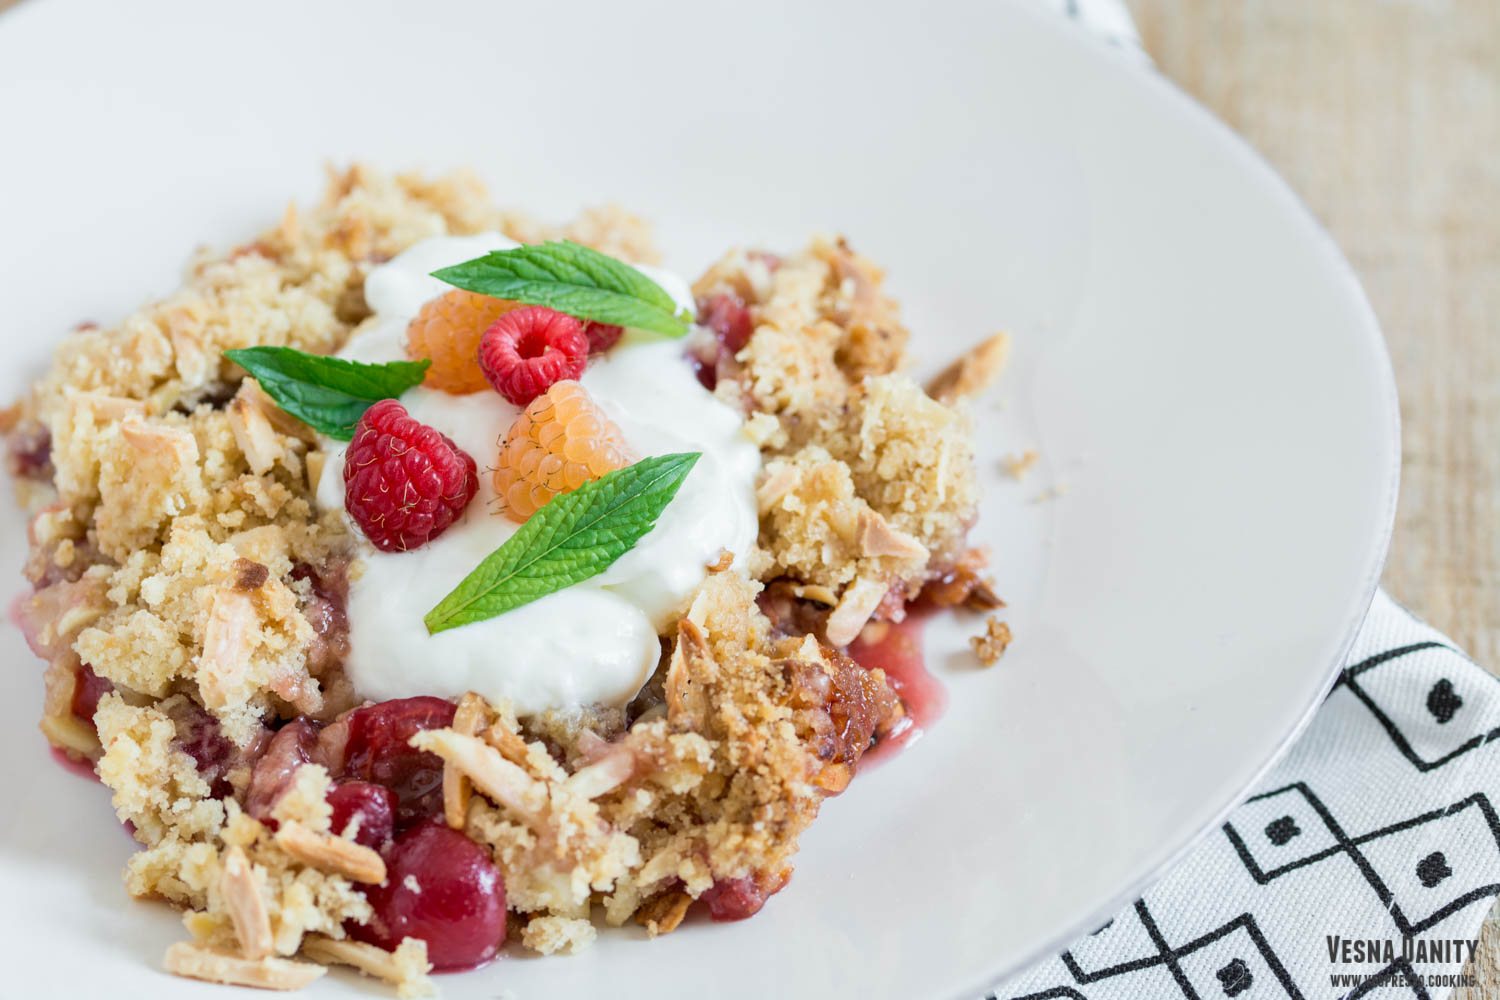
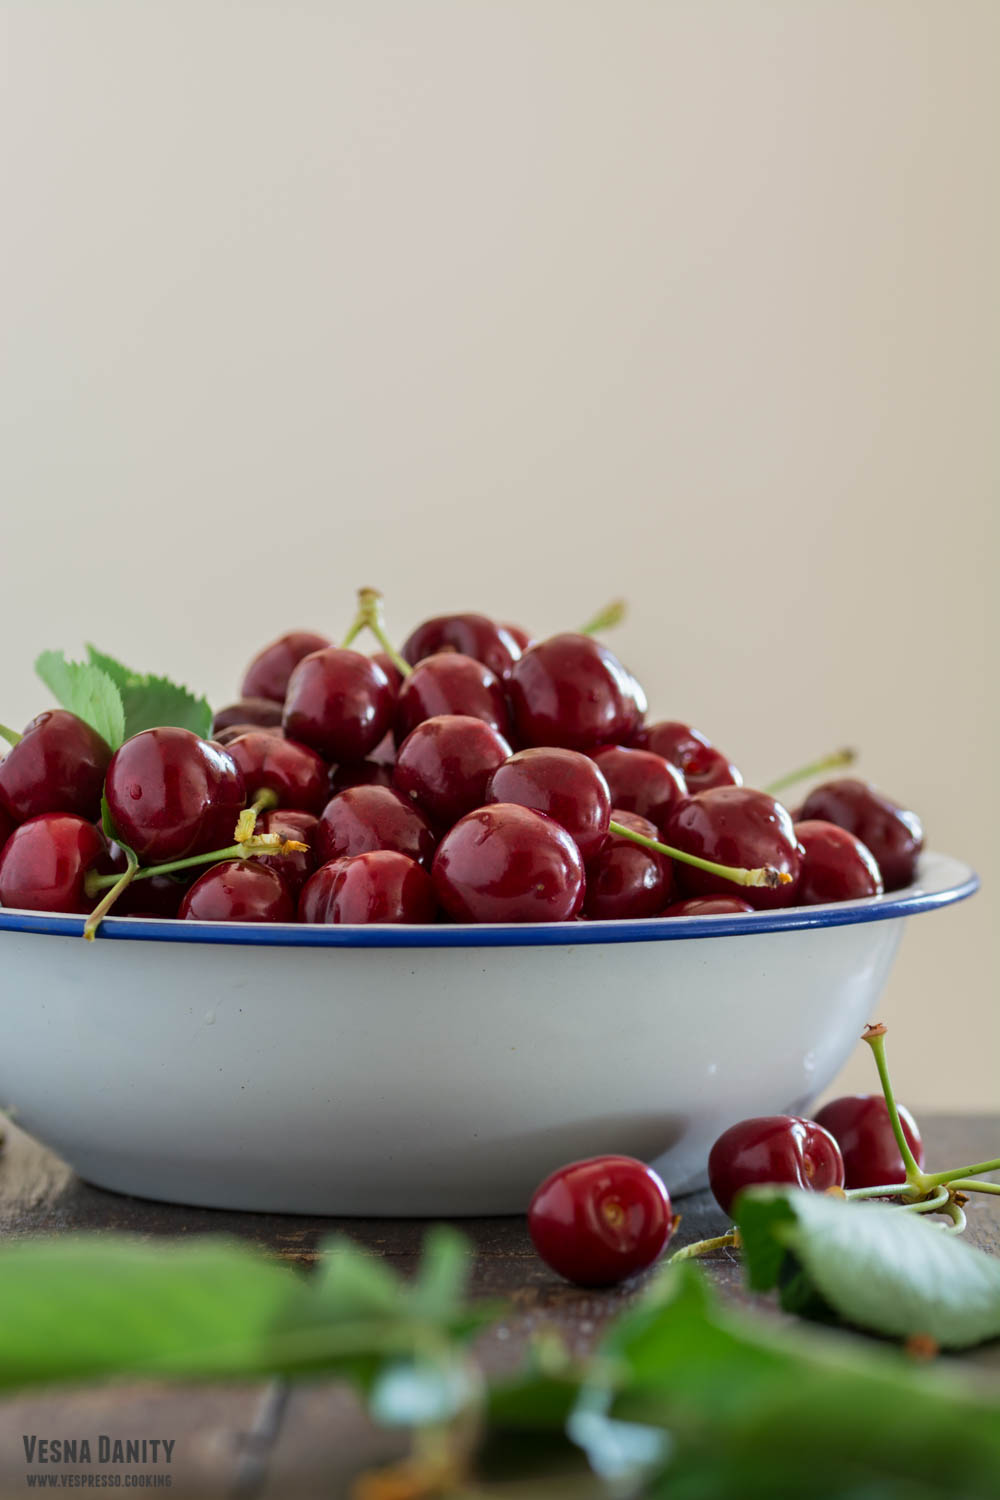
Sometimes, I’m simply not looking for symmetries, geometries and flawlessness. Sometimes, a rustic dessert chaotically dropped on a white plate creates for me an ecstatic state of mind, a genuine satisfaction that no other form of perfection could ever bring. Moments like that tell me it’s time to make a crumble.

Fruit crumble isn’t the most aesthetic dessert that you could think of, I give you that, but the taste is simply divine. Those fresh fruit that bake in their own juice, creating a silky, flavorful sauce go wonderfully with the crunchy buttery crust. For this particular crumble I used meaty June cherries, I flavored them with rose water (vanilla or almond extract work beautifully too) and I topped them with a buttery almond flake mixture. A delicious madness! Continue reading Cherry and Almond Crumble

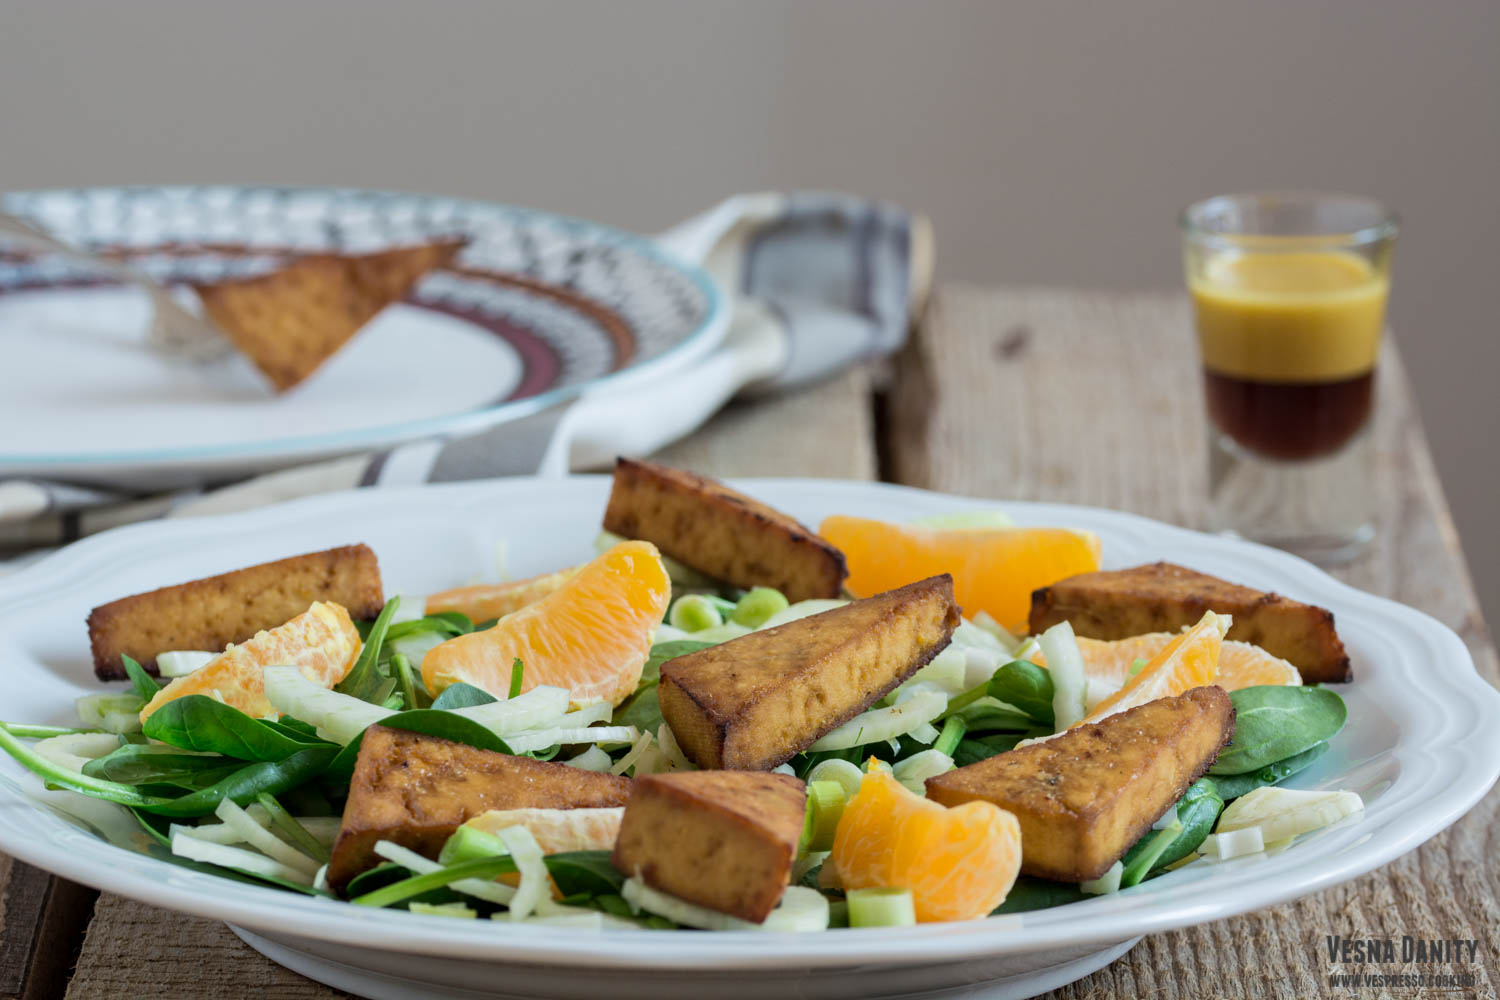
Spinach Salad with Baked Tofu, Fennel and Mandarin Oranges


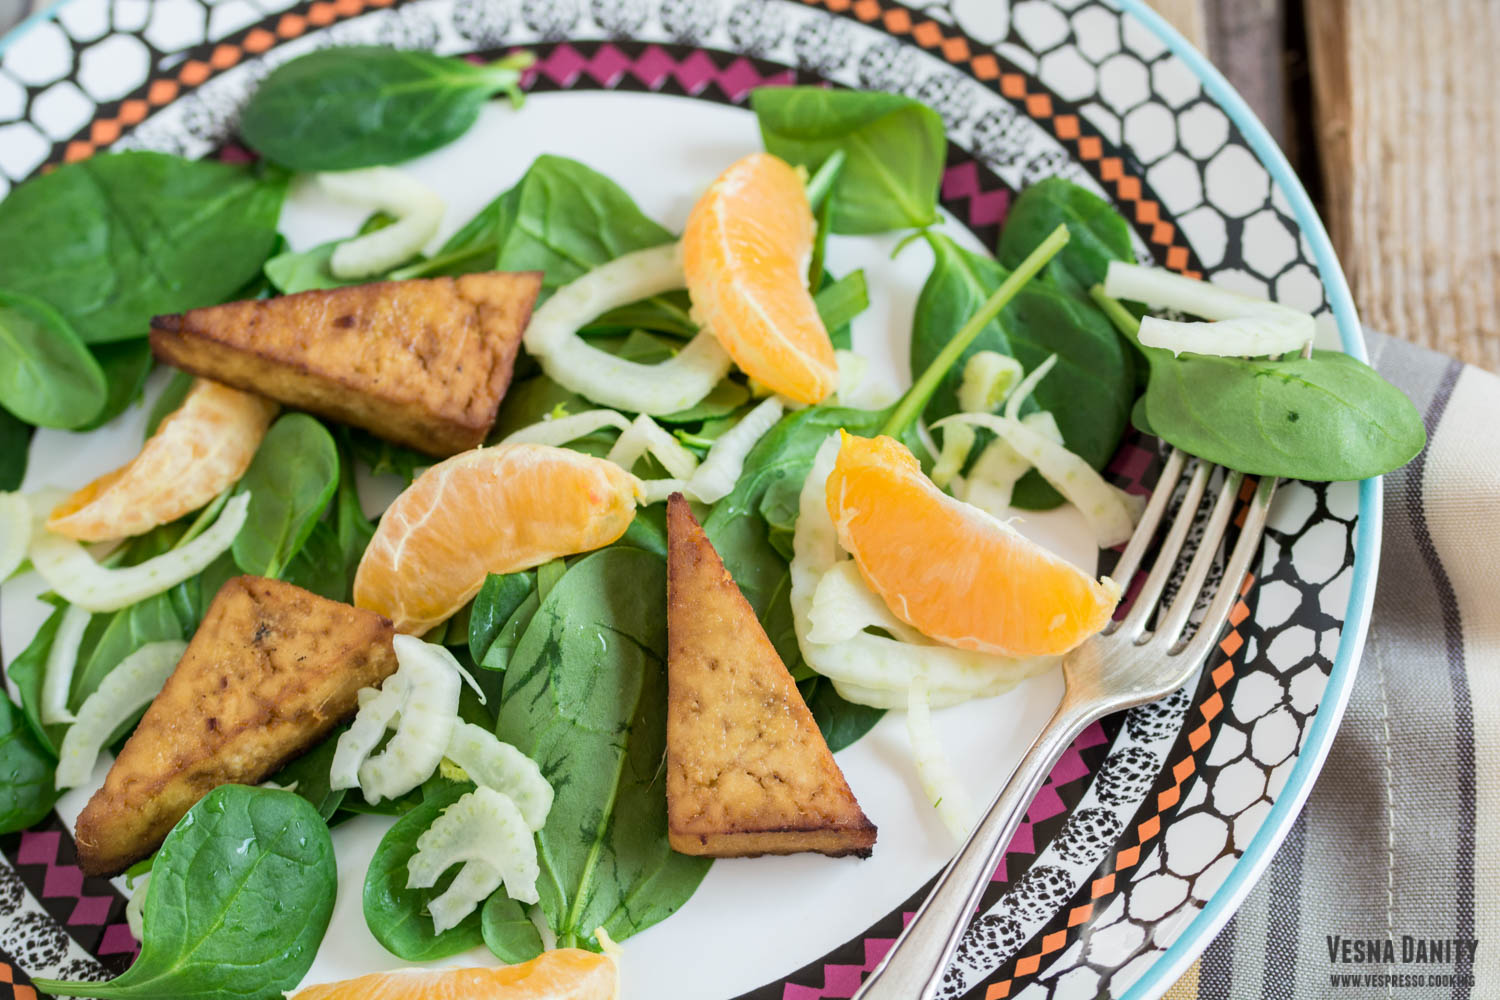
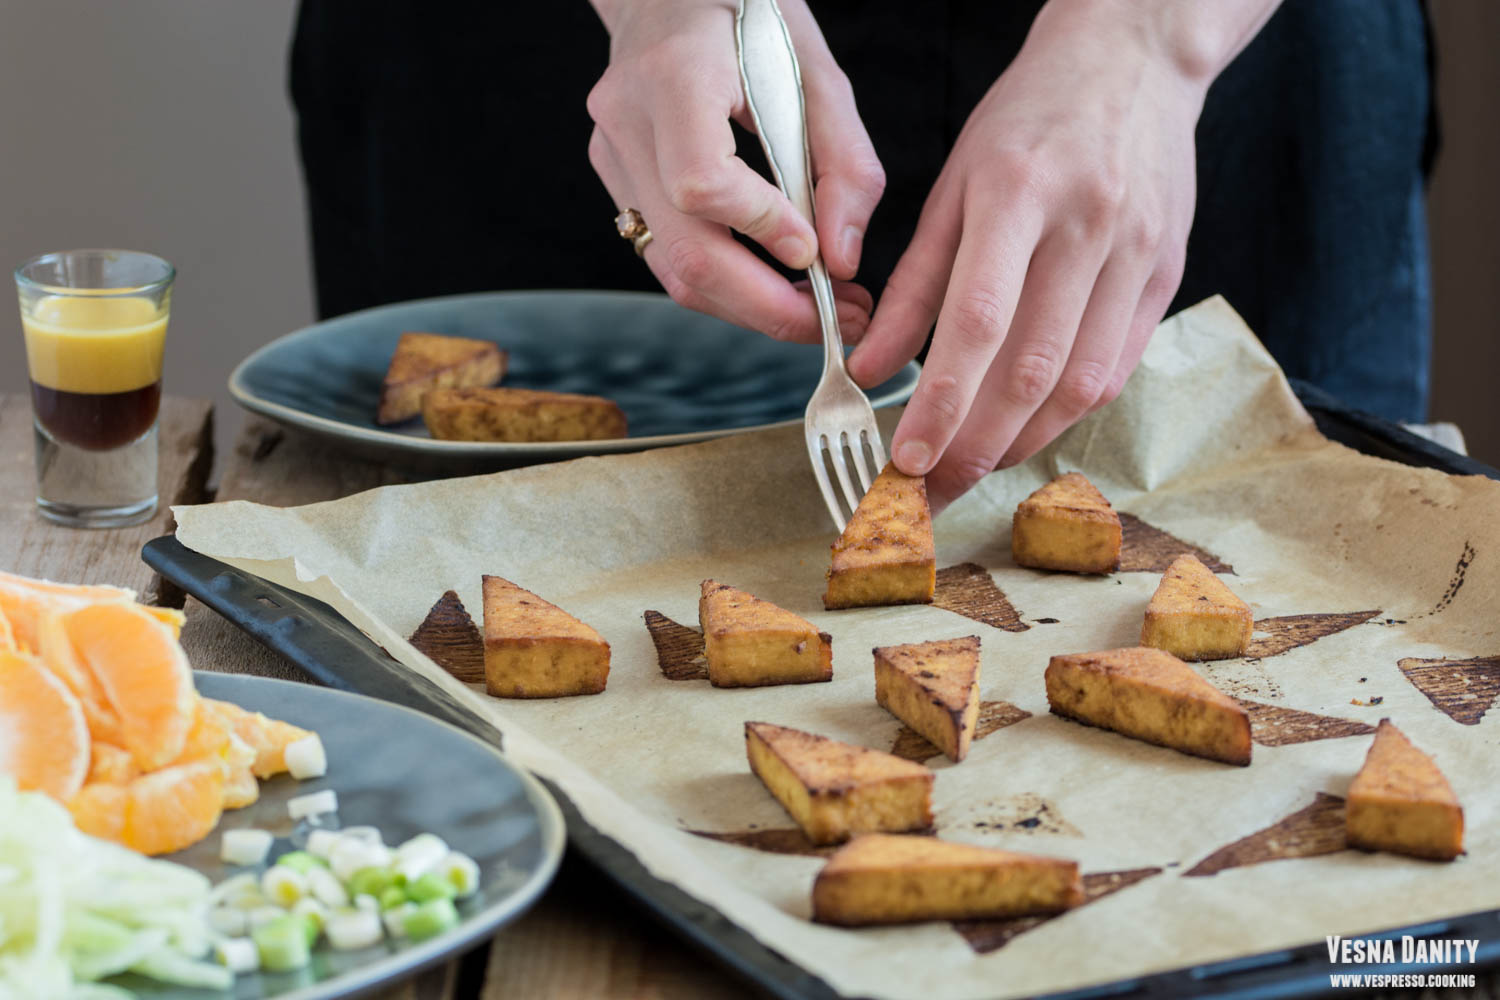
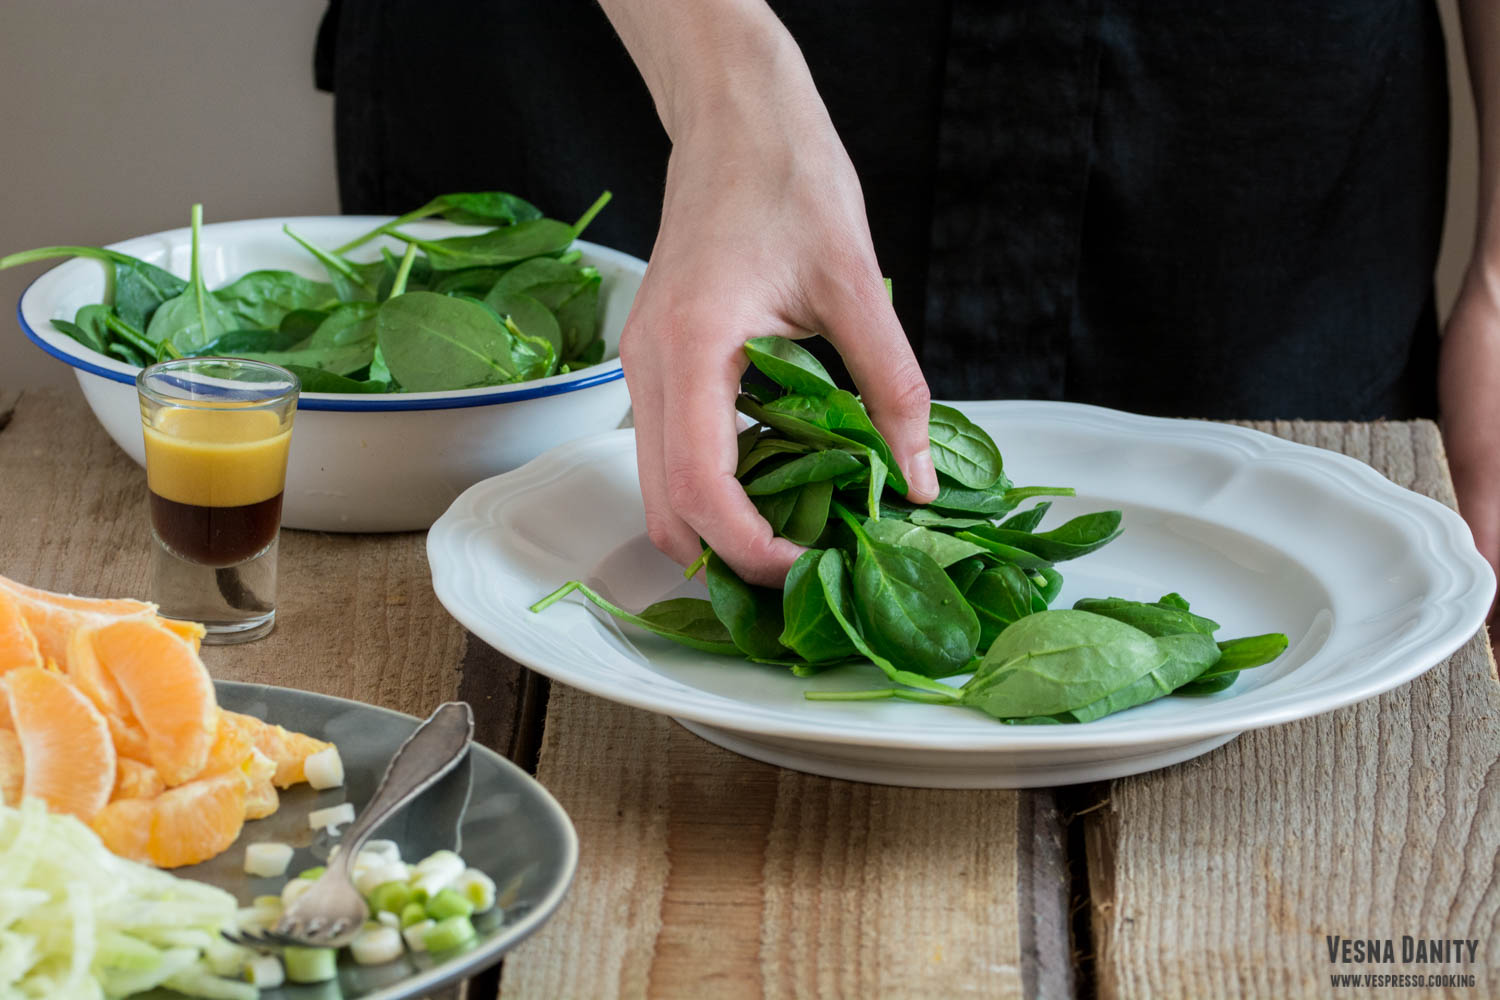
There’s not much to say about this tofu and mandarin salad, only the fact that I tend to prepare it excessively lately. It’s so colorful and packed with bold flavors and great textures and the best part is that it’s plant – based. The crunchy, fragrant fennel goes wonderfully with the sweet and juicy mandarin slices and the green onion and the baby spinach give this salad a nice, springy twist. For this salad I like to cut my tofu in triangles, marinate it in mandarin juice, rice vinegar, soy sauce, olive oil, ginger and garlic and bake it in the oven until golden brown. Simlpe and delcious!

Why I love spinach salad with tofu, mandarin and fennel:

  • it’s vegan
  • it’s so colorful and tasty
  • it’s nutritious
  • it’s high in protein, so it’s very satisfying
  • it’s lovely all year round, I just pick whatever veggies are in season

Continue reading Spinach Salad with Baked Tofu, Fennel and Mandarin Oranges

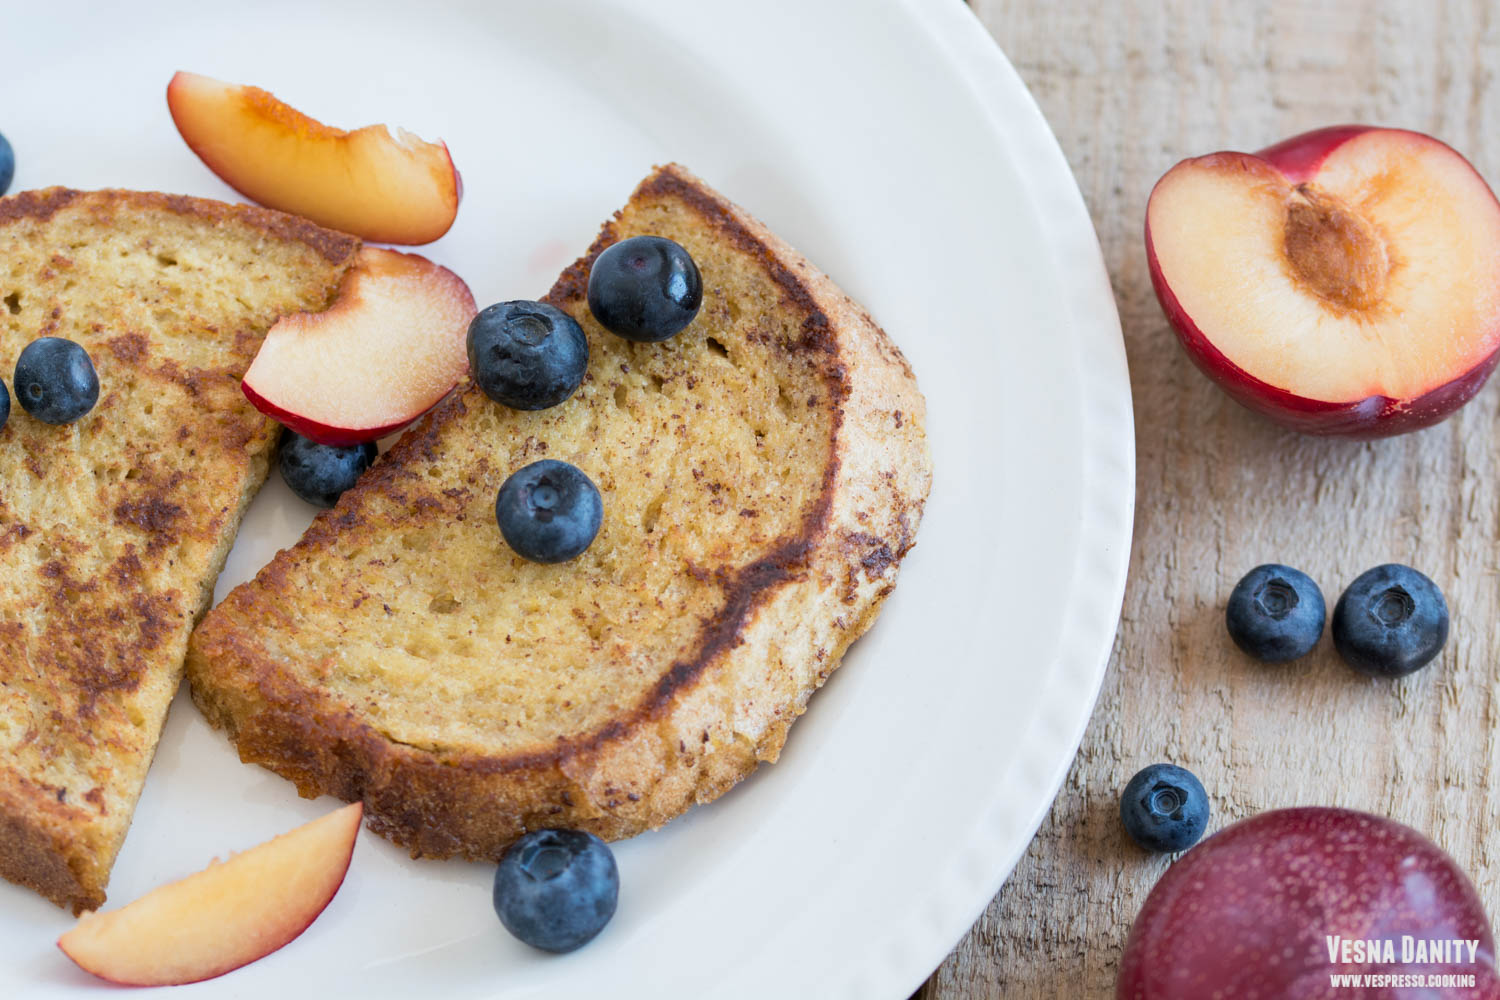
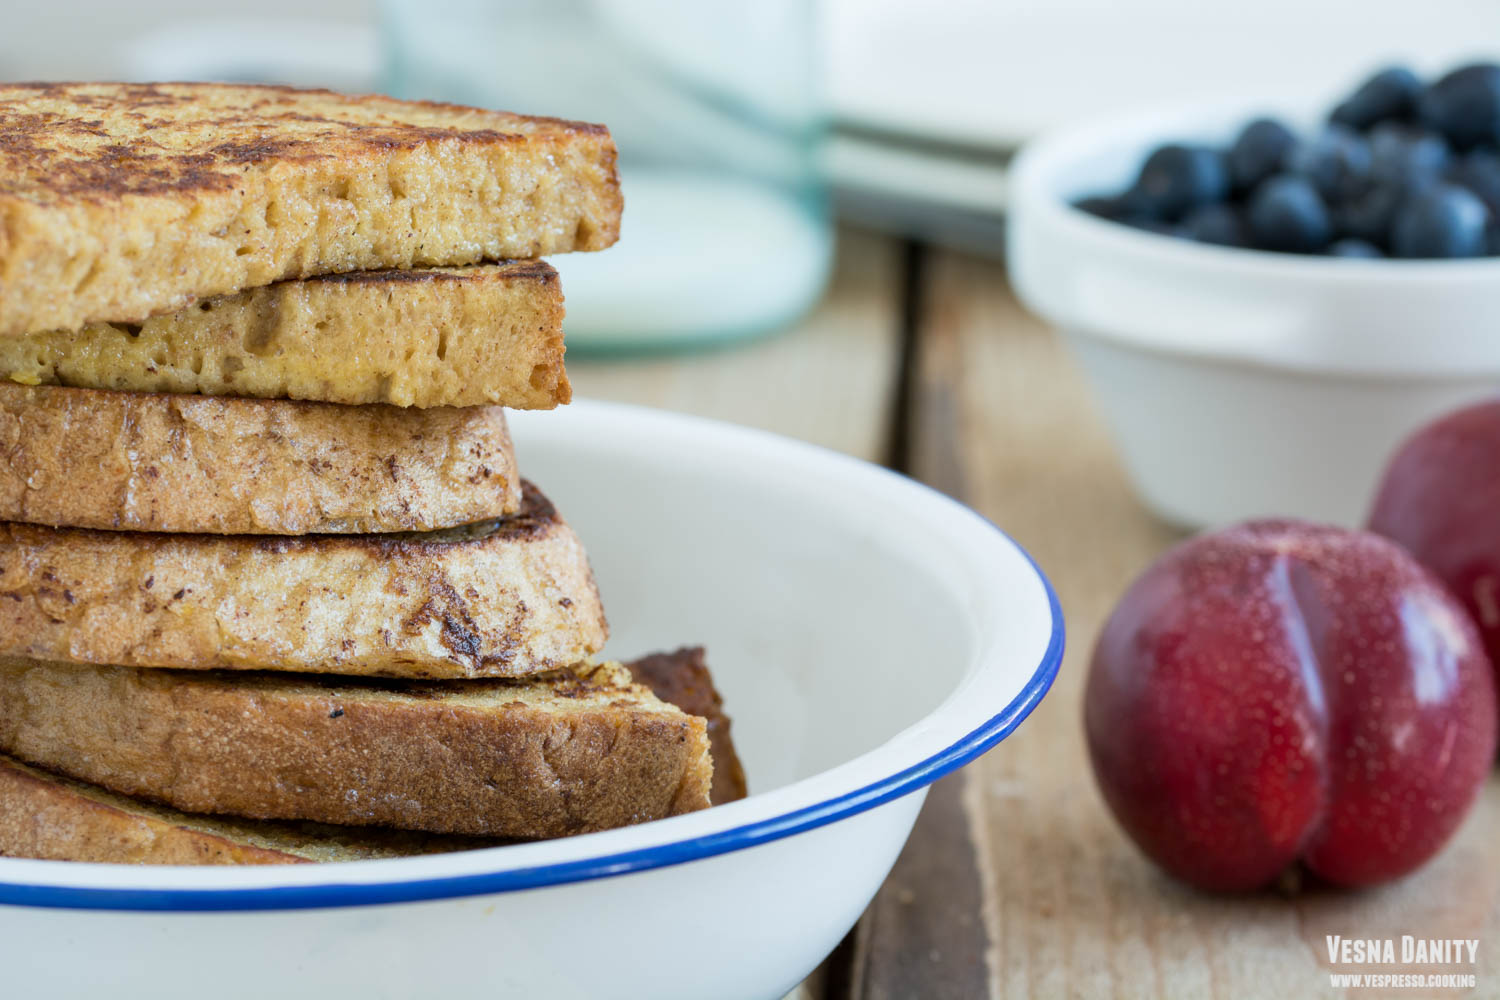
Whole – Wheat French Toast


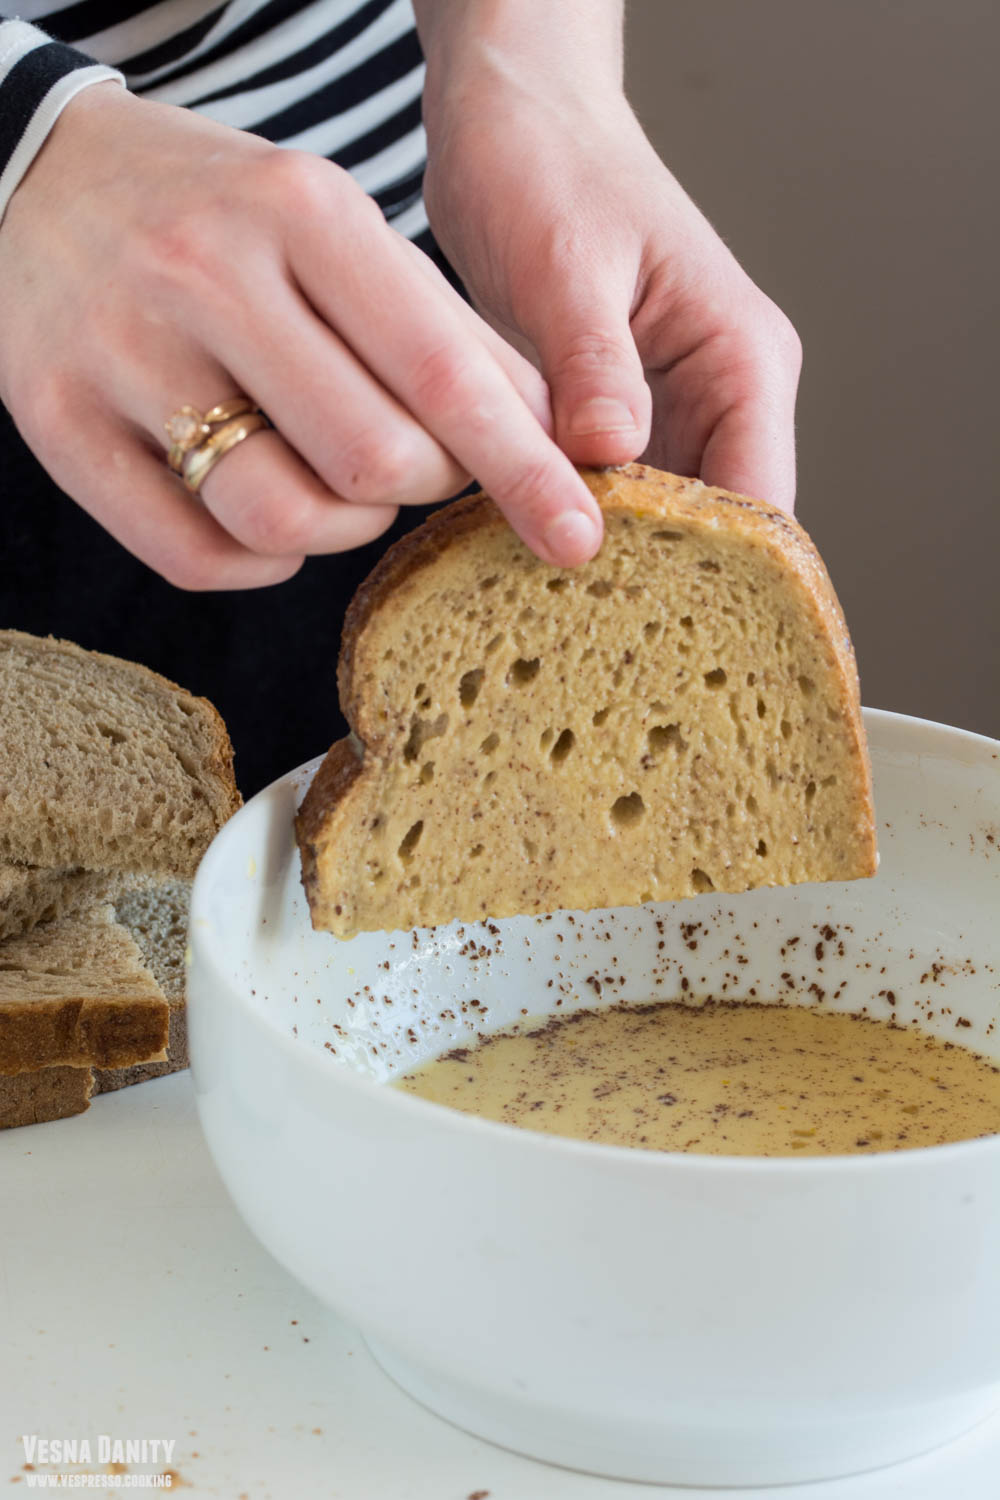
French toast (or Pain perdu) is an absolutely divine breakfast. It’s nothing else but day-old bread soaked in a milk and egg mixture flavored with cinnamon and than fried in butter and served with honey and berries. I make this wonderful treat everytime I find myself in the position of throwing away stale bread. I find it fascinating how an unappealing slice of bread metamorphoses into something sublime.

For French toast I’ve used all sorts of bread, from plain white bread, to whole – wheat, focaccia, or ciabatta, from Romanian sweet bredt, babka or challah. I often use whole-wheat bread soaked in a flavorful egg, milk and brown sugar mixture. The fact that the bread is old gives the final product its fluffiness and keeps the slice together when soaked. If you have only fresh bread, you can always toast it in the oven for 10 minutes. Continue reading Whole – Wheat French Toast
Italian Coconut Cake


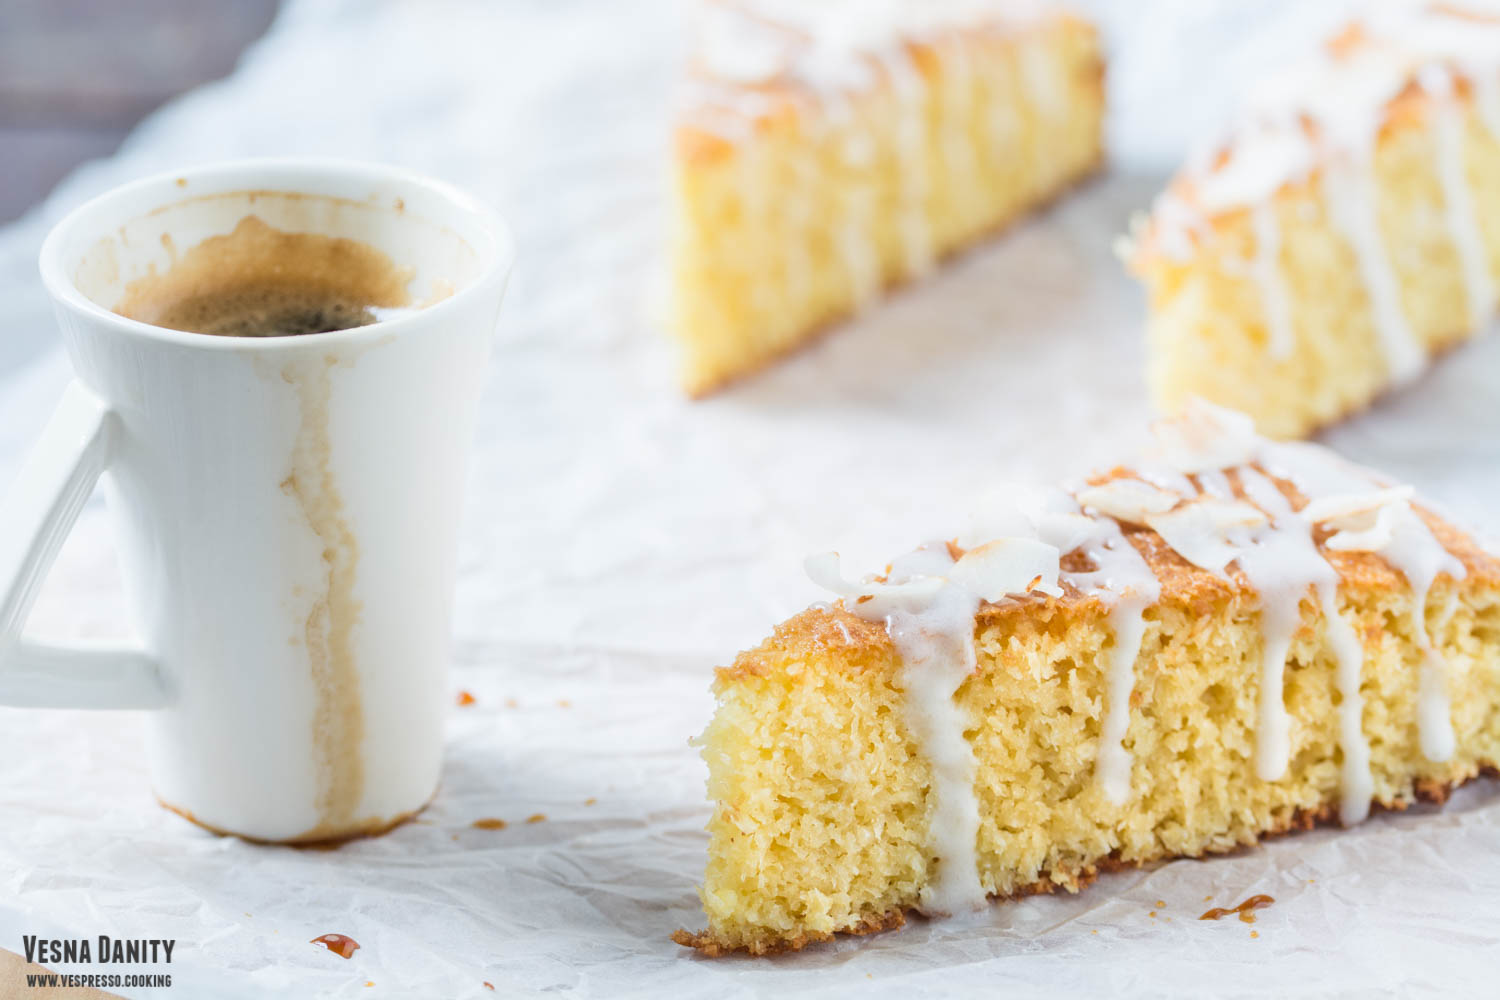
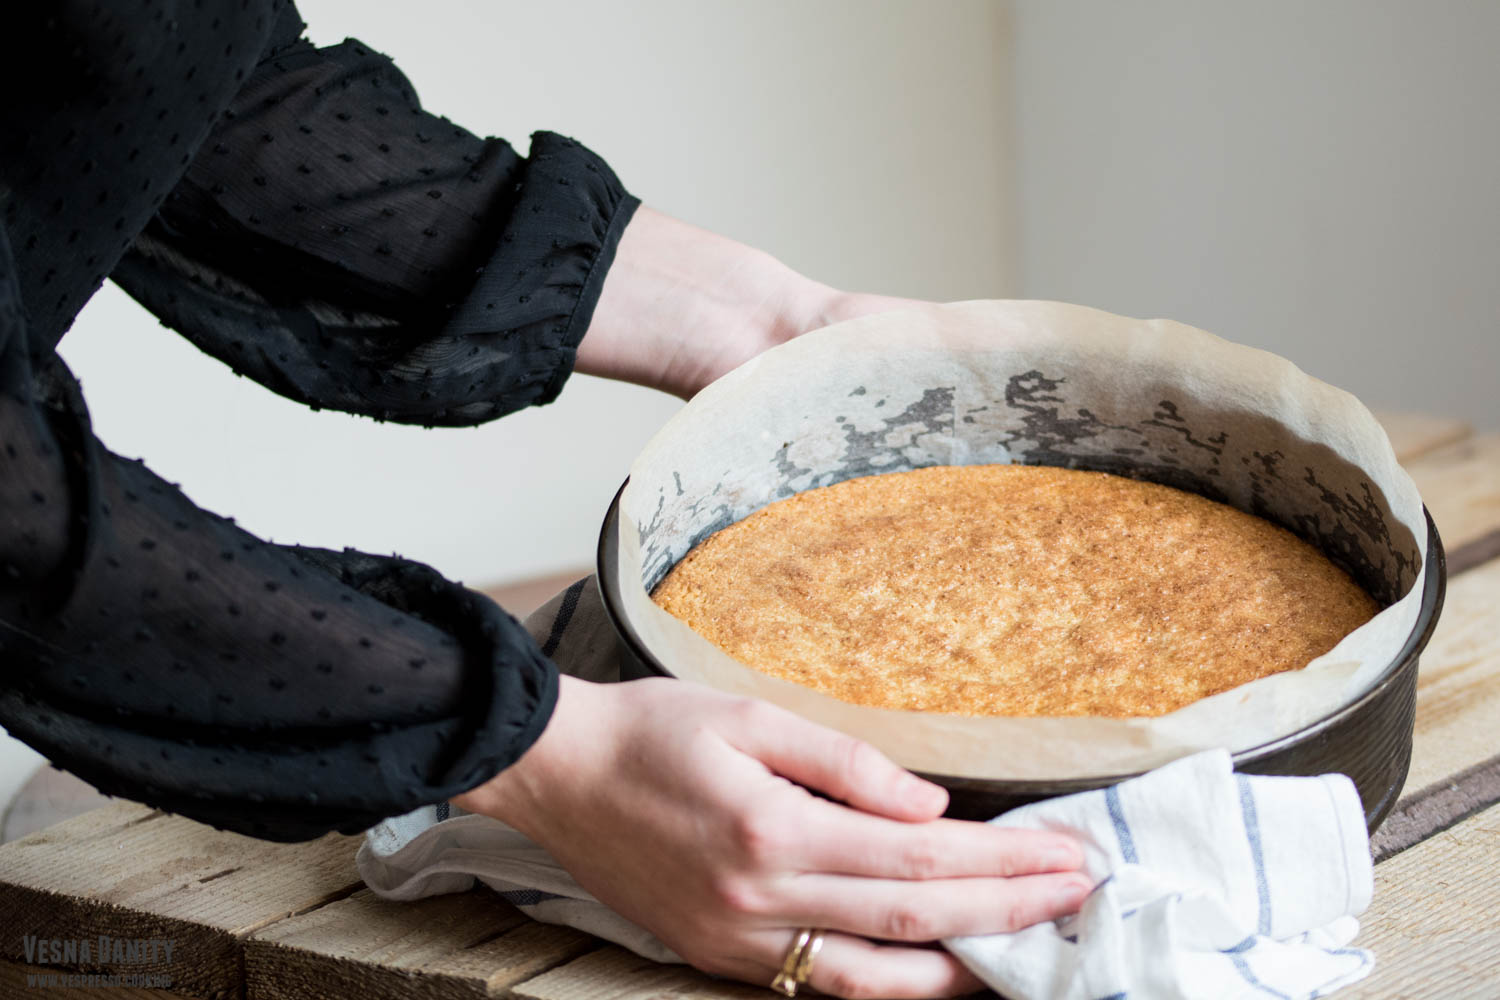
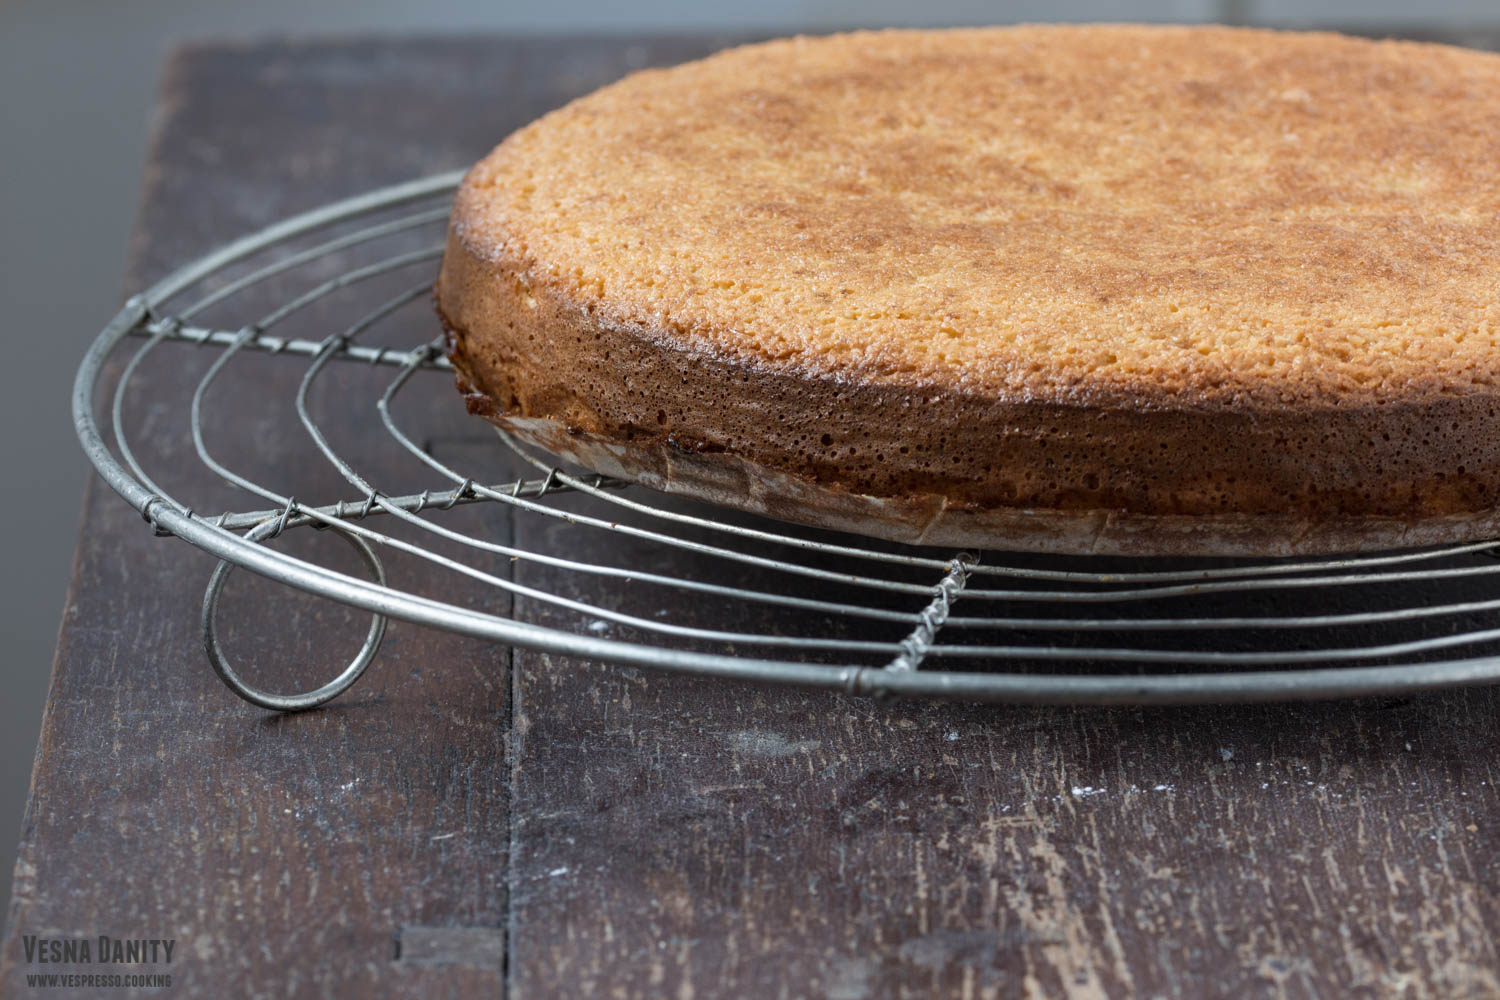
This cake is simply divine! It has 3 components, all of them delicious and all of them coconutty. A lovely sponge that melts in your mouth and defies the laws of physics (and possibly the laws of chemistry too), a luscious coconut glaze and a crispy topping. It’s flavorful, satisfying and not overwhelmingly sweet, so it’s perfect for breakfast or brunch. It’s amazing served with coffee or tea as a late-afternoon snack and it’s also delicious served as a dessert, simply because it’s a cake after all.

Why I love Coconut Cake:

  • it has a lovely coconut flavor
  • it has such an interesting texture, it’s extremely  soft and tender
  • it’s flourless, it has only to 2 Tbsp of corn starch, so it’s gluten-free
  • it’s ready in 40 minutes
  • and before I forget: it has a lovely coconut flavor

Continue reading Italian Coconut Cake

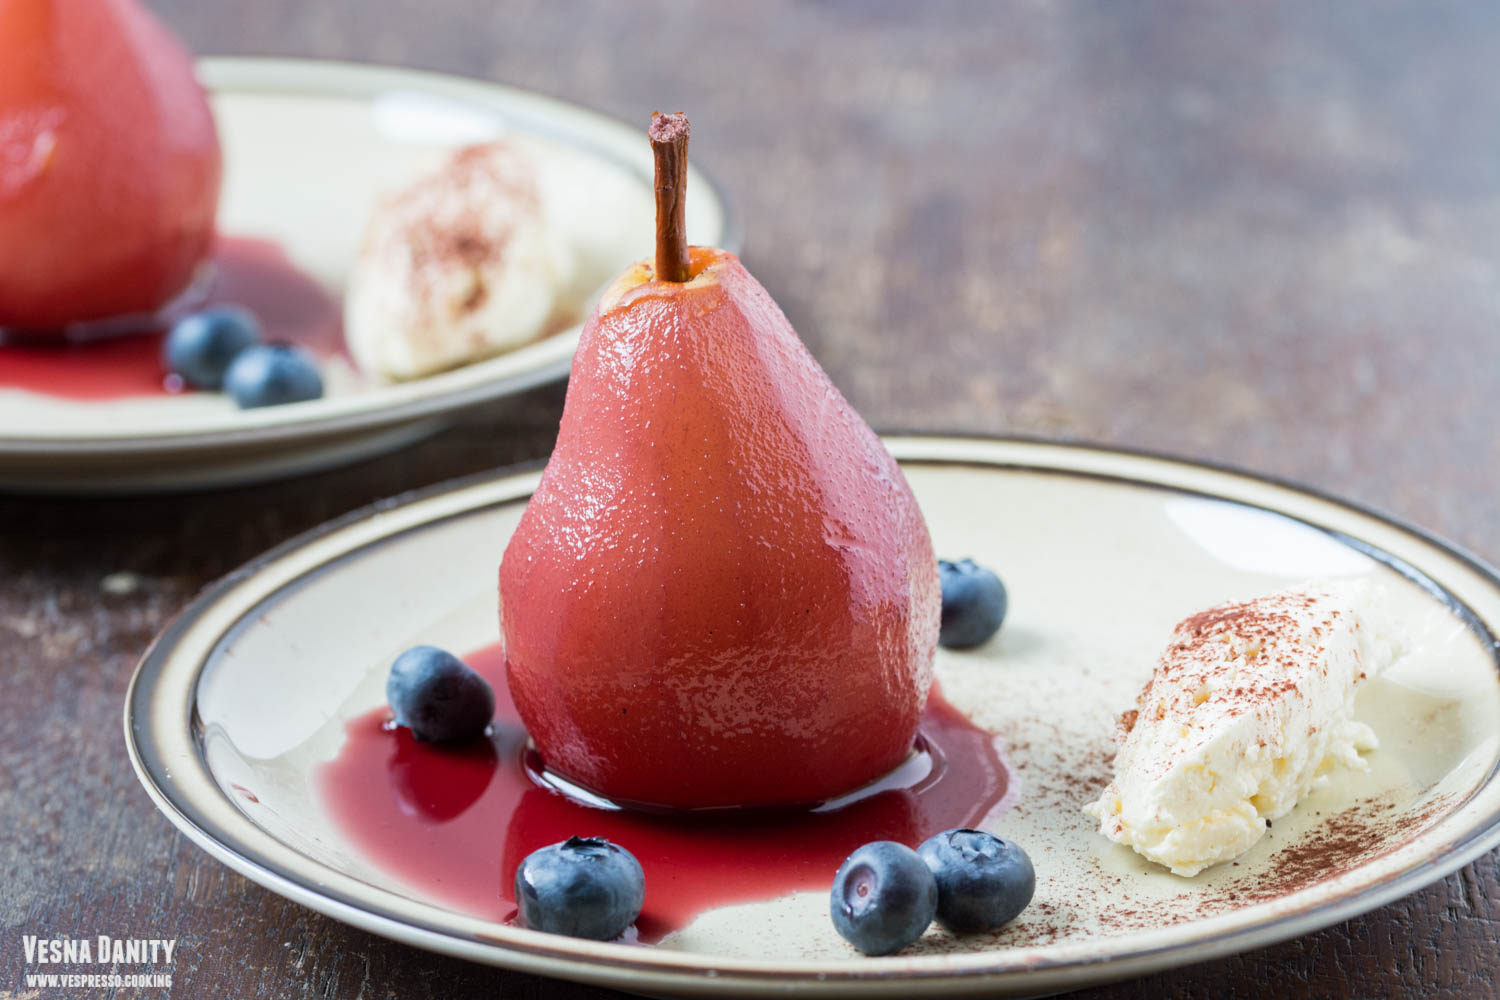
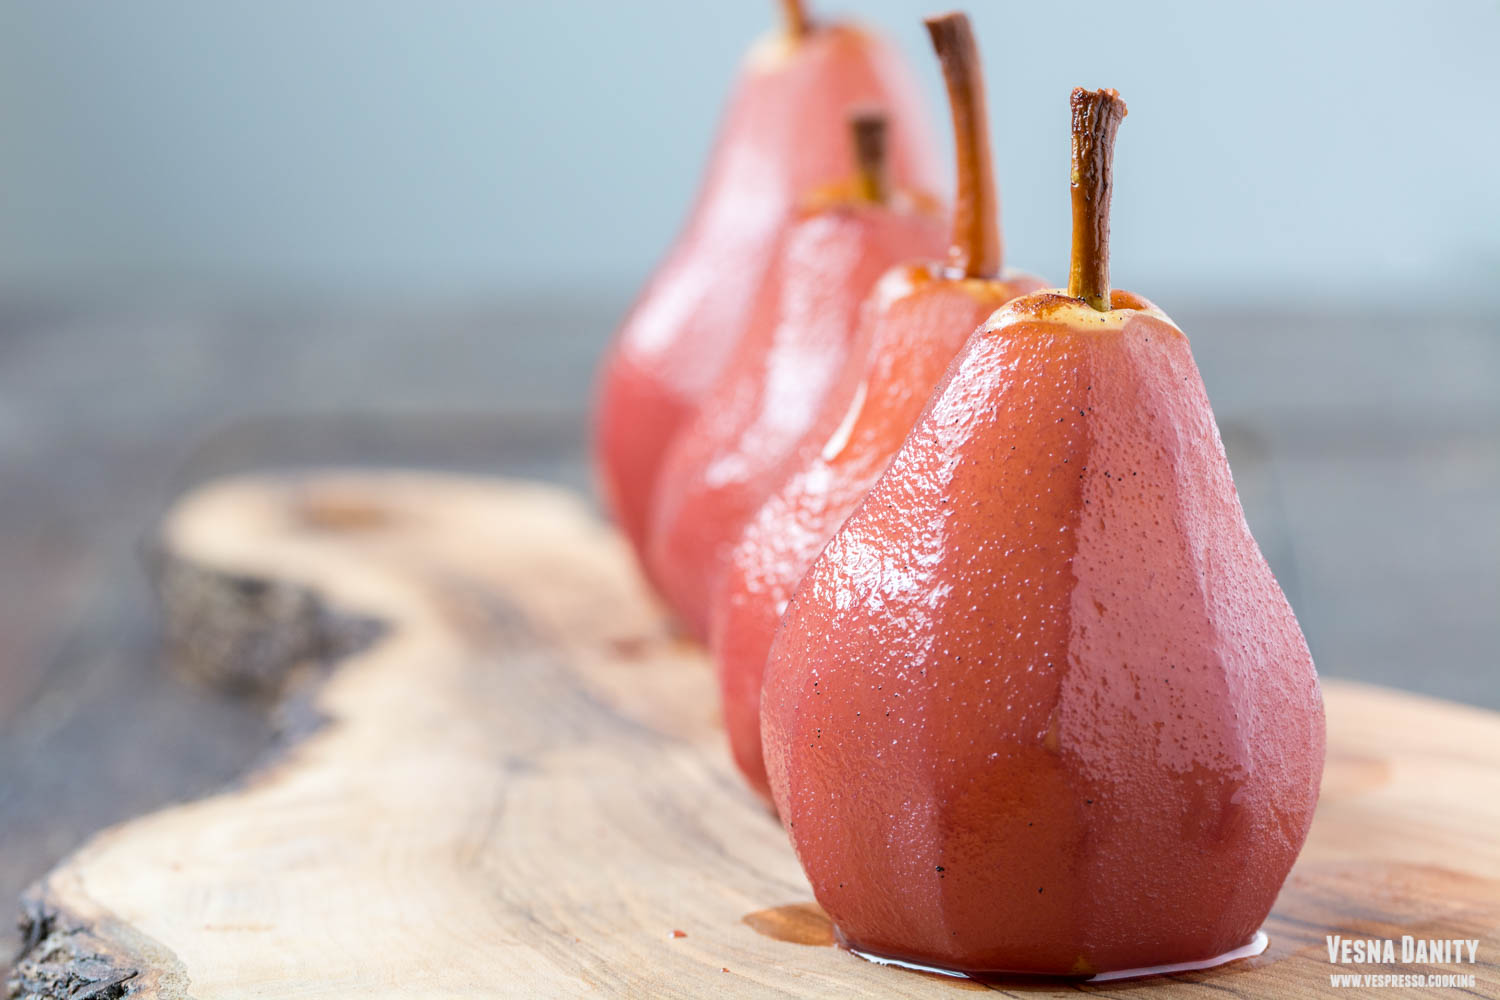
Red Wine – Poached Pears Served with Mascarpone Orange Blossom Cream


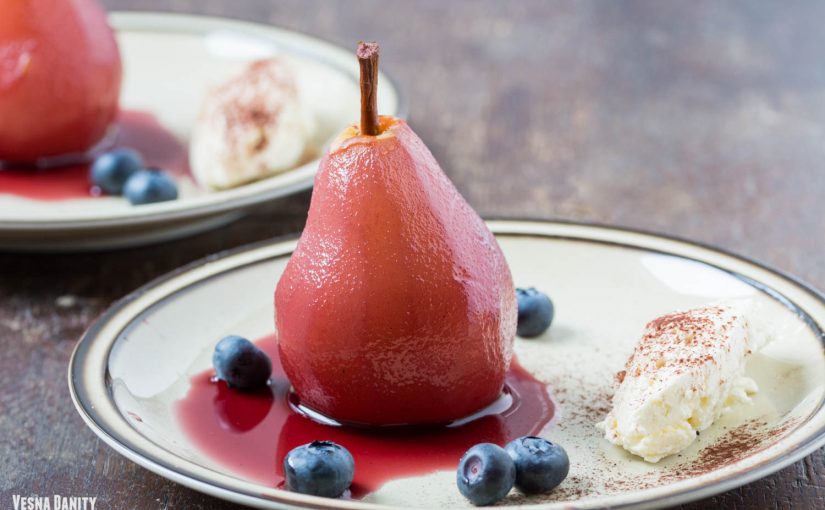
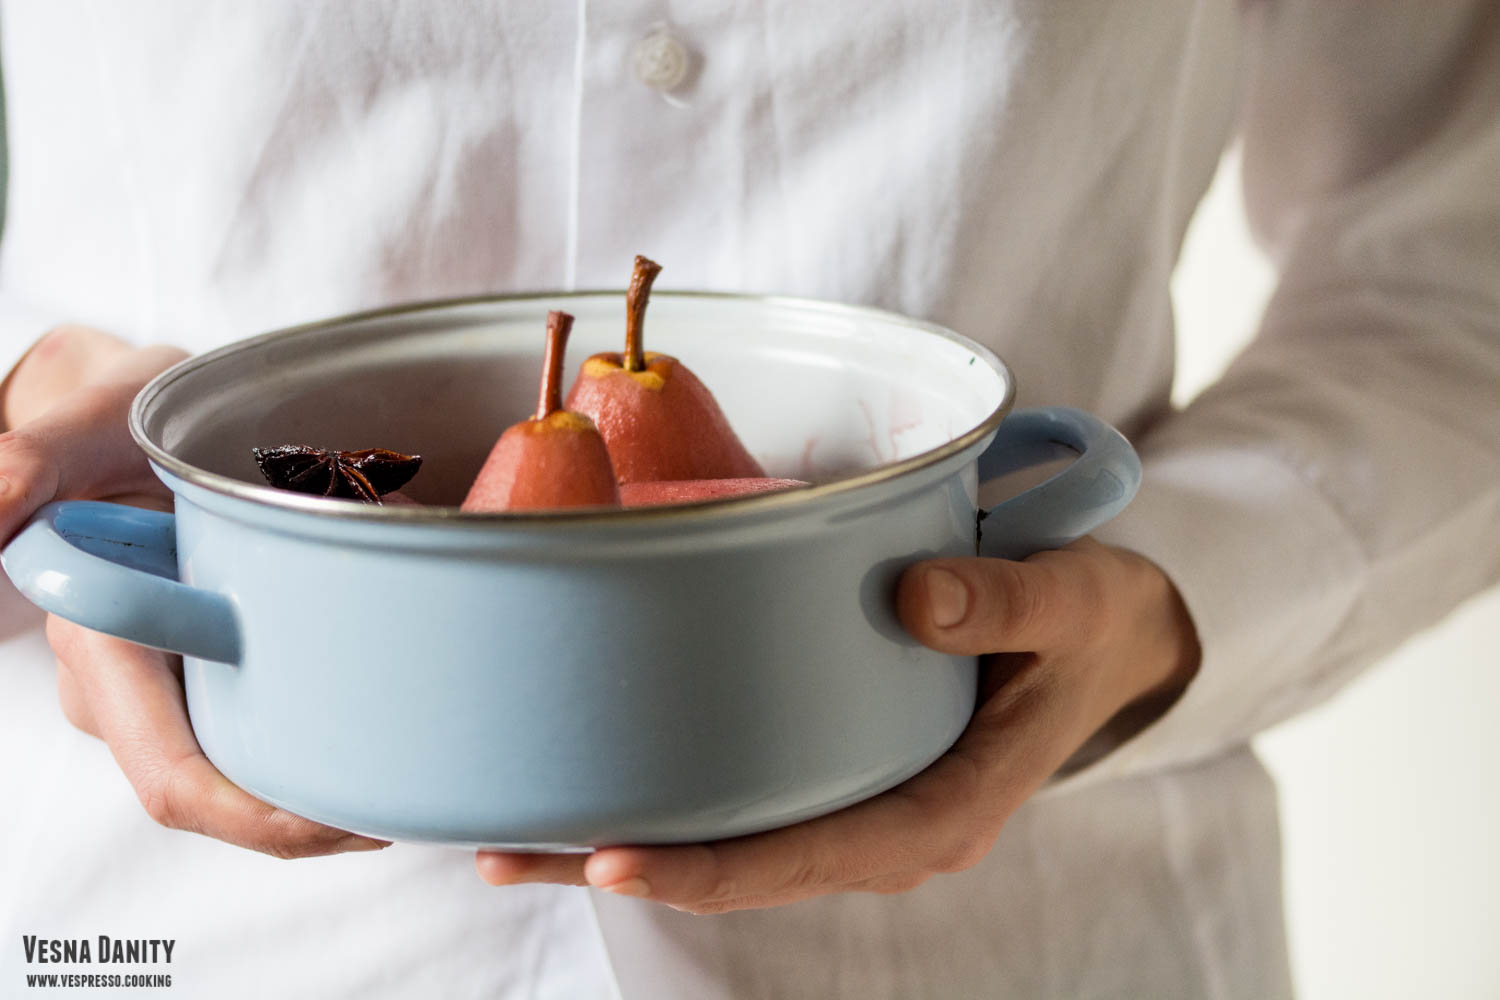
Poached pears are simply amazing! If simplicity is the ultimate form of sophistication, this dessert might be the quintessence of this idea. Ripe pears, brown sugar, wine. Maybe a vanilla bean, a cinnamon stick and a star anise. This simple ingredients, combined together, create a mouth-watering, exquisite and stunning dessert.

Poached pears are so versatile. They can be paired with a cheese platter and nuts, creating the perfect way to end any sophisticated menu. They can be served with a scoop of vanilla ice cream, and they make a refreshing dessert ideal on a hot summer evening. I chose this time to serve them in a wine and brown sugar reduction and I paired them with a flavorful orange blossom mascarpone cream. Regarding poached pears, the possibilities are endless! Continue reading Red Wine – Poached Pears Served with Mascarpone Orange Blossom Cream

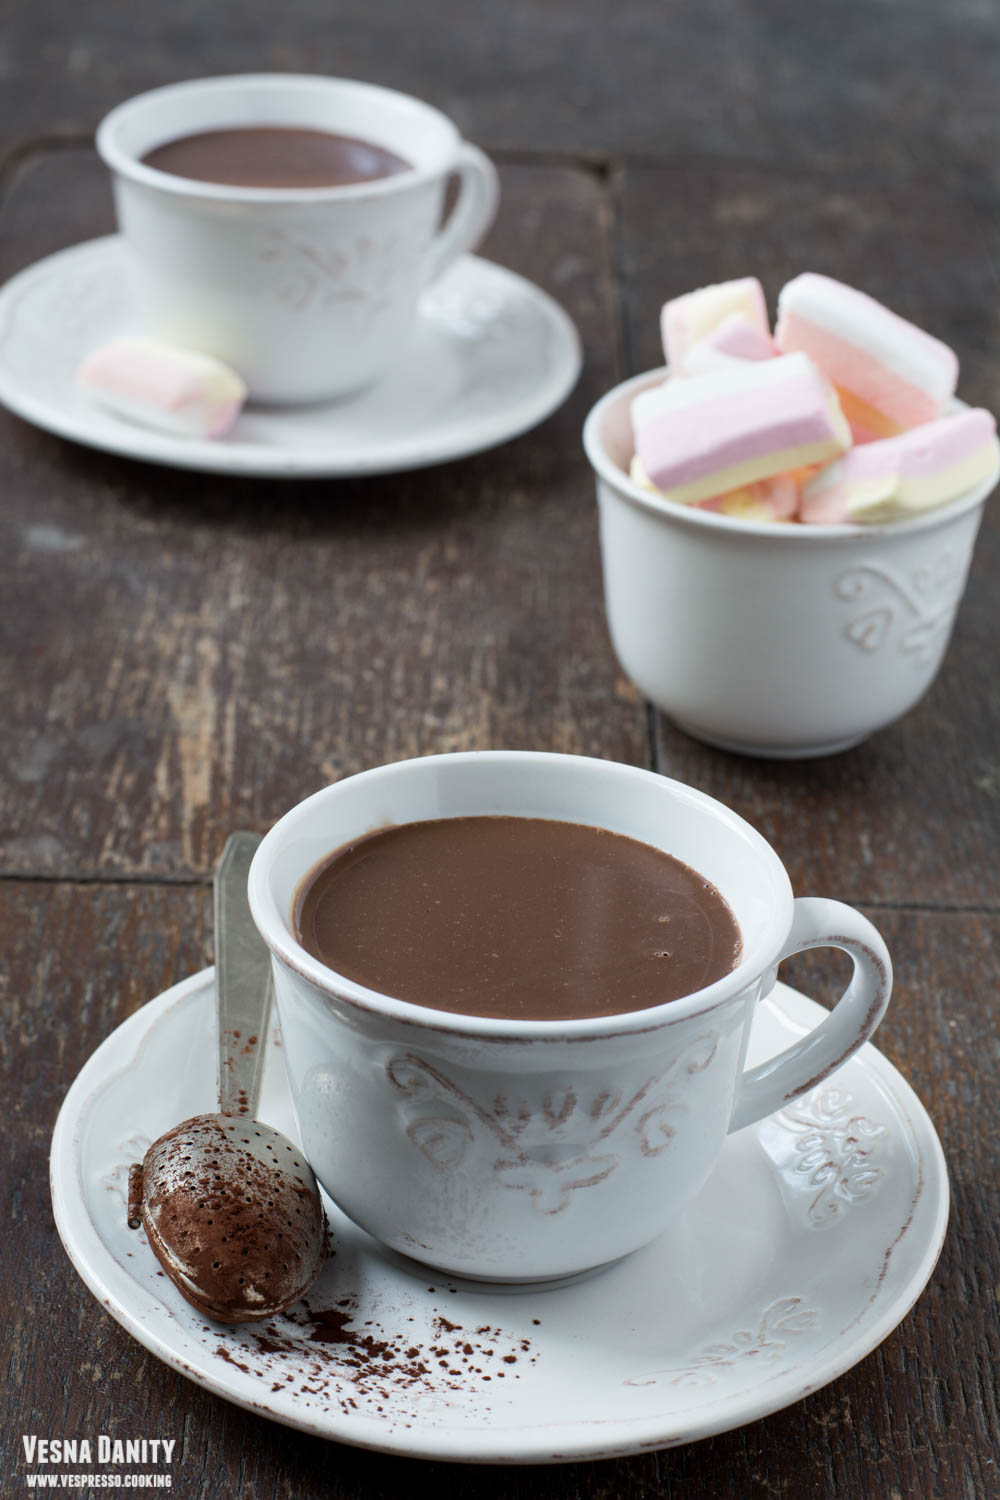
Hot Chocolate

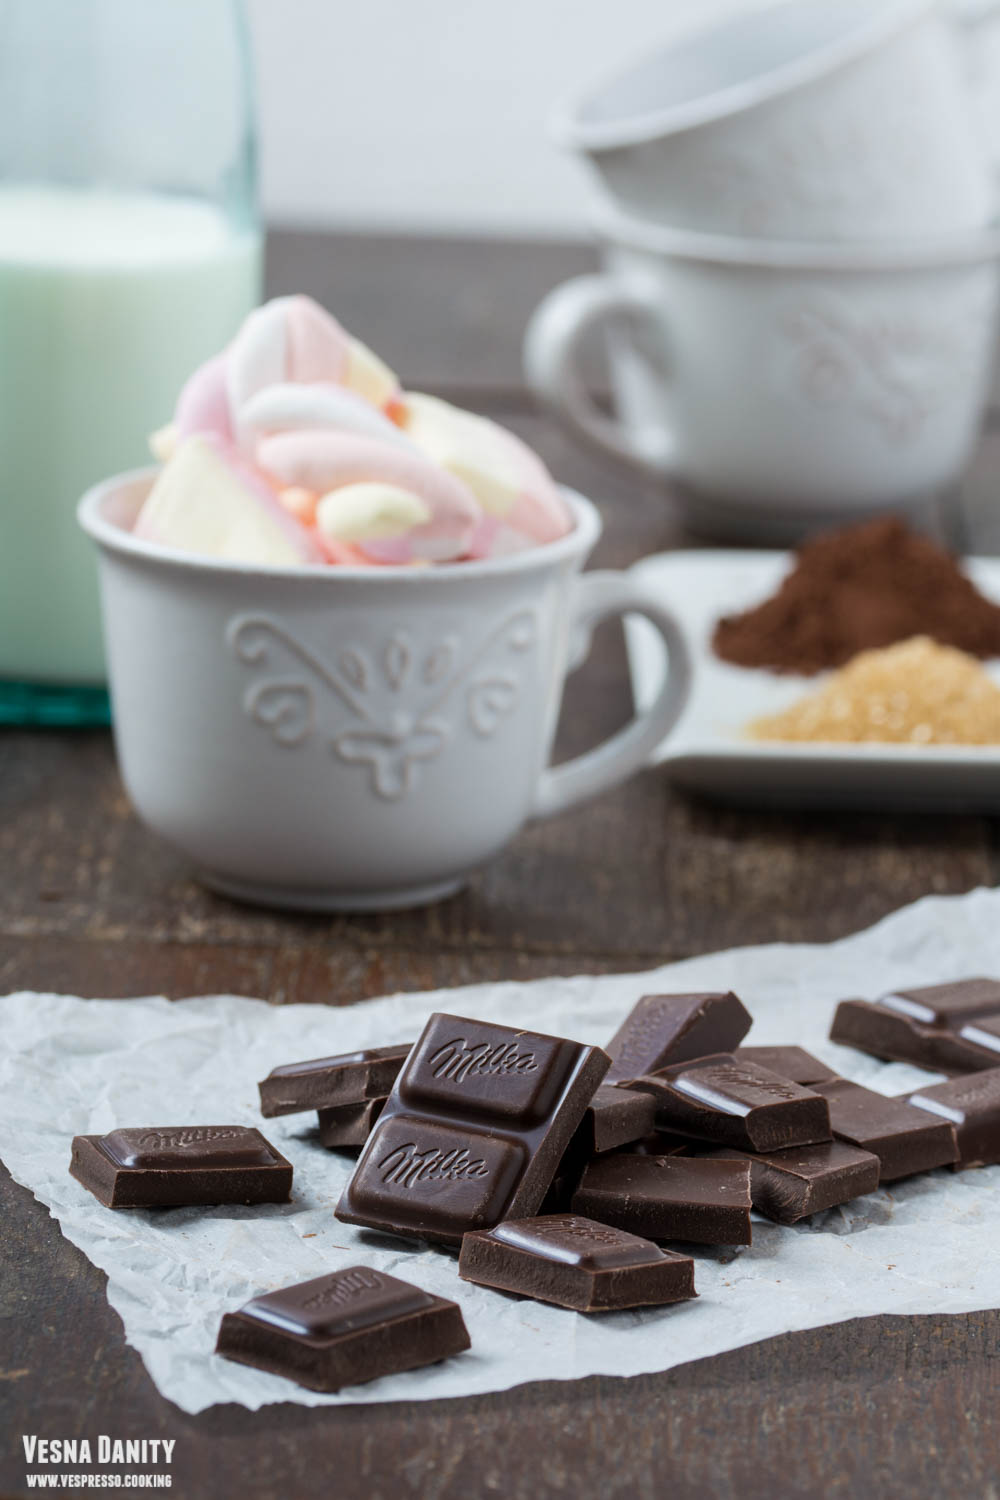
I love chocolate. I love it in every state of aggregation, in every color or flavor combination. And I love it even more when outside is freezing and the chocolate waits for me patiently in a huge cup, garnished with tangy cocoa powder and silky marshmallows.

I love hot chocolate because:

  • it’s sweet and slightly bitter, with subtle notes of vanilla and coffee
  • it’s quite dense and creamy, silky and decadent
  • it warms both my body and my soul
  • it’s ready in less than 10 minutes
  • reminds me of my childhood

Continue reading Hot Chocolate

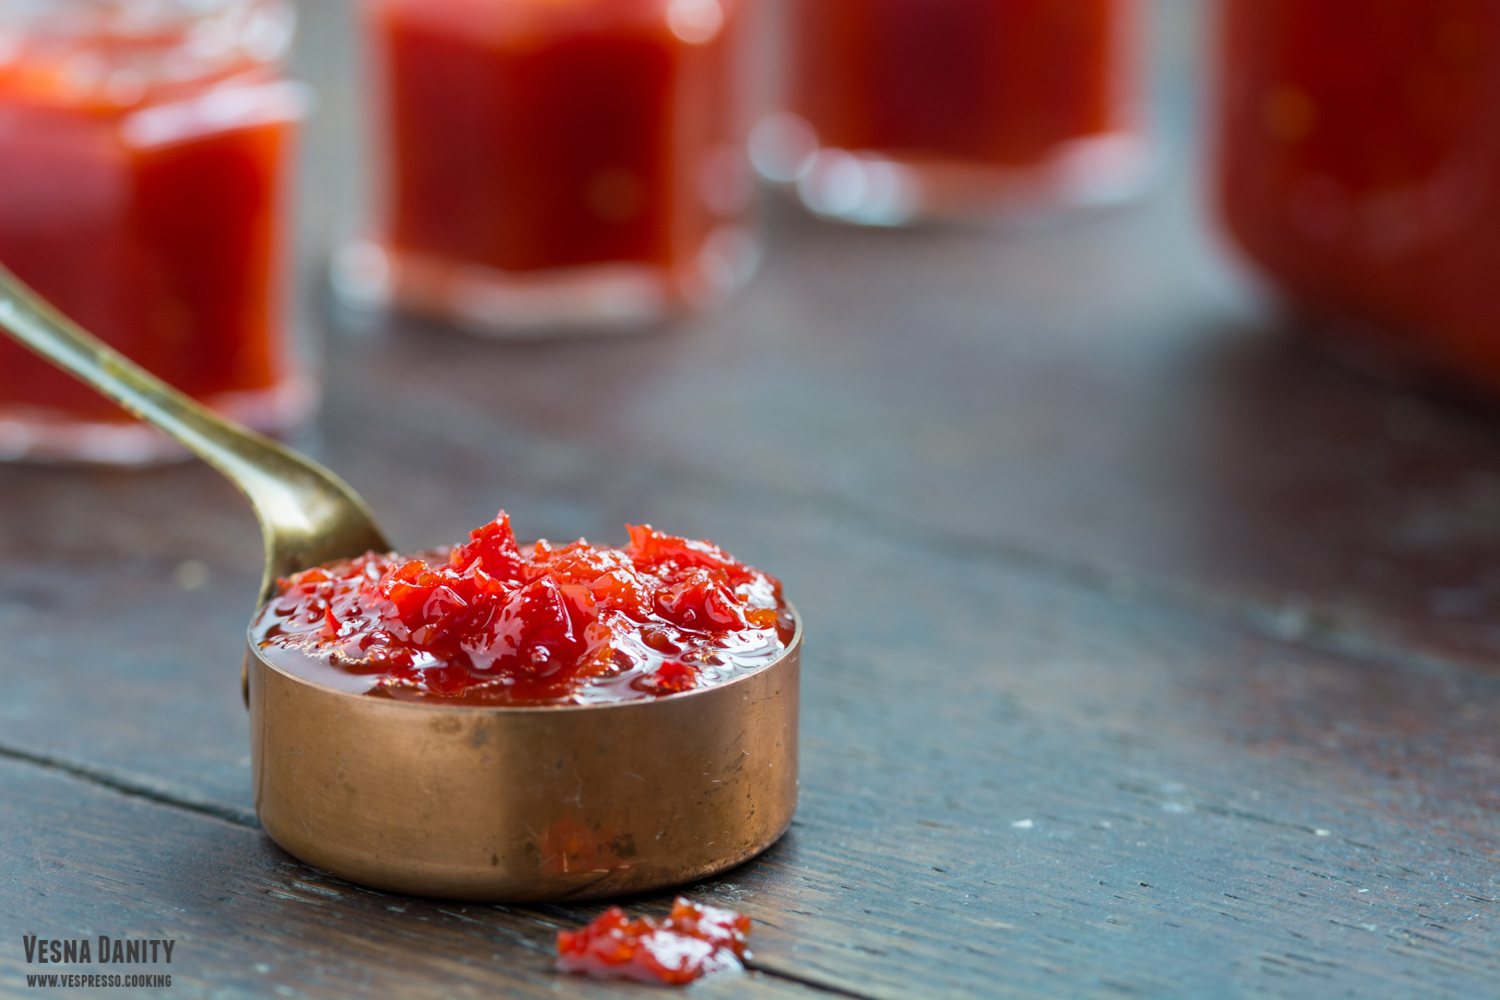
Sweet Chili Jam

sweet-sour-chili-sauce

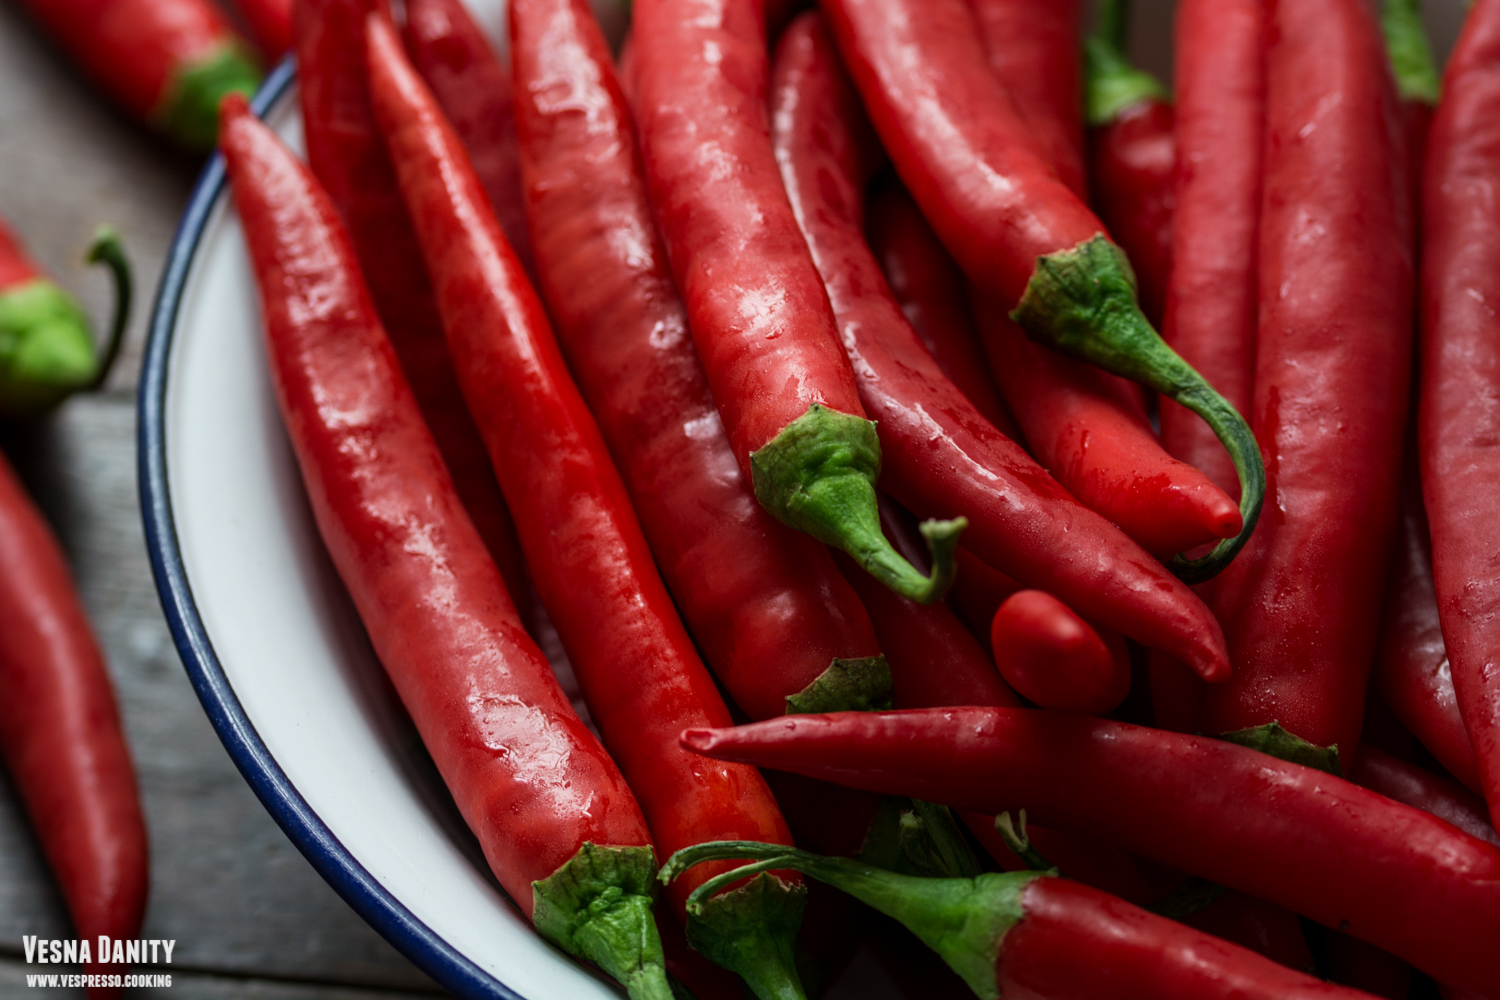
chili

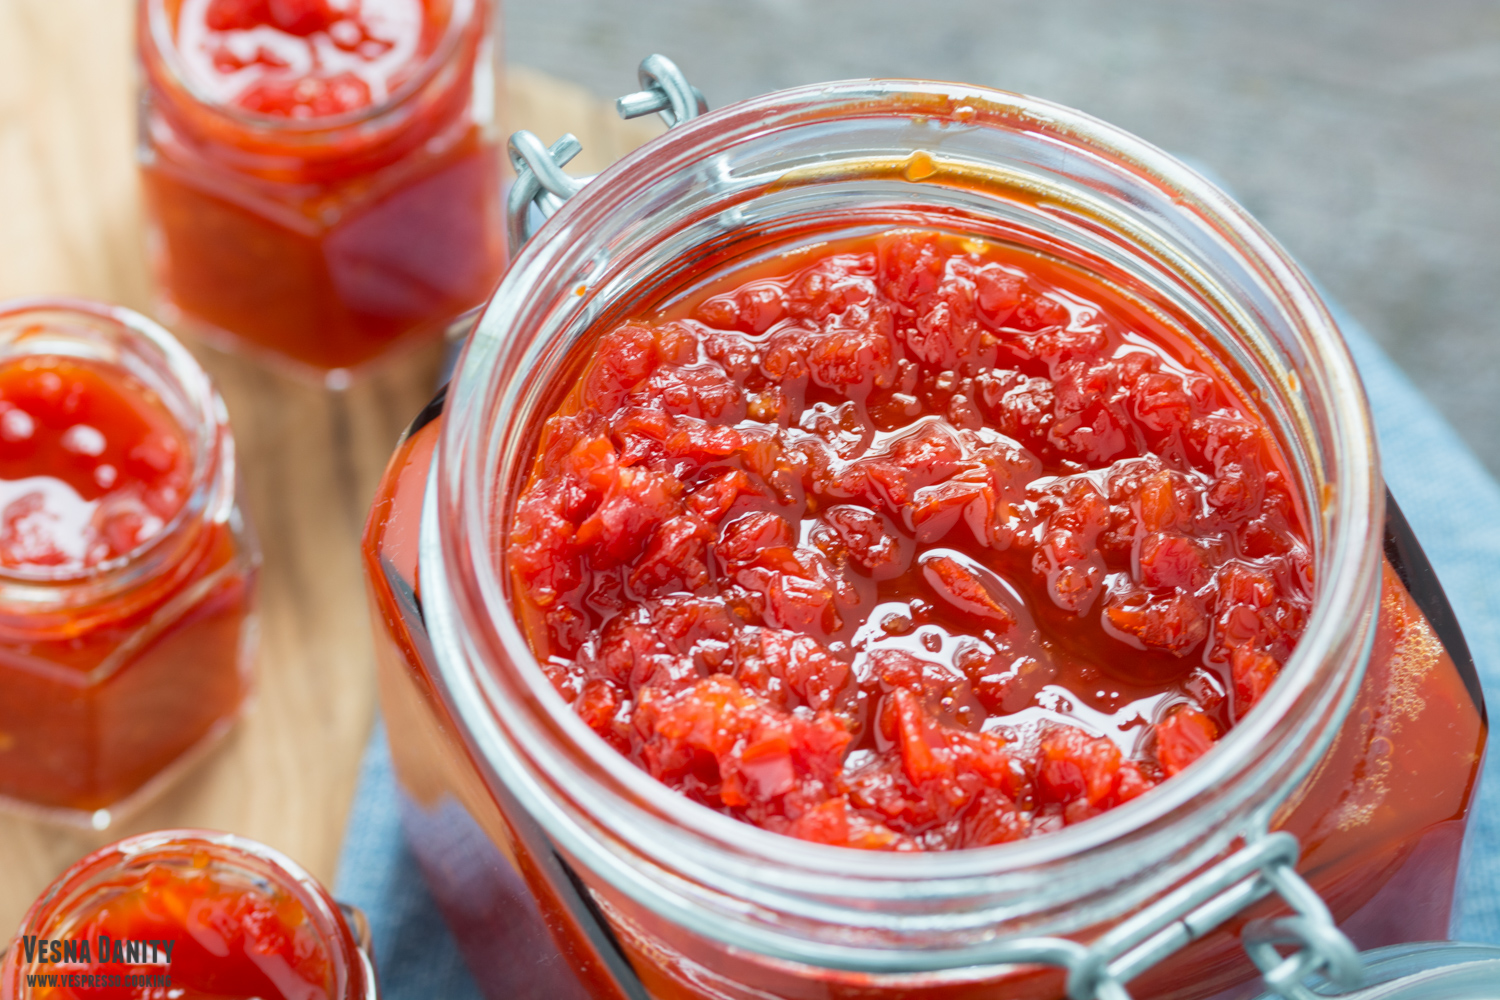
chili-sauce-jars

Sweet and sour chili jam is an amazing thing! It’s a vegan sauce, made from only four budget-friendly ingredients (chili, apple cider vinegar, brown sugar and garlic). This sauce has the capacity to elevate each and every single dish you can think of, it goes divine with veggies, dairy and meat products, pasta, rice, omelets, burgers or sandwiches. I love chili sauce so much that I’d be even tempted to pair it with tarts and cakes, the only thing that discourages me a tiny bit is the garlic in its composition.

Chili sauce has such a lovely vibrant color. It’s so creamy and dense. It is hot and spicy, fragrant and so flavorful. It is also extremely easy to make at it lasts in the refrigerator up to 2 months. Theoretically. Practically, the jar will be empty in 2 or 3 weeks. I really hope you’ll give it a try! Continue reading Sweet Chili Jam